How to Sew a Pillow Sham
Last Tuesday, Wyatt and I headed back to San Francisco after more than a week in Massachusetts. While we were gone, we enjoyed two fireworks shows, a parade, family, friends, the beach, ice cream almost every day, a water balloon fight, and bumper boats. Coming home to Marc was so good, but the transition back to life as usual was jarring.
"What are we going to DO today, Mom?" Wyatt asked me on Wednesday morning. "Go to the grocery store!" I replied with forced enthusiasm that fooled neither of us. Wyatt buried his face in a pillow and whined about how much he didn't want to go. I went on, "I was also thinking, maybe you'd want to learn to use the sewing machine. We could make you new pillow shams." "What do you mean?" he asked suspiciously, as he rolled half his face up from the pillow. "Like I can do the sewing? Myself? And how do we make them? Out of what? Mom. Can I sew them?"
I'm sure there are simpler first sewing projects we could have done. But his bed needed new shams to go with his new quilt. I know I've said this before, but my aunt's quilting is truly amazing. She really outdid herself on this rainbow quilt project, too. So many seams, so many quilting lines, and such impeccable color choices for each block. Wyatt's rainbow quilt turned out to be everything he had dreamed it would be when he chose the pattern. But as you can see, his old shams didn't even come close to matching.
(Summer of Craft to the rescue!)
After going to the grocery store ("First, we have to do the stuff we HAVE to do..." UGGGHH), we stopped at Discount Fabrics. Wyatt perused all the fake fur and flashy spangly sparkles, but ultimately chose emerald green cotton for one sham and dark purple cotton for the other. I almost told him that people usually have shams that match, but I'm so glad I caught myself before I did. I mean, what a dumb thing to say to a kid, never mind to a kid with a new rainbow quilt.
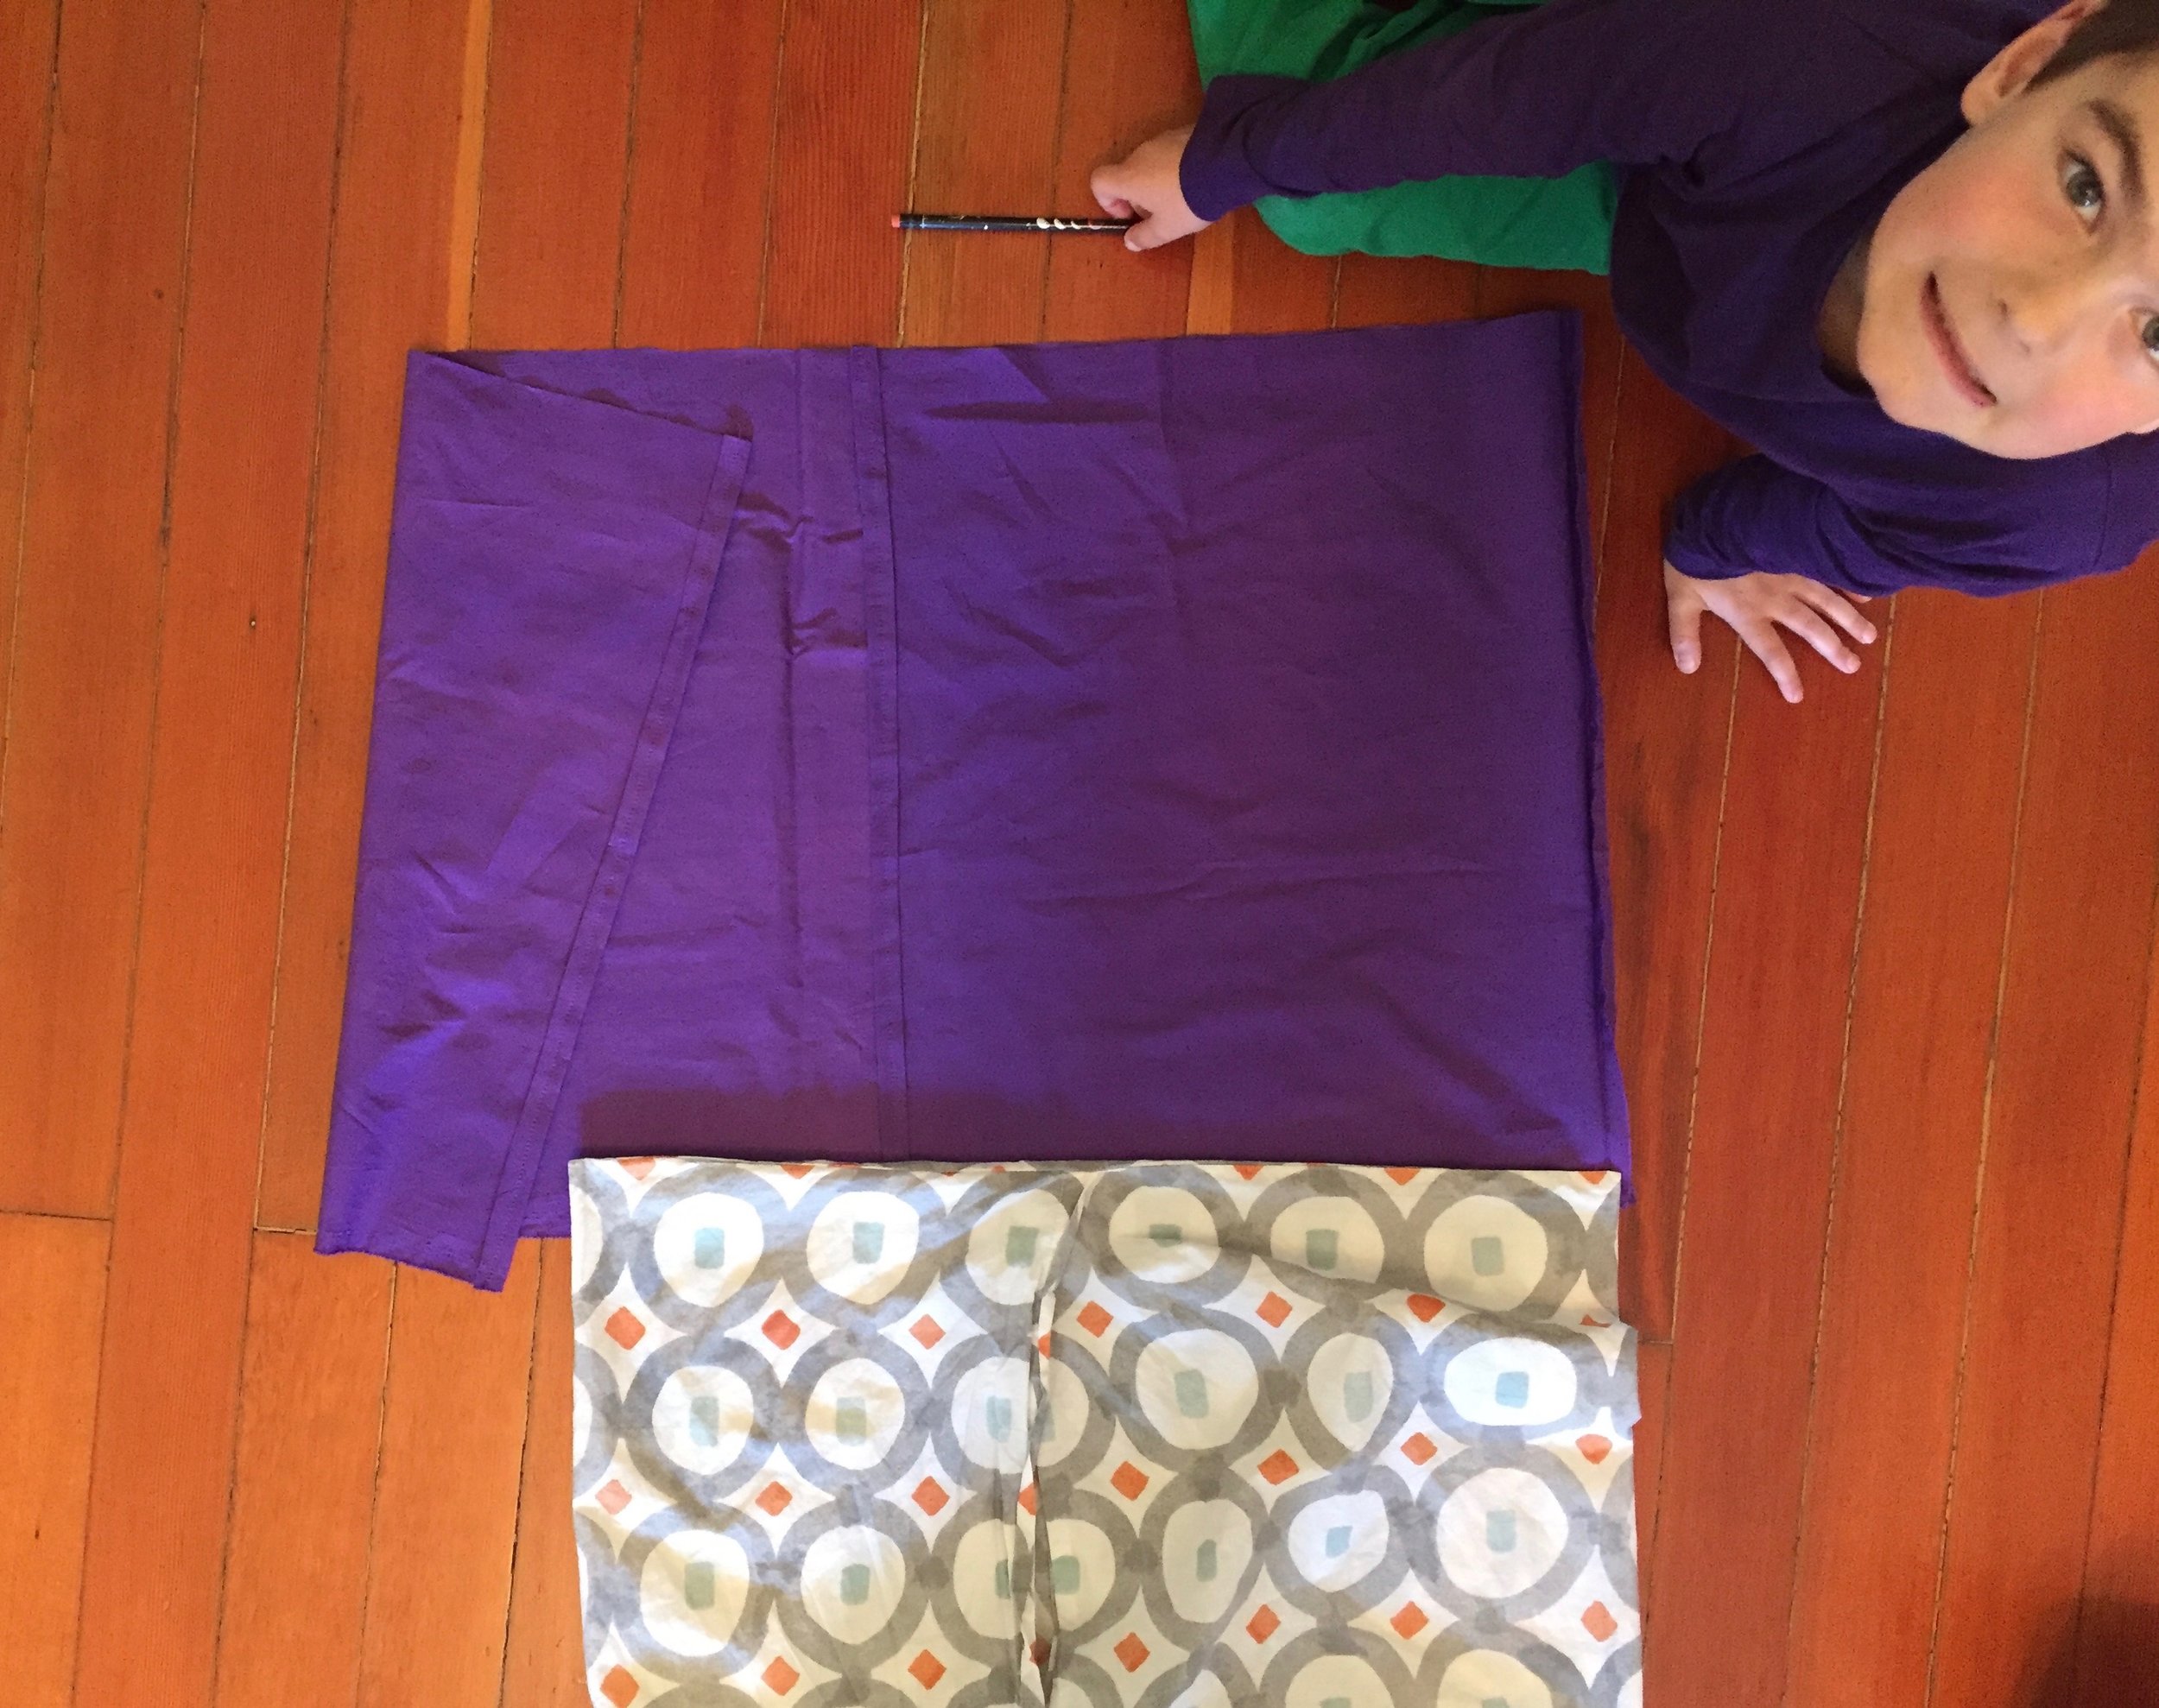
There are so many online tutorials to make pillow shams. If you want a tutorial, check out this one or this one. I was going to follow one of these, but then deciphering the instructions started to suck the joy out of the project for me. As I quickly learned, I can't read a tutorial and manage a six-year old's first sewing project at the same time without feeling grumpy and shouty. I opted to use Wyatt's old shams as a guide.
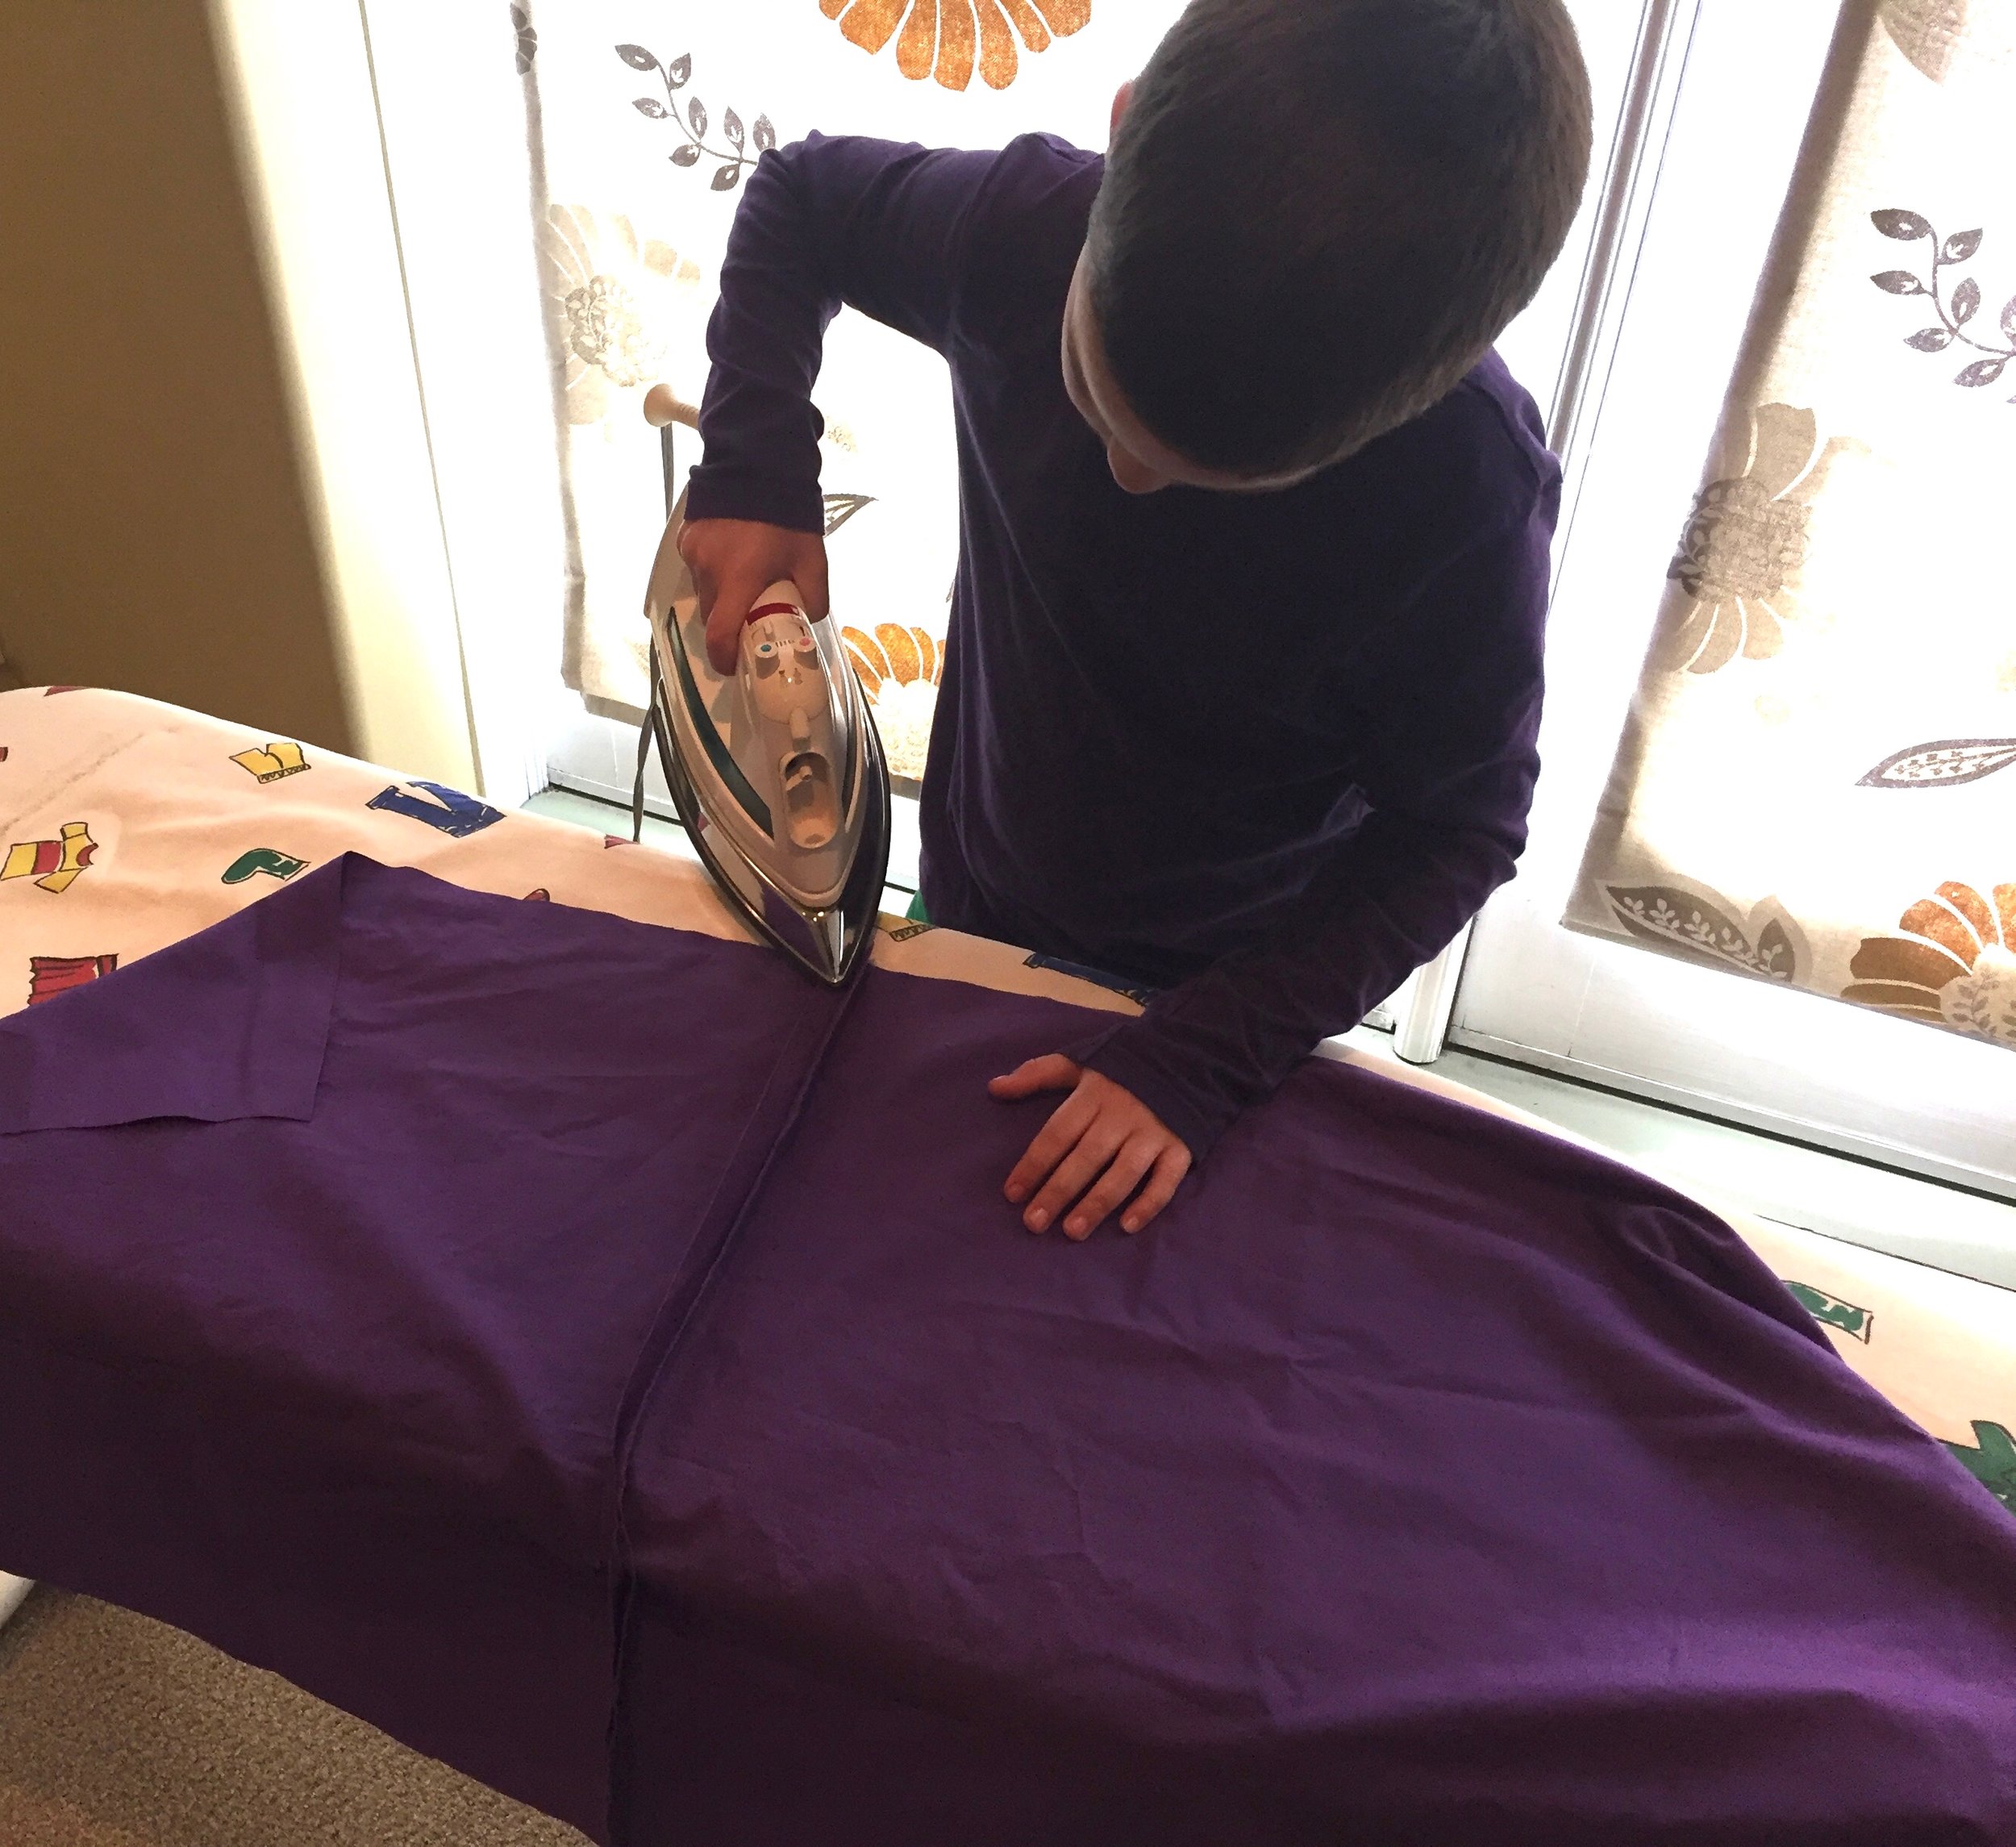
We bought one yard of green and one of purple, and both fabrics were 60 inches wide. We washed and dried the fabric, and Wyatt ironed it. In addition to learning where to point what I named the iron's "cow pusher" (I just remembered it's actually called a cow catcher on a train, but whatever, the train connection gave ironing new life), he learned what it smells like when you scorch fabric. We decided even though you can sort of see the scorch marks, it's not that bad.
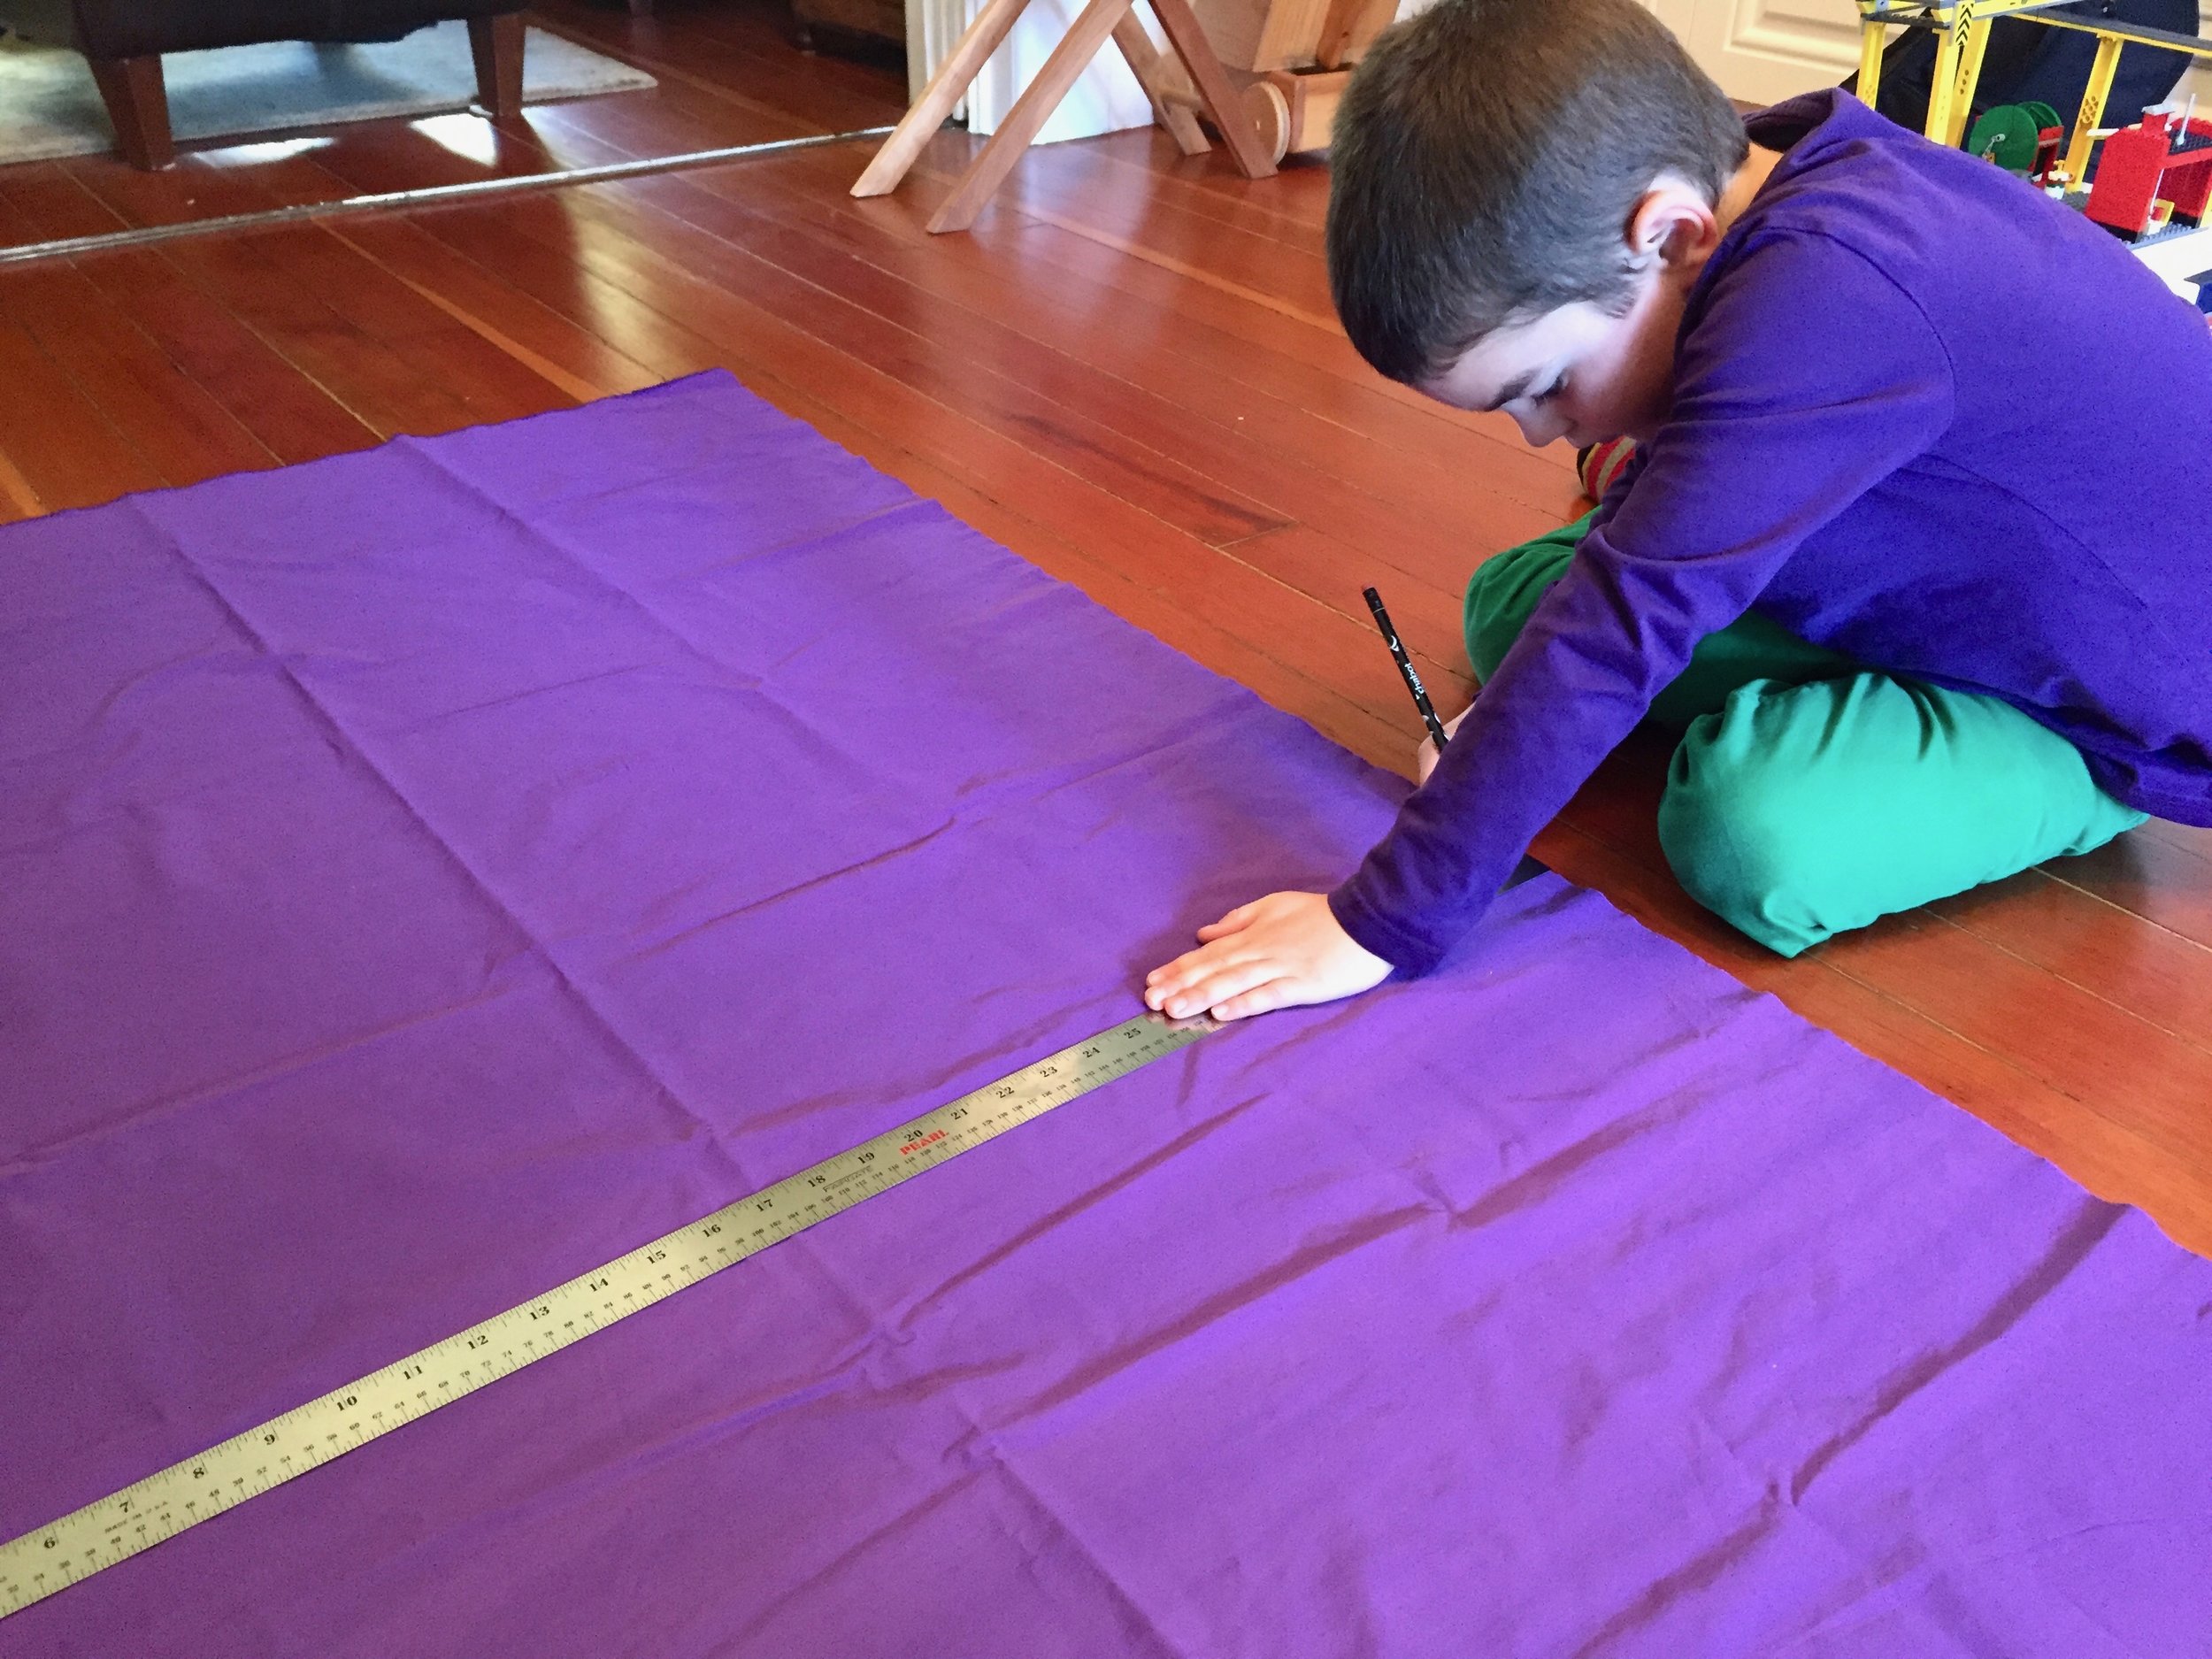
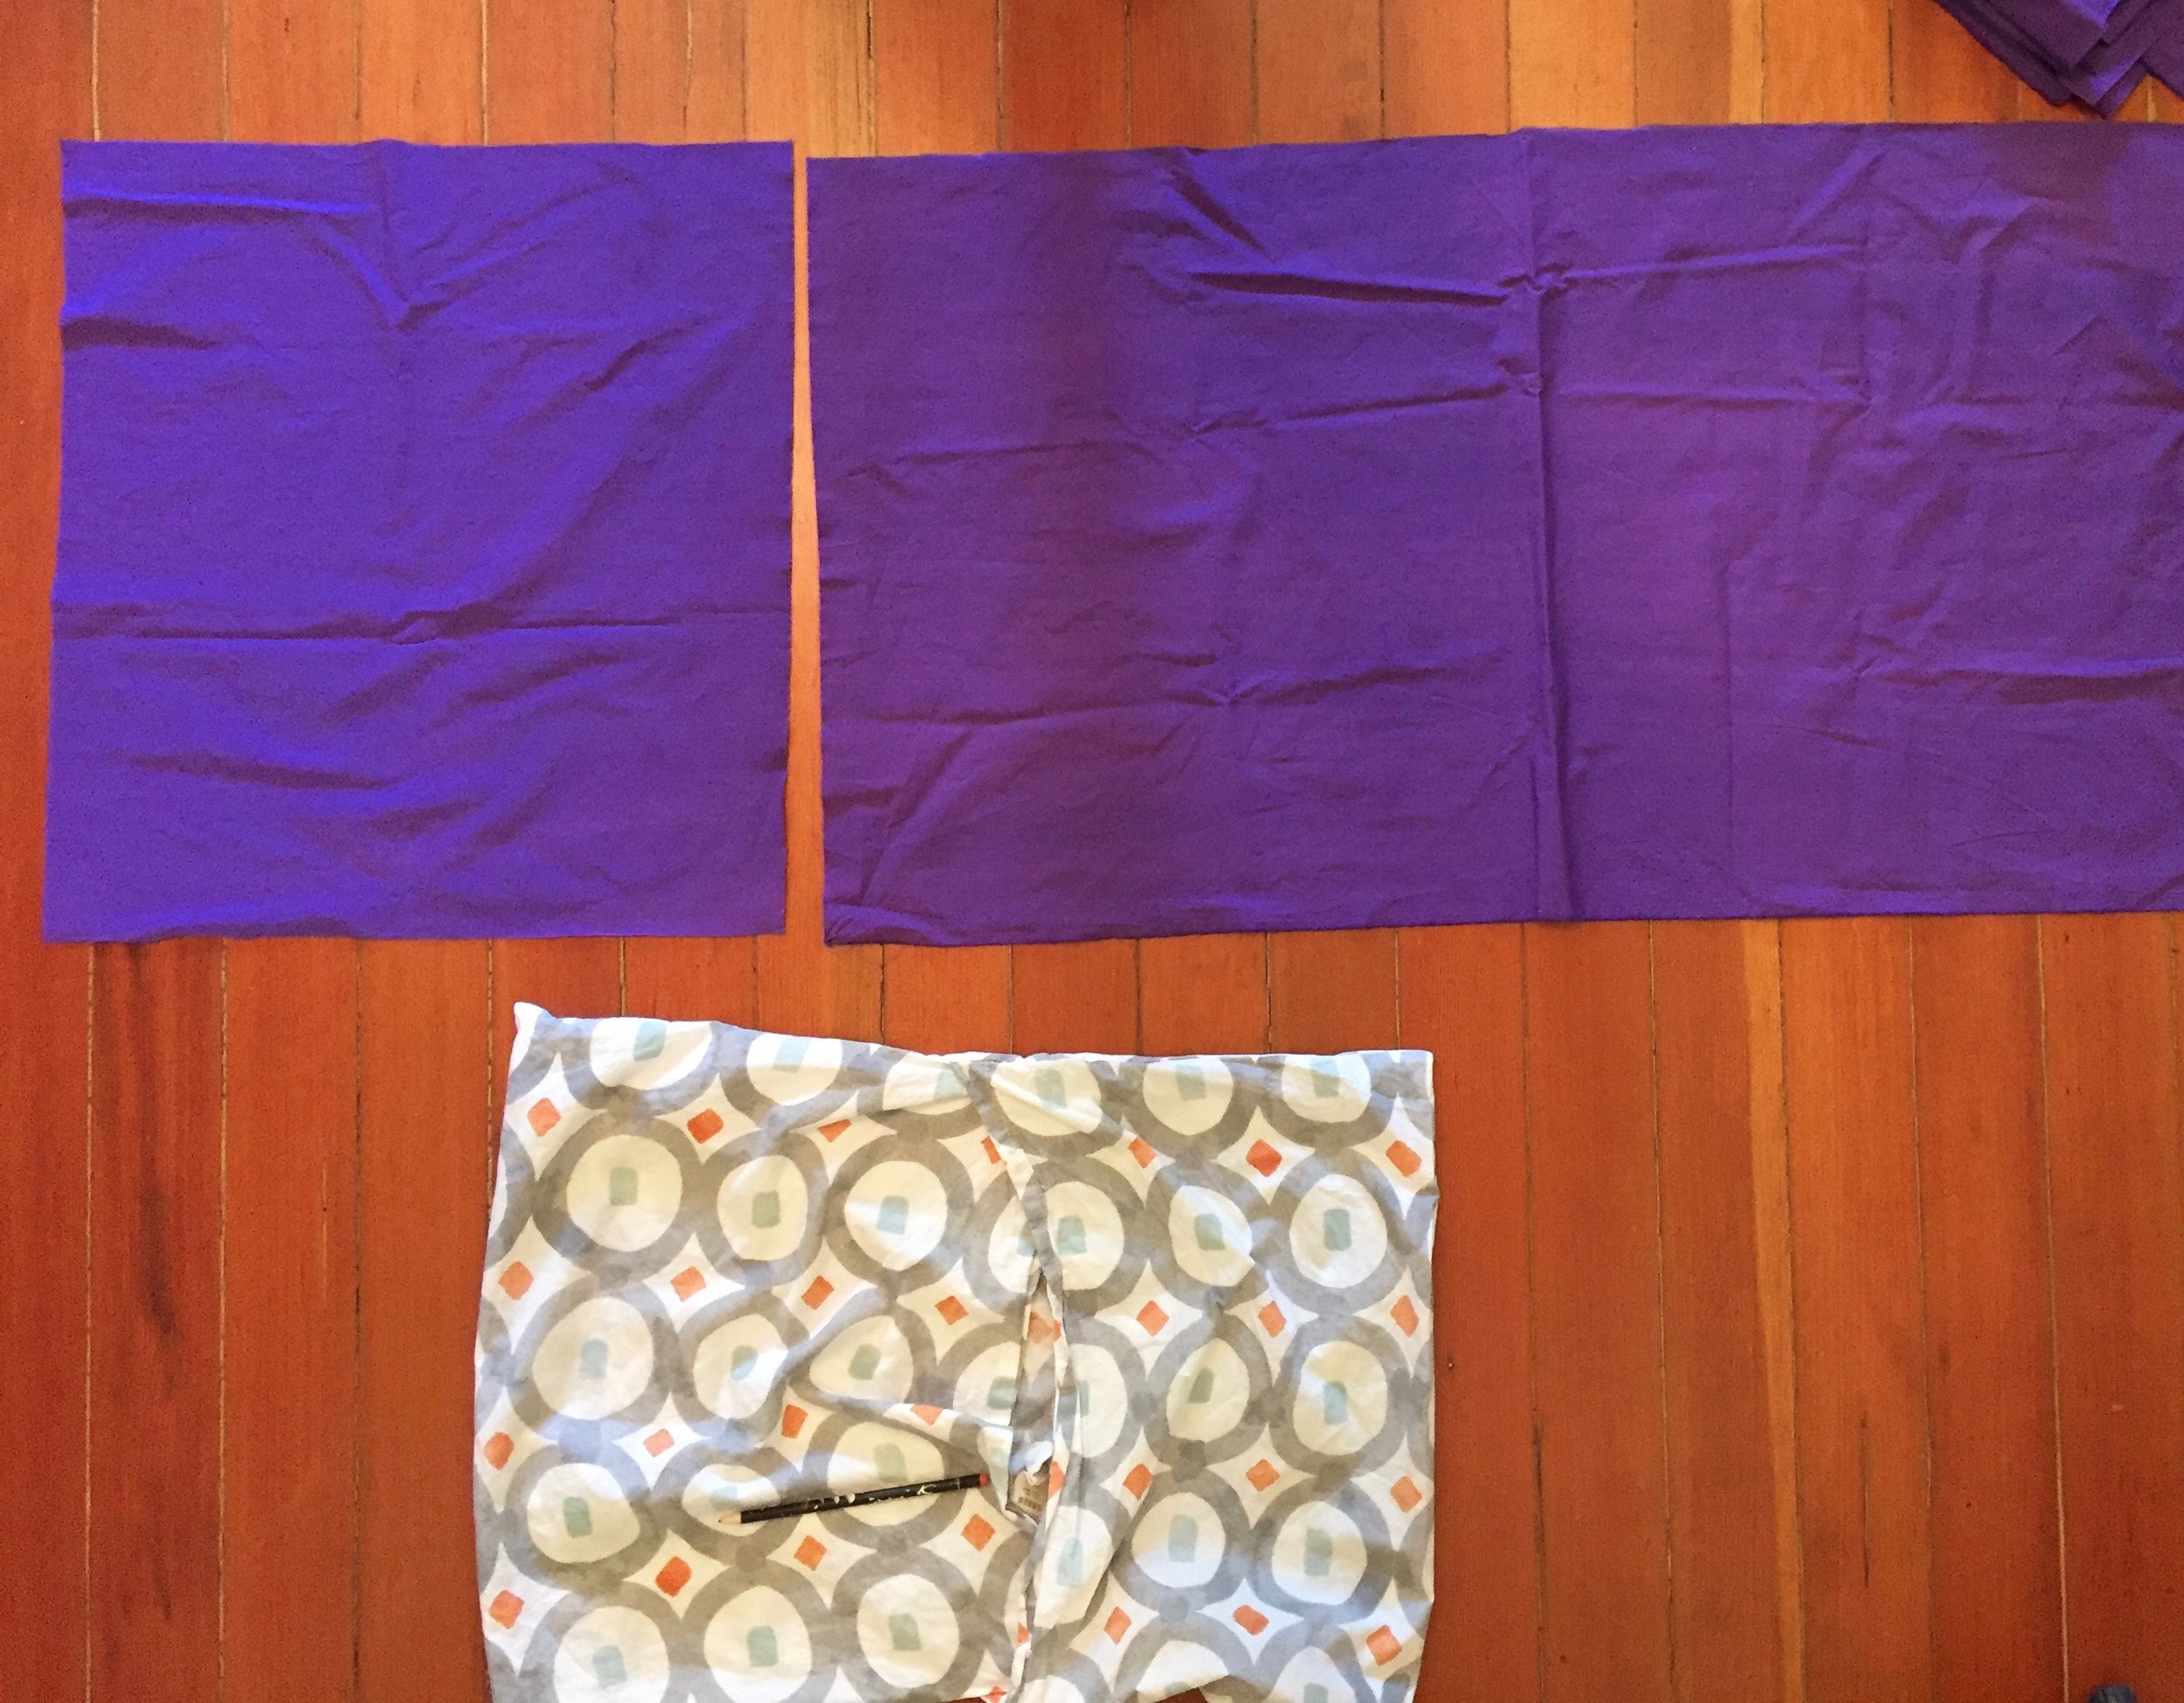
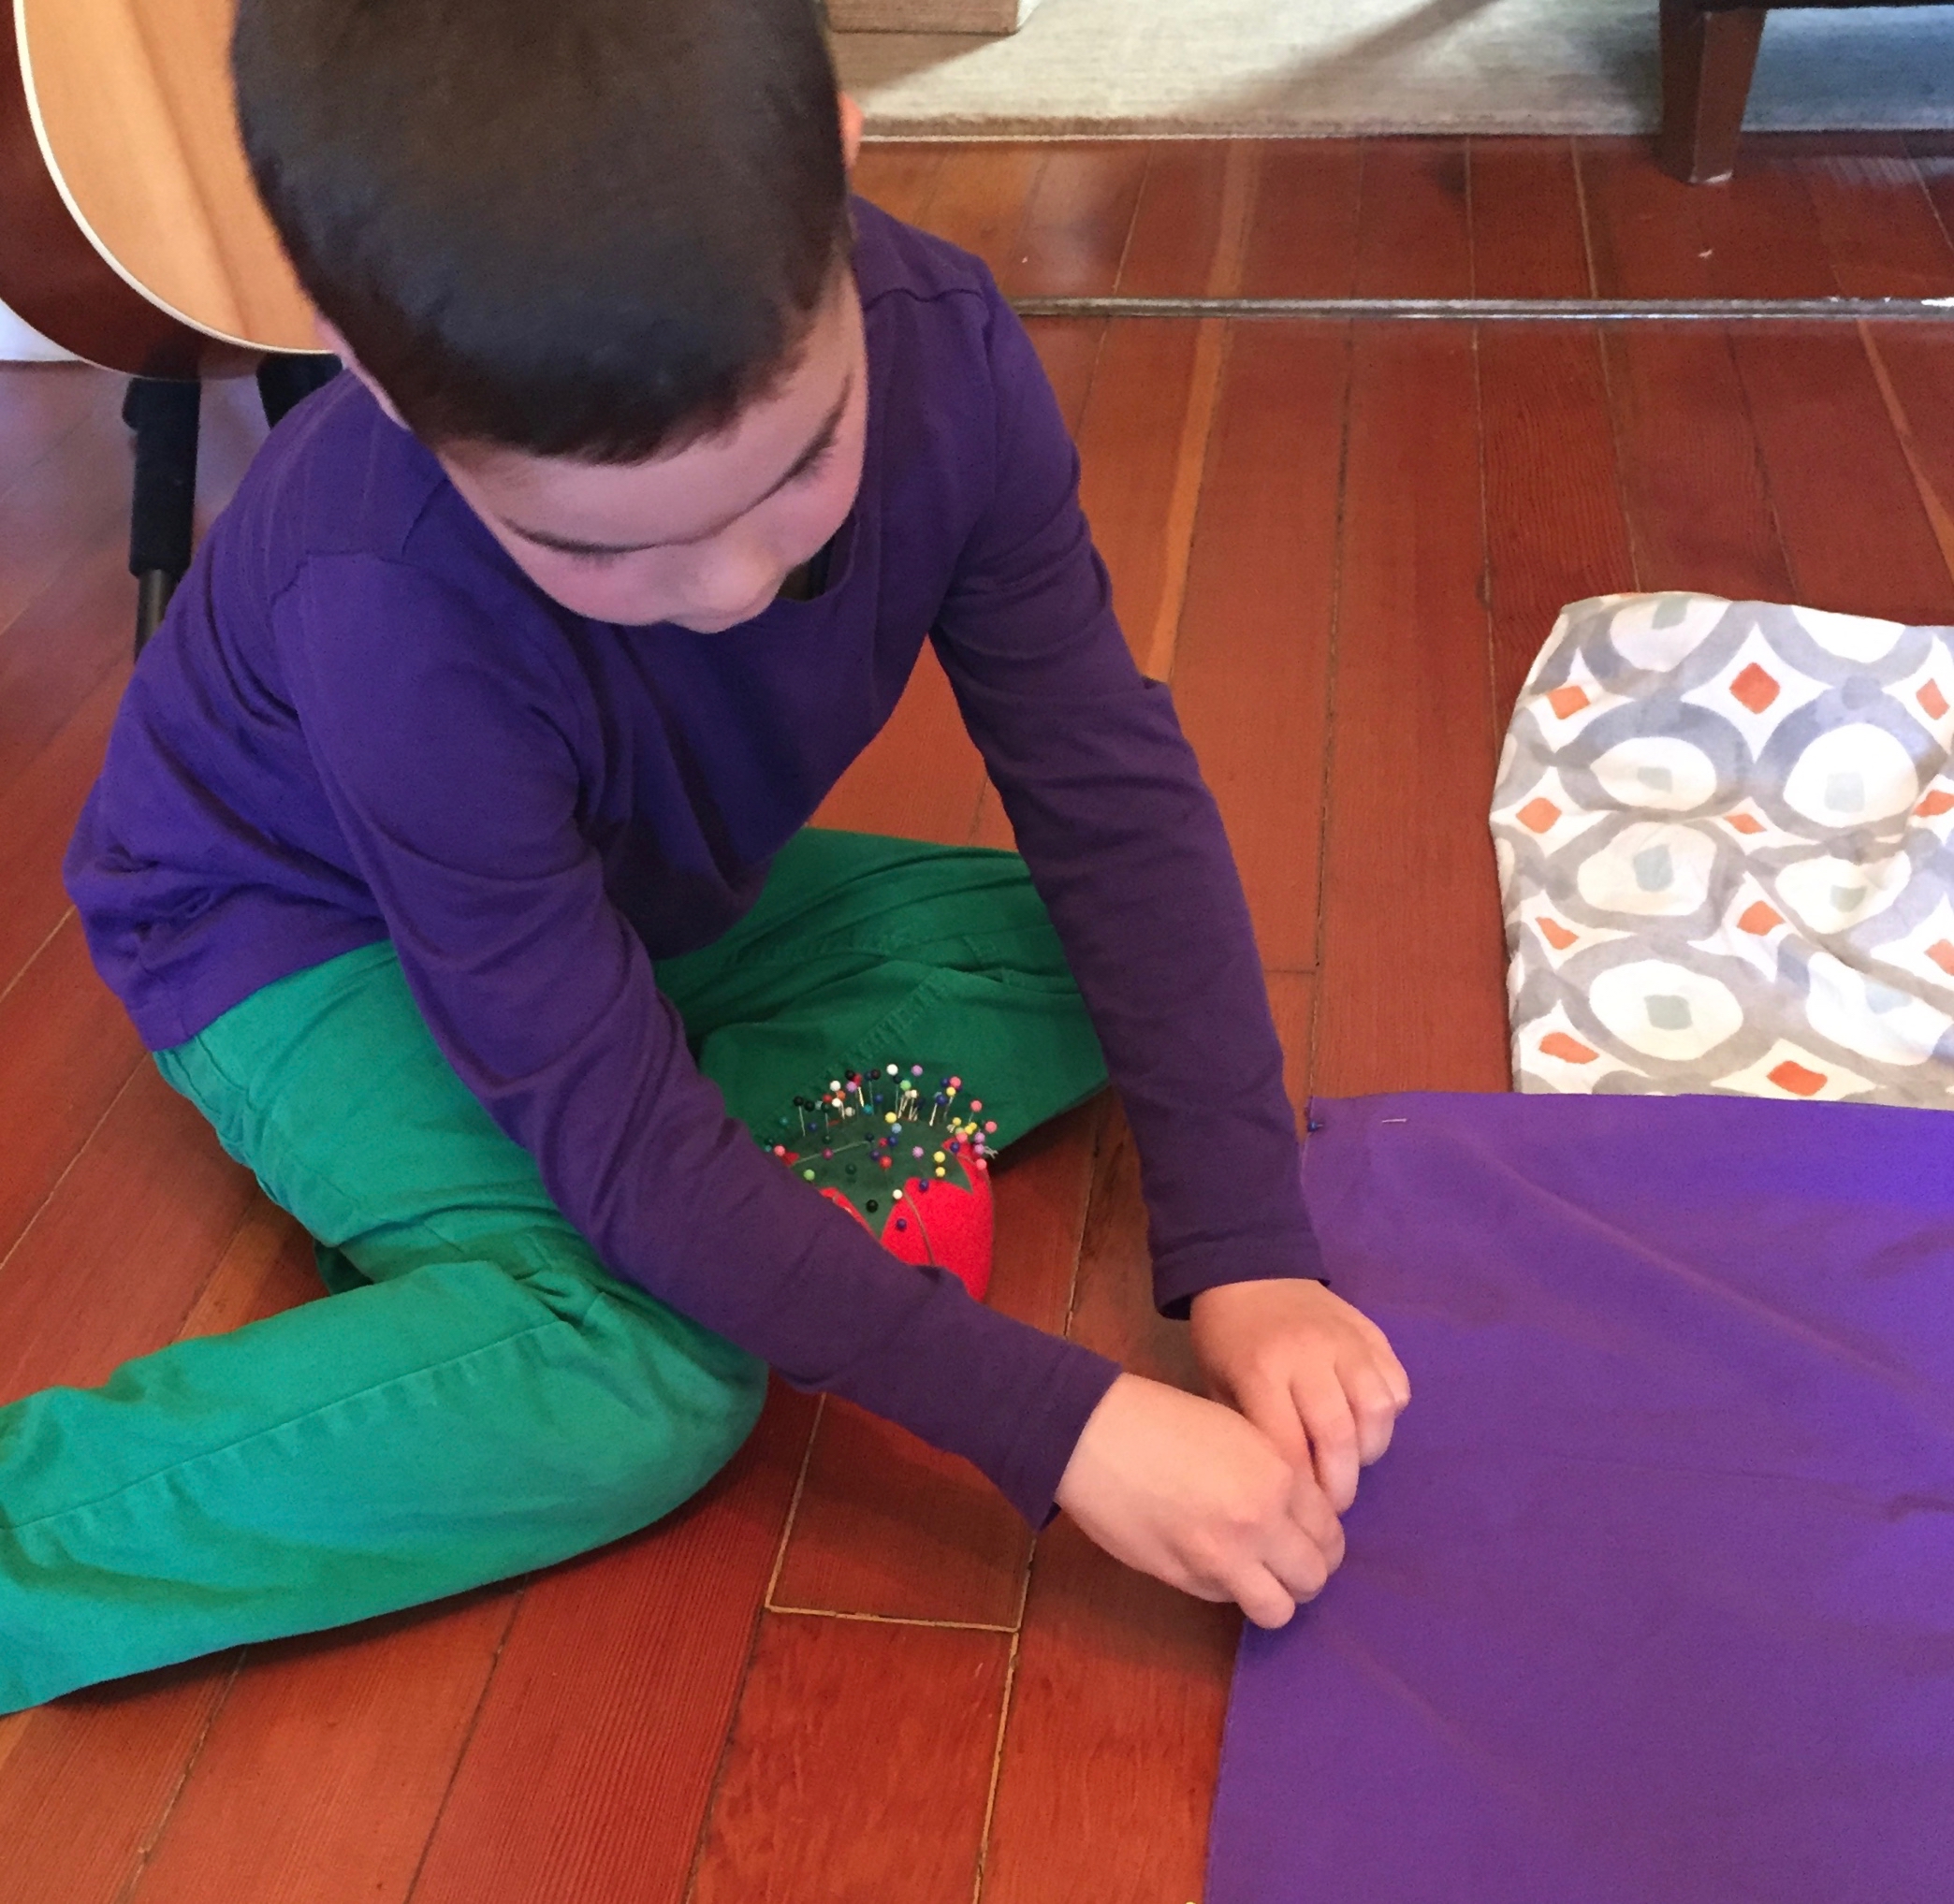
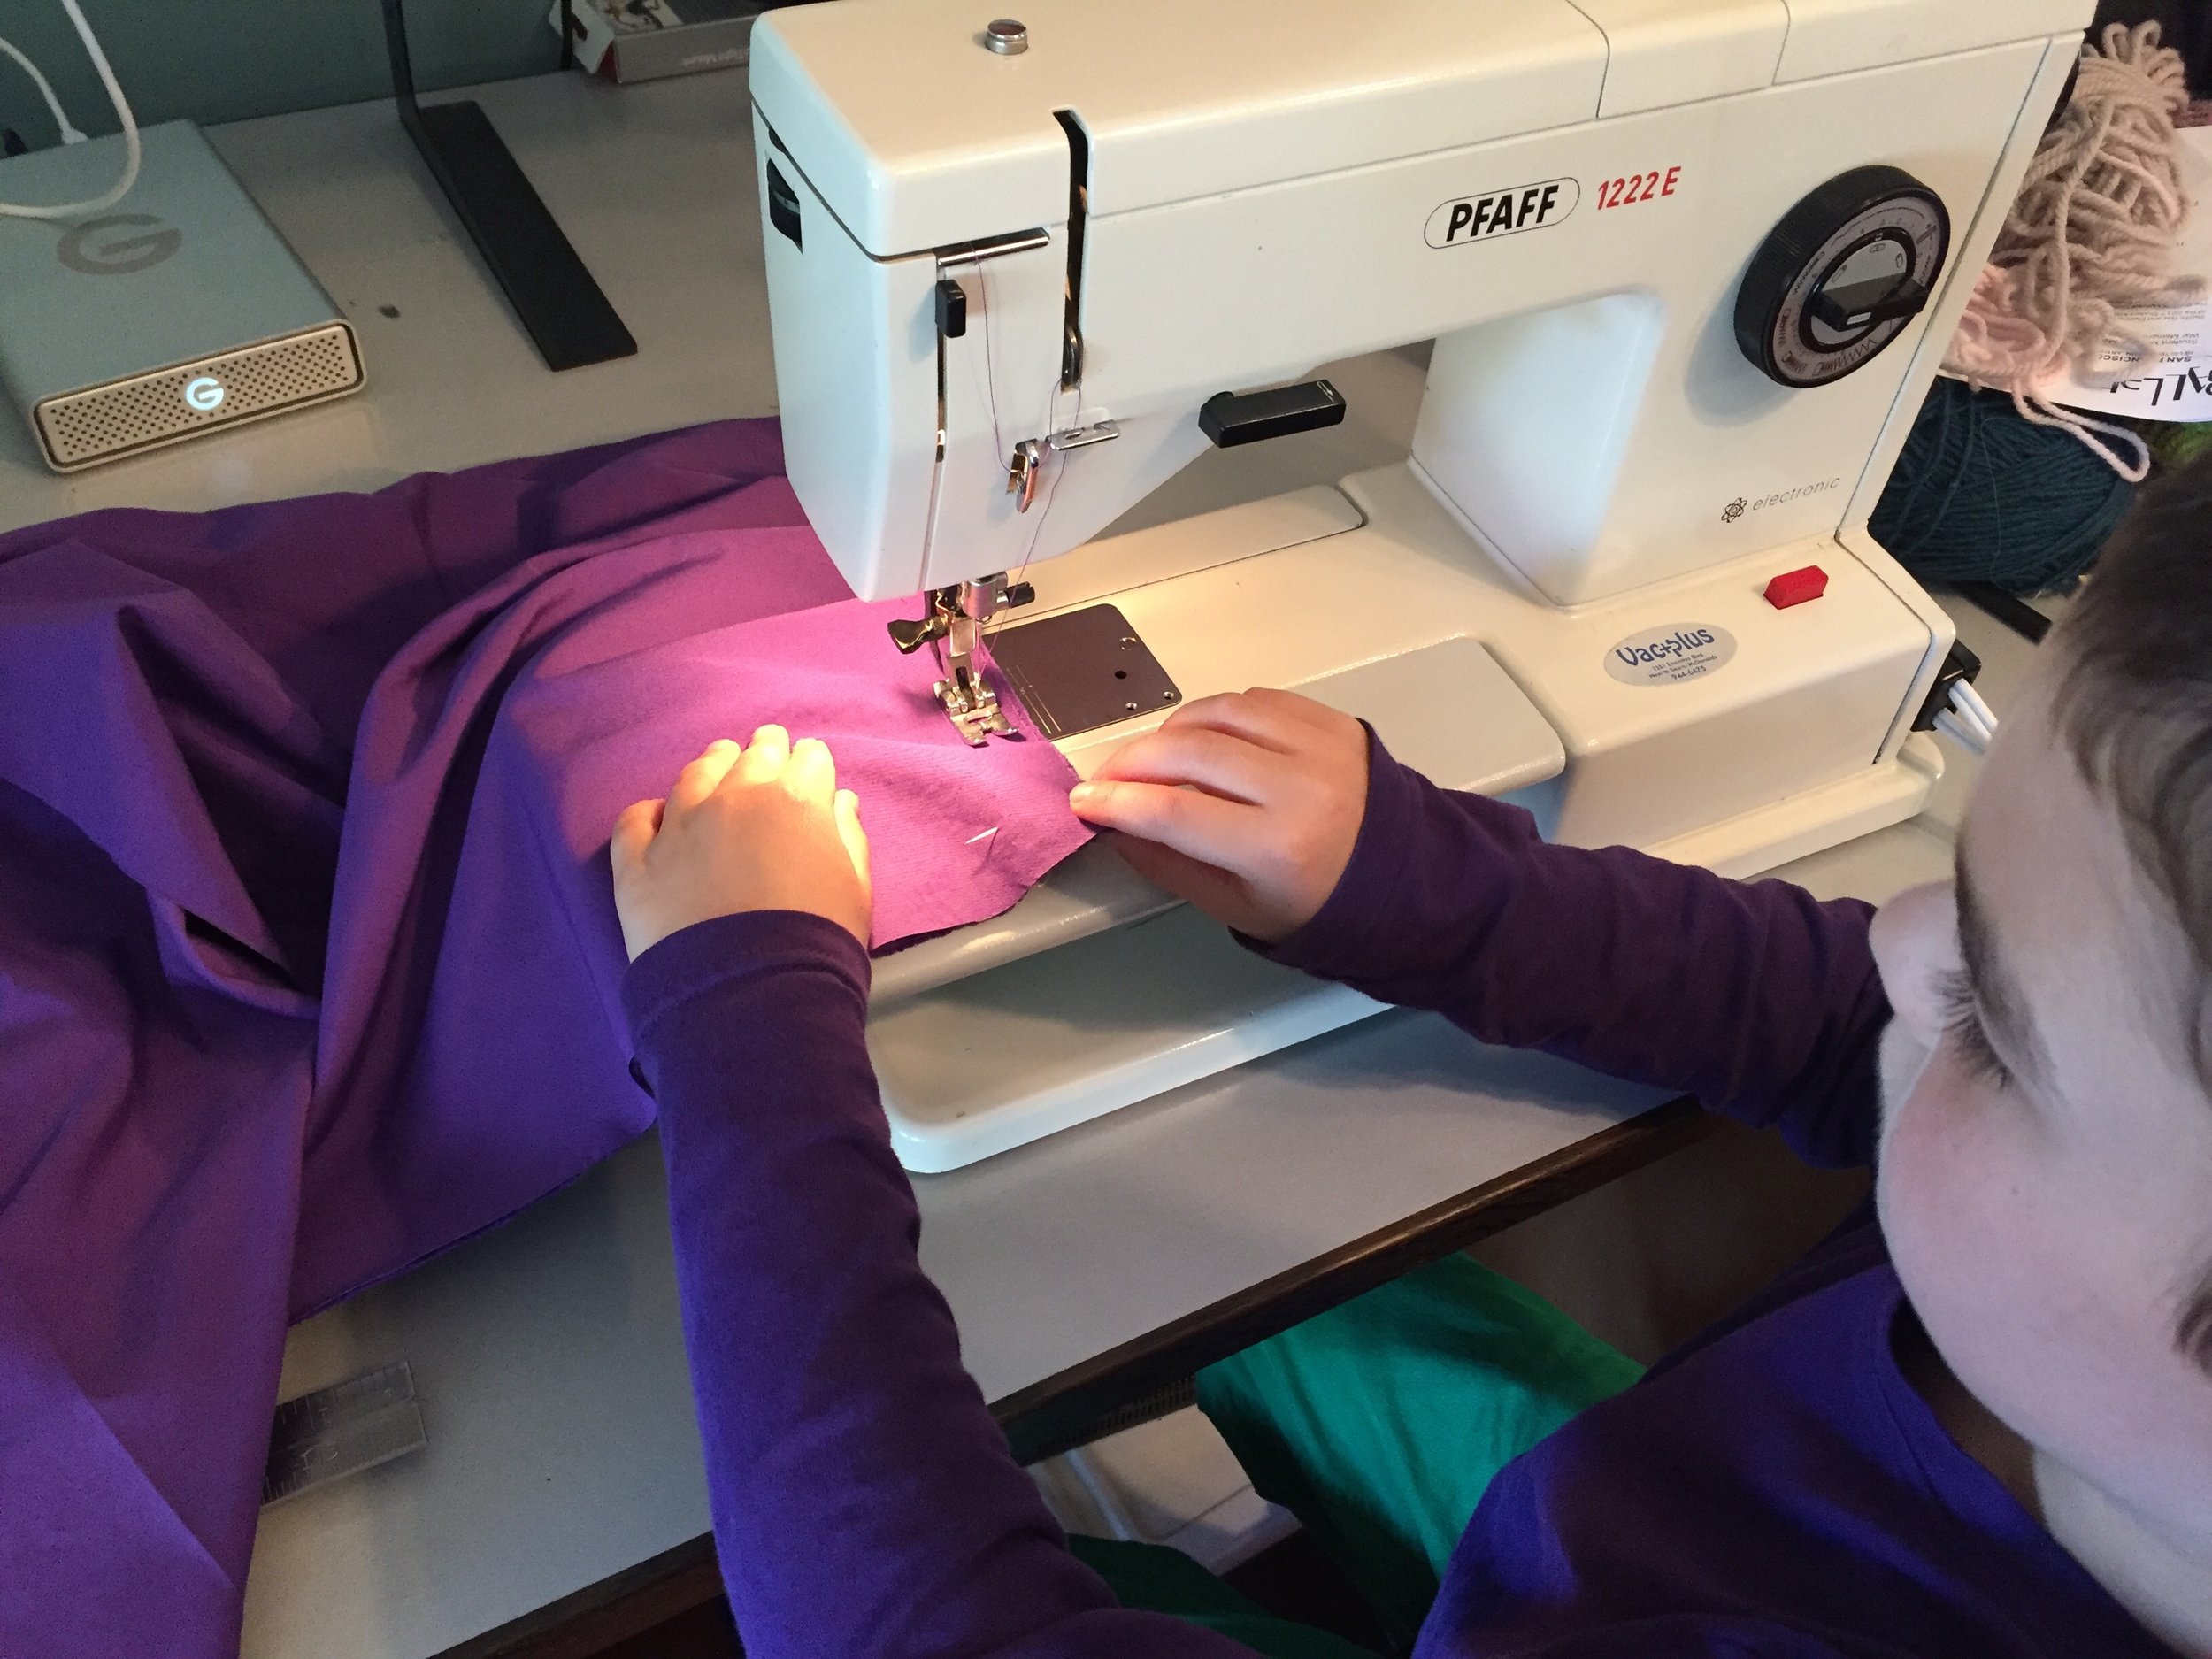
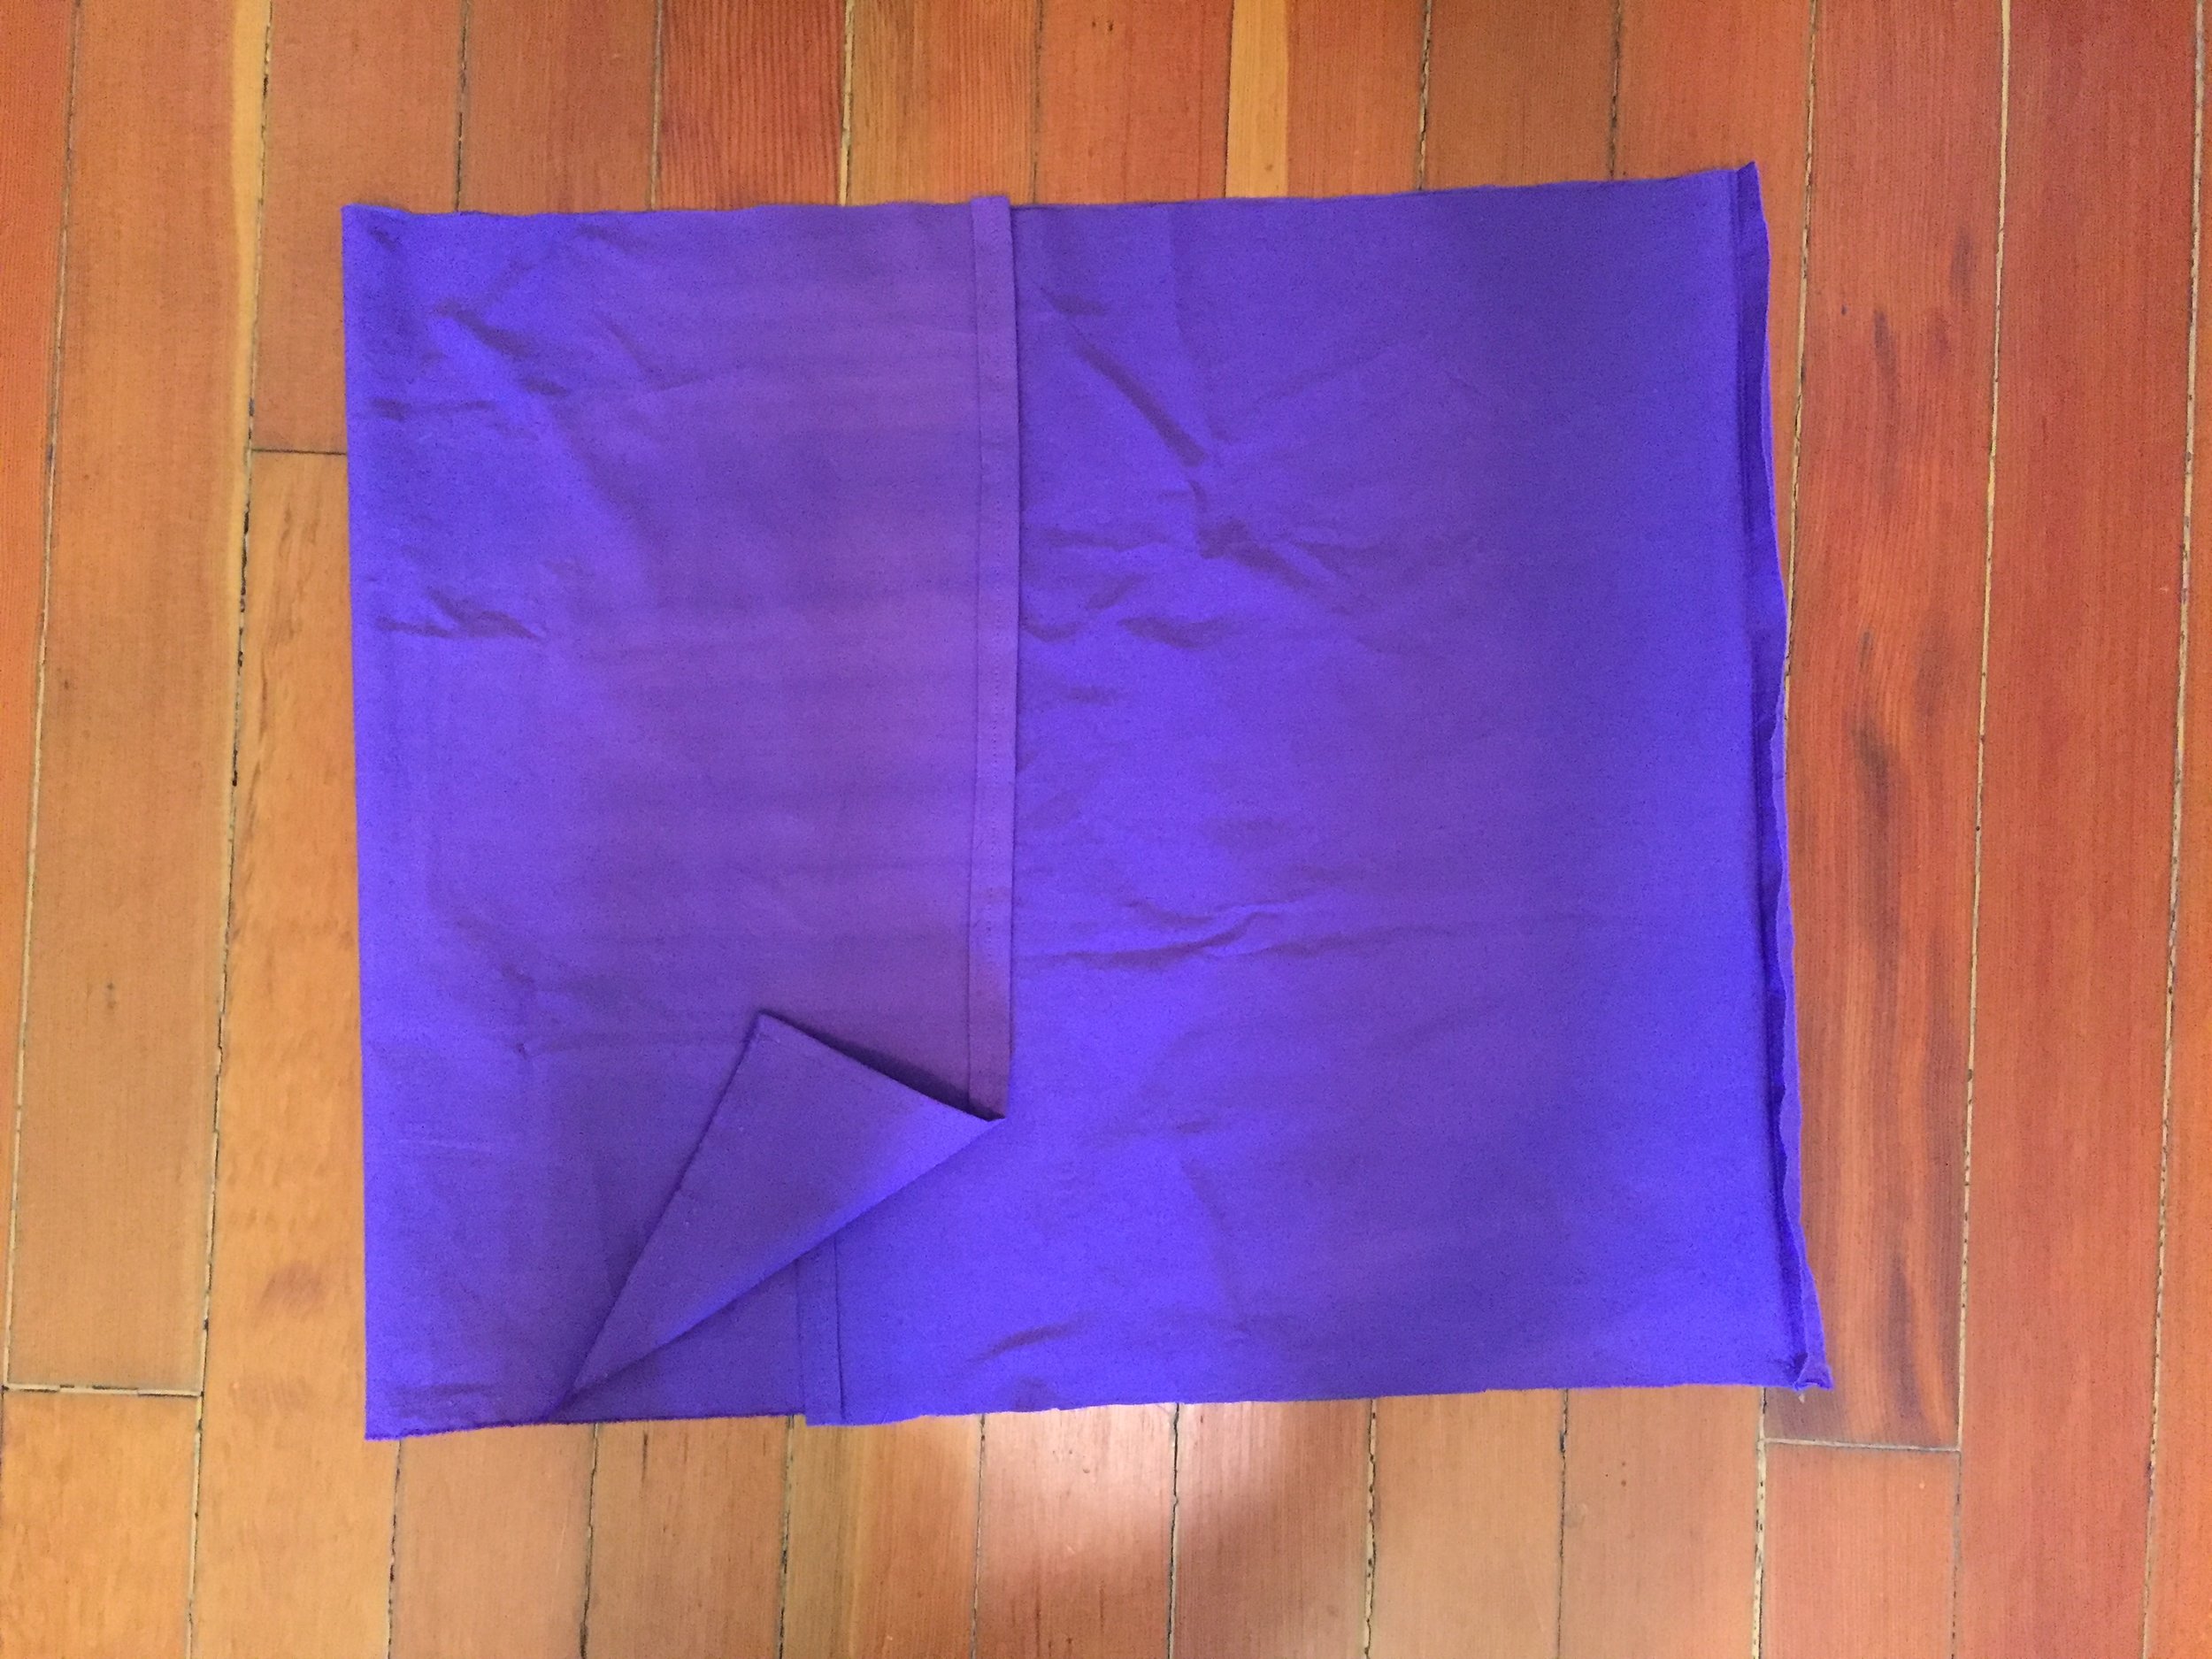
For each standard-sized sham, I cut one rectangle that was 21" tall and as long as the fabric. Then, I cut another smaller rectangle that was 21" tall and about 2/3 as long as the pillow. Wyatt and I pinned the two rectangles together and seamed them with a 1/2" seam allowance. That seam falls at the pillow's end. Wyatt pressed it open. Next, we ironed, pinned, and hemmed the raw edges that would form the opening for the pillow. The next step was pinning the final two seams of the sham. I wish I'd had more overlap at the opening (it seems like about 5" is ideal), but you get what you get when you "measure" using mostly your eyeballs. Once again, Wyatt and I concluded it was fine. Wyatt stitched these seams as well.
If you do this project, you may want to trim the seam allowances (we didn't). Turn the sham right-side-out, paying good attention to the points of the corners, and you're done (unless you feel it needs more ironing). The second sham took us about 90 minutes to make. The first one was closer to 2 hours. Your mileage may vary.
My friend, Pam, who writes a blog called Mathy Moments, came to mind as I was working on this project with Wyatt. After all, this project is FULL OF FUN MATH. (Please visit Pam's blog if you think "fun math" sounds impossible, or if fun and math are already synonymous to you. She's got you covered, either way.) With Wyatt, I kept things conceptual and simple, and I didn't get hung up on precision. Too many details would have derailed our momentum and postponed dinner indefinitely. Still, we talked about shapes, what seams we should do in which order, how we should arrange the seams and hems so they'd all be on the wrong side of the fabric, how the sham we were copying was made, how to measure things, how to get straight lines, and how drawing straight lines on on fabric (instead of paper) makes things trickier. Wyatt also got to experience how you kind of have to counter-steer a sewing machine to find a straight line after you've lost it, and how if you use more fabric for your seams, the pocket for the pillow will be smaller.
I think the big lesson, though, is that using a sewing machine is super fun, and enjoying new pillow shams you made yourself (that also happen to match your new clothes from Primary) is pretty great too.


