Masks Matter! Patterns & Tips To Make Your Own #masks4all
You have read this article from GetzWell Pediatrics, right? It has pretty much everything you need to know right now about masks, including why everyone needs to be wearing one. I promise, it’s worth your time, so hop over there and read it if you haven’t yet.
If you already have a Vogmask or something similar, use it. If you’re like us and don’t have one, homemade masks have been shown to work great! Whichever route you choose, remember: No hoarding, buying, or using N95 type masks or other personal protective equipment that health workers need!
No-Sew Mask Options: If you aren’t up for sewing, you can tie a bandana or other woven scarf around your nose and mouth when you go out. Or you can easily make this no-sew-mask with things you have in your home.
Sewn Mask Options: In the last two days, I’ve made two different styles of masks. Here’s my take on both
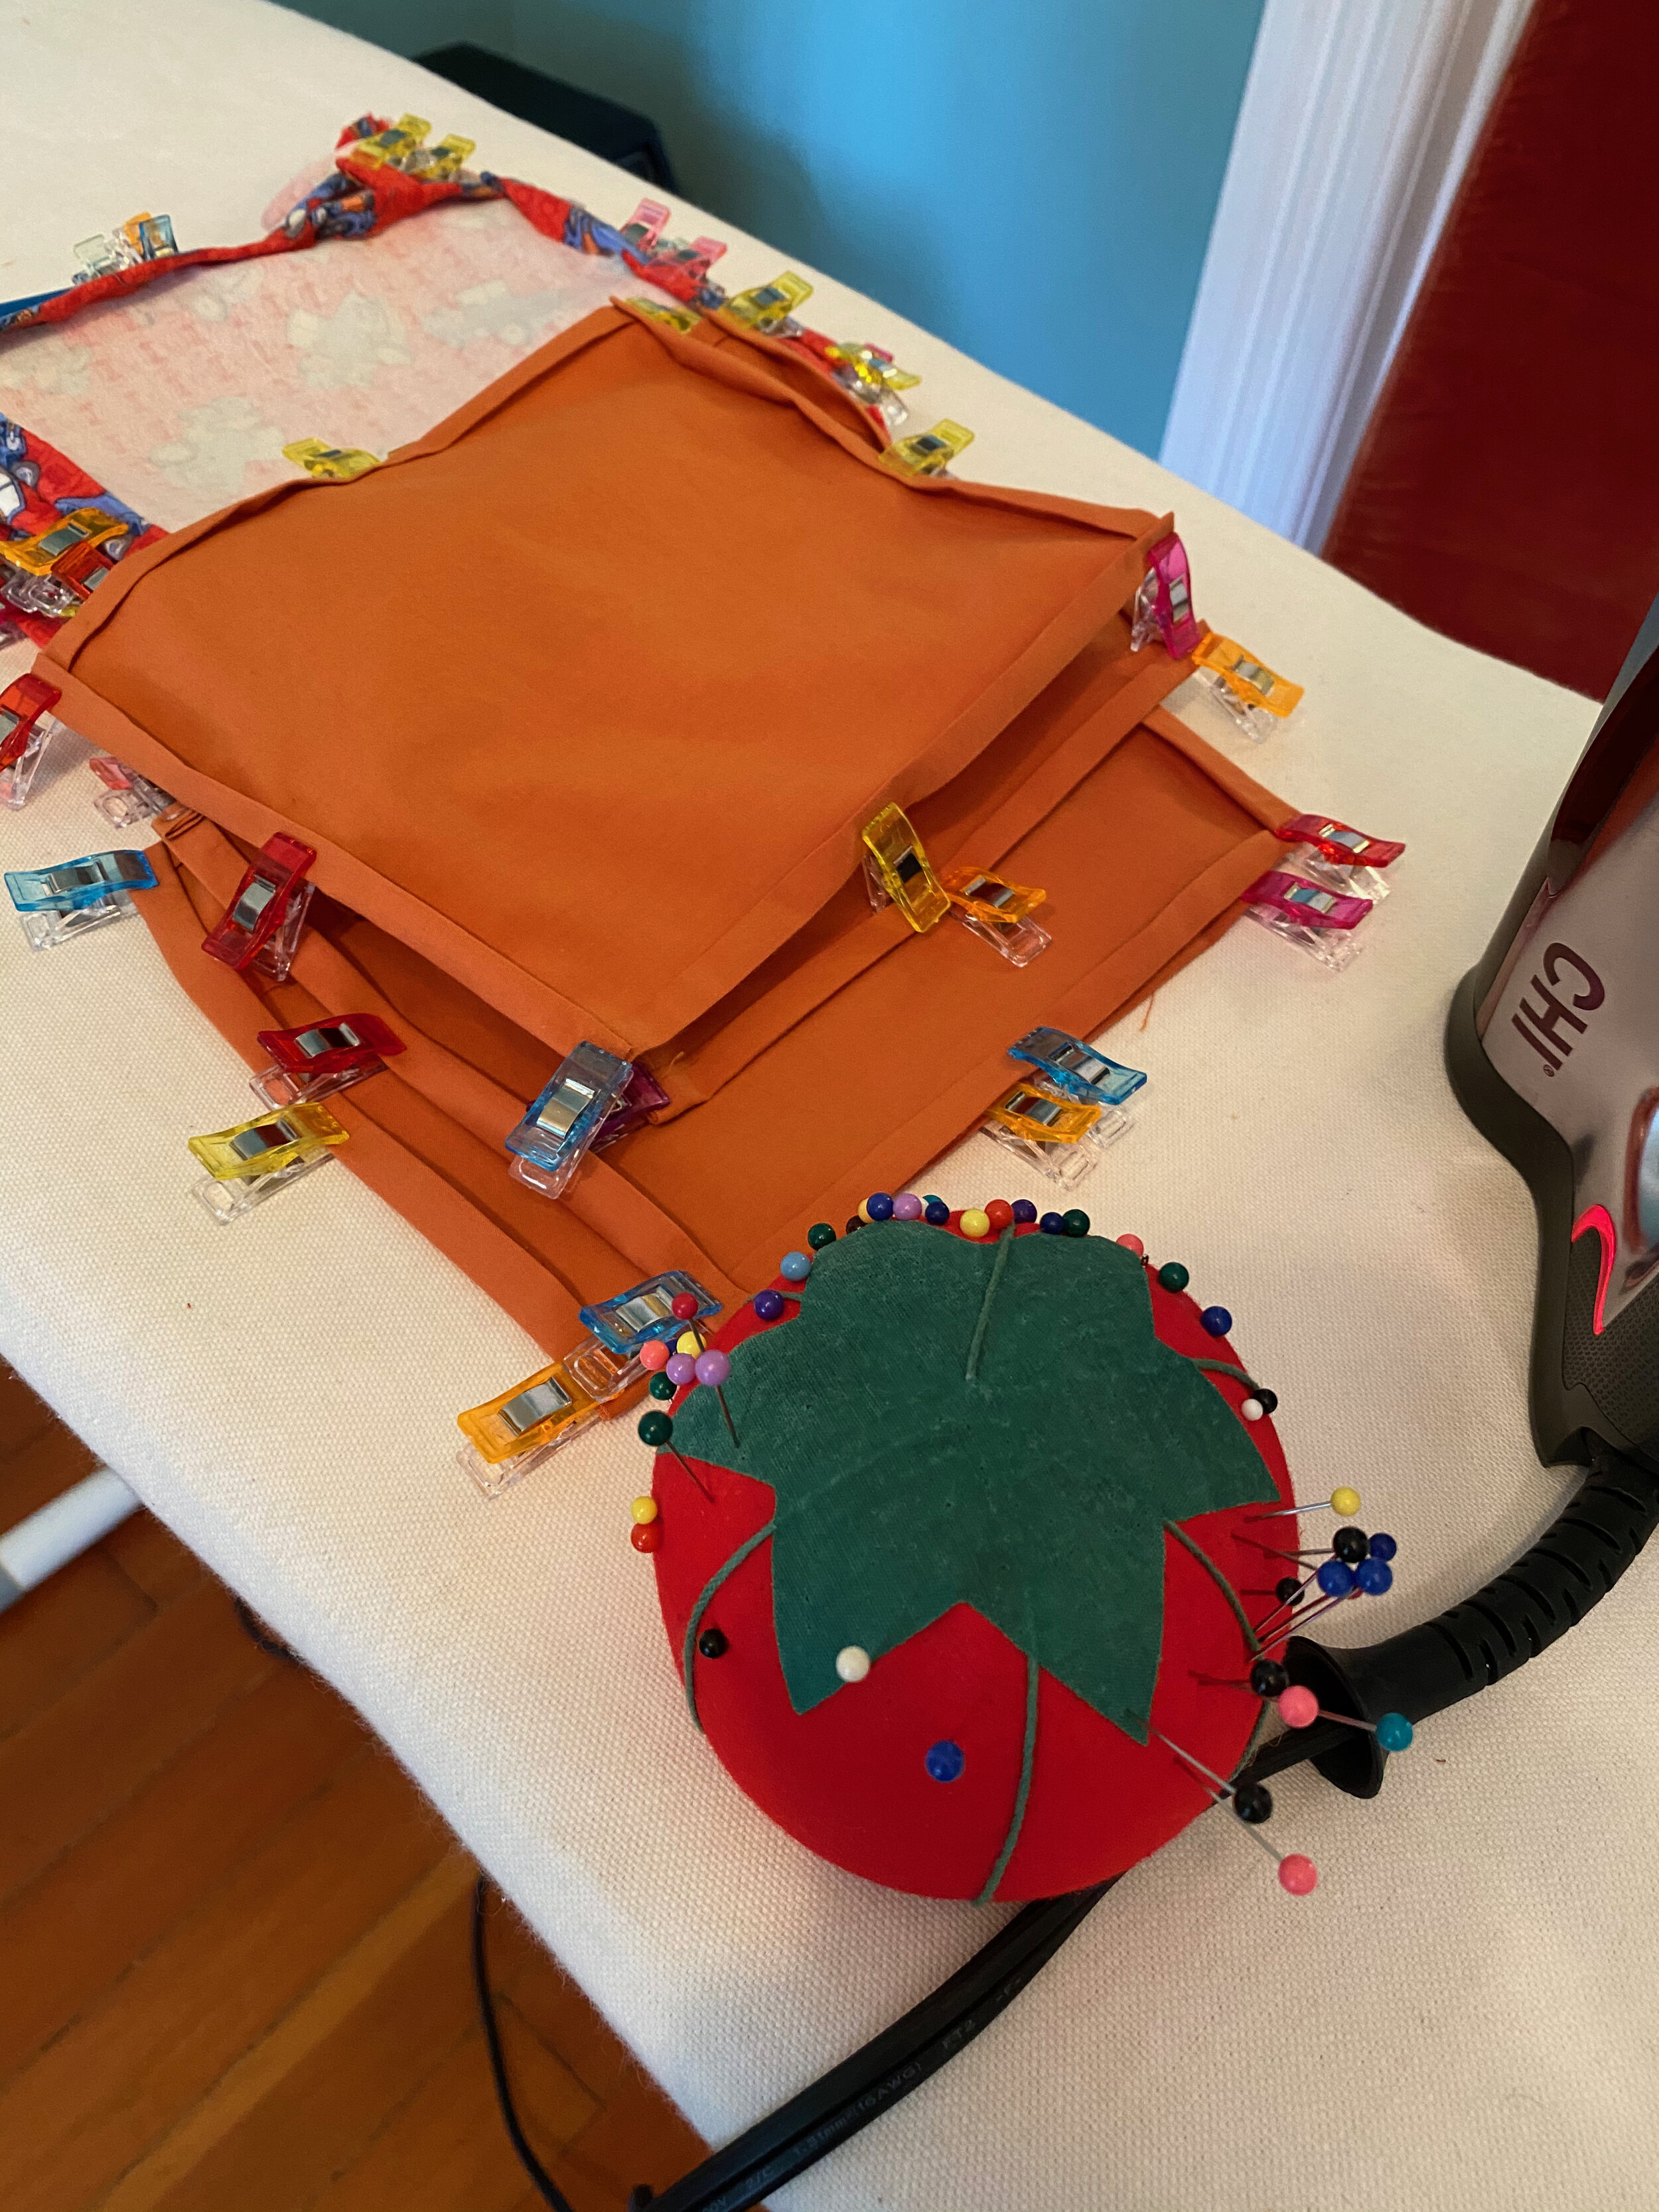
Rectangular: The first style I made is a pleated rectangular one with elastic loops that hook around your ears. I made these masks in response to a local request for masks for healthcare professionals, and I made them according to directions that reflect their specific requests. I’m sure there will be some variation among healthcare professionals as to what they need in a mask, so if you’re looking to make masks for donation, be sure to ask for details on what exactly your recipients need. Here are the directions for the pleated rectangular masks I made. It’s a LOT of fabric to sew through on the pleats, and the finished edges are annoying to sew, but it’s basically one-size-fits-all.
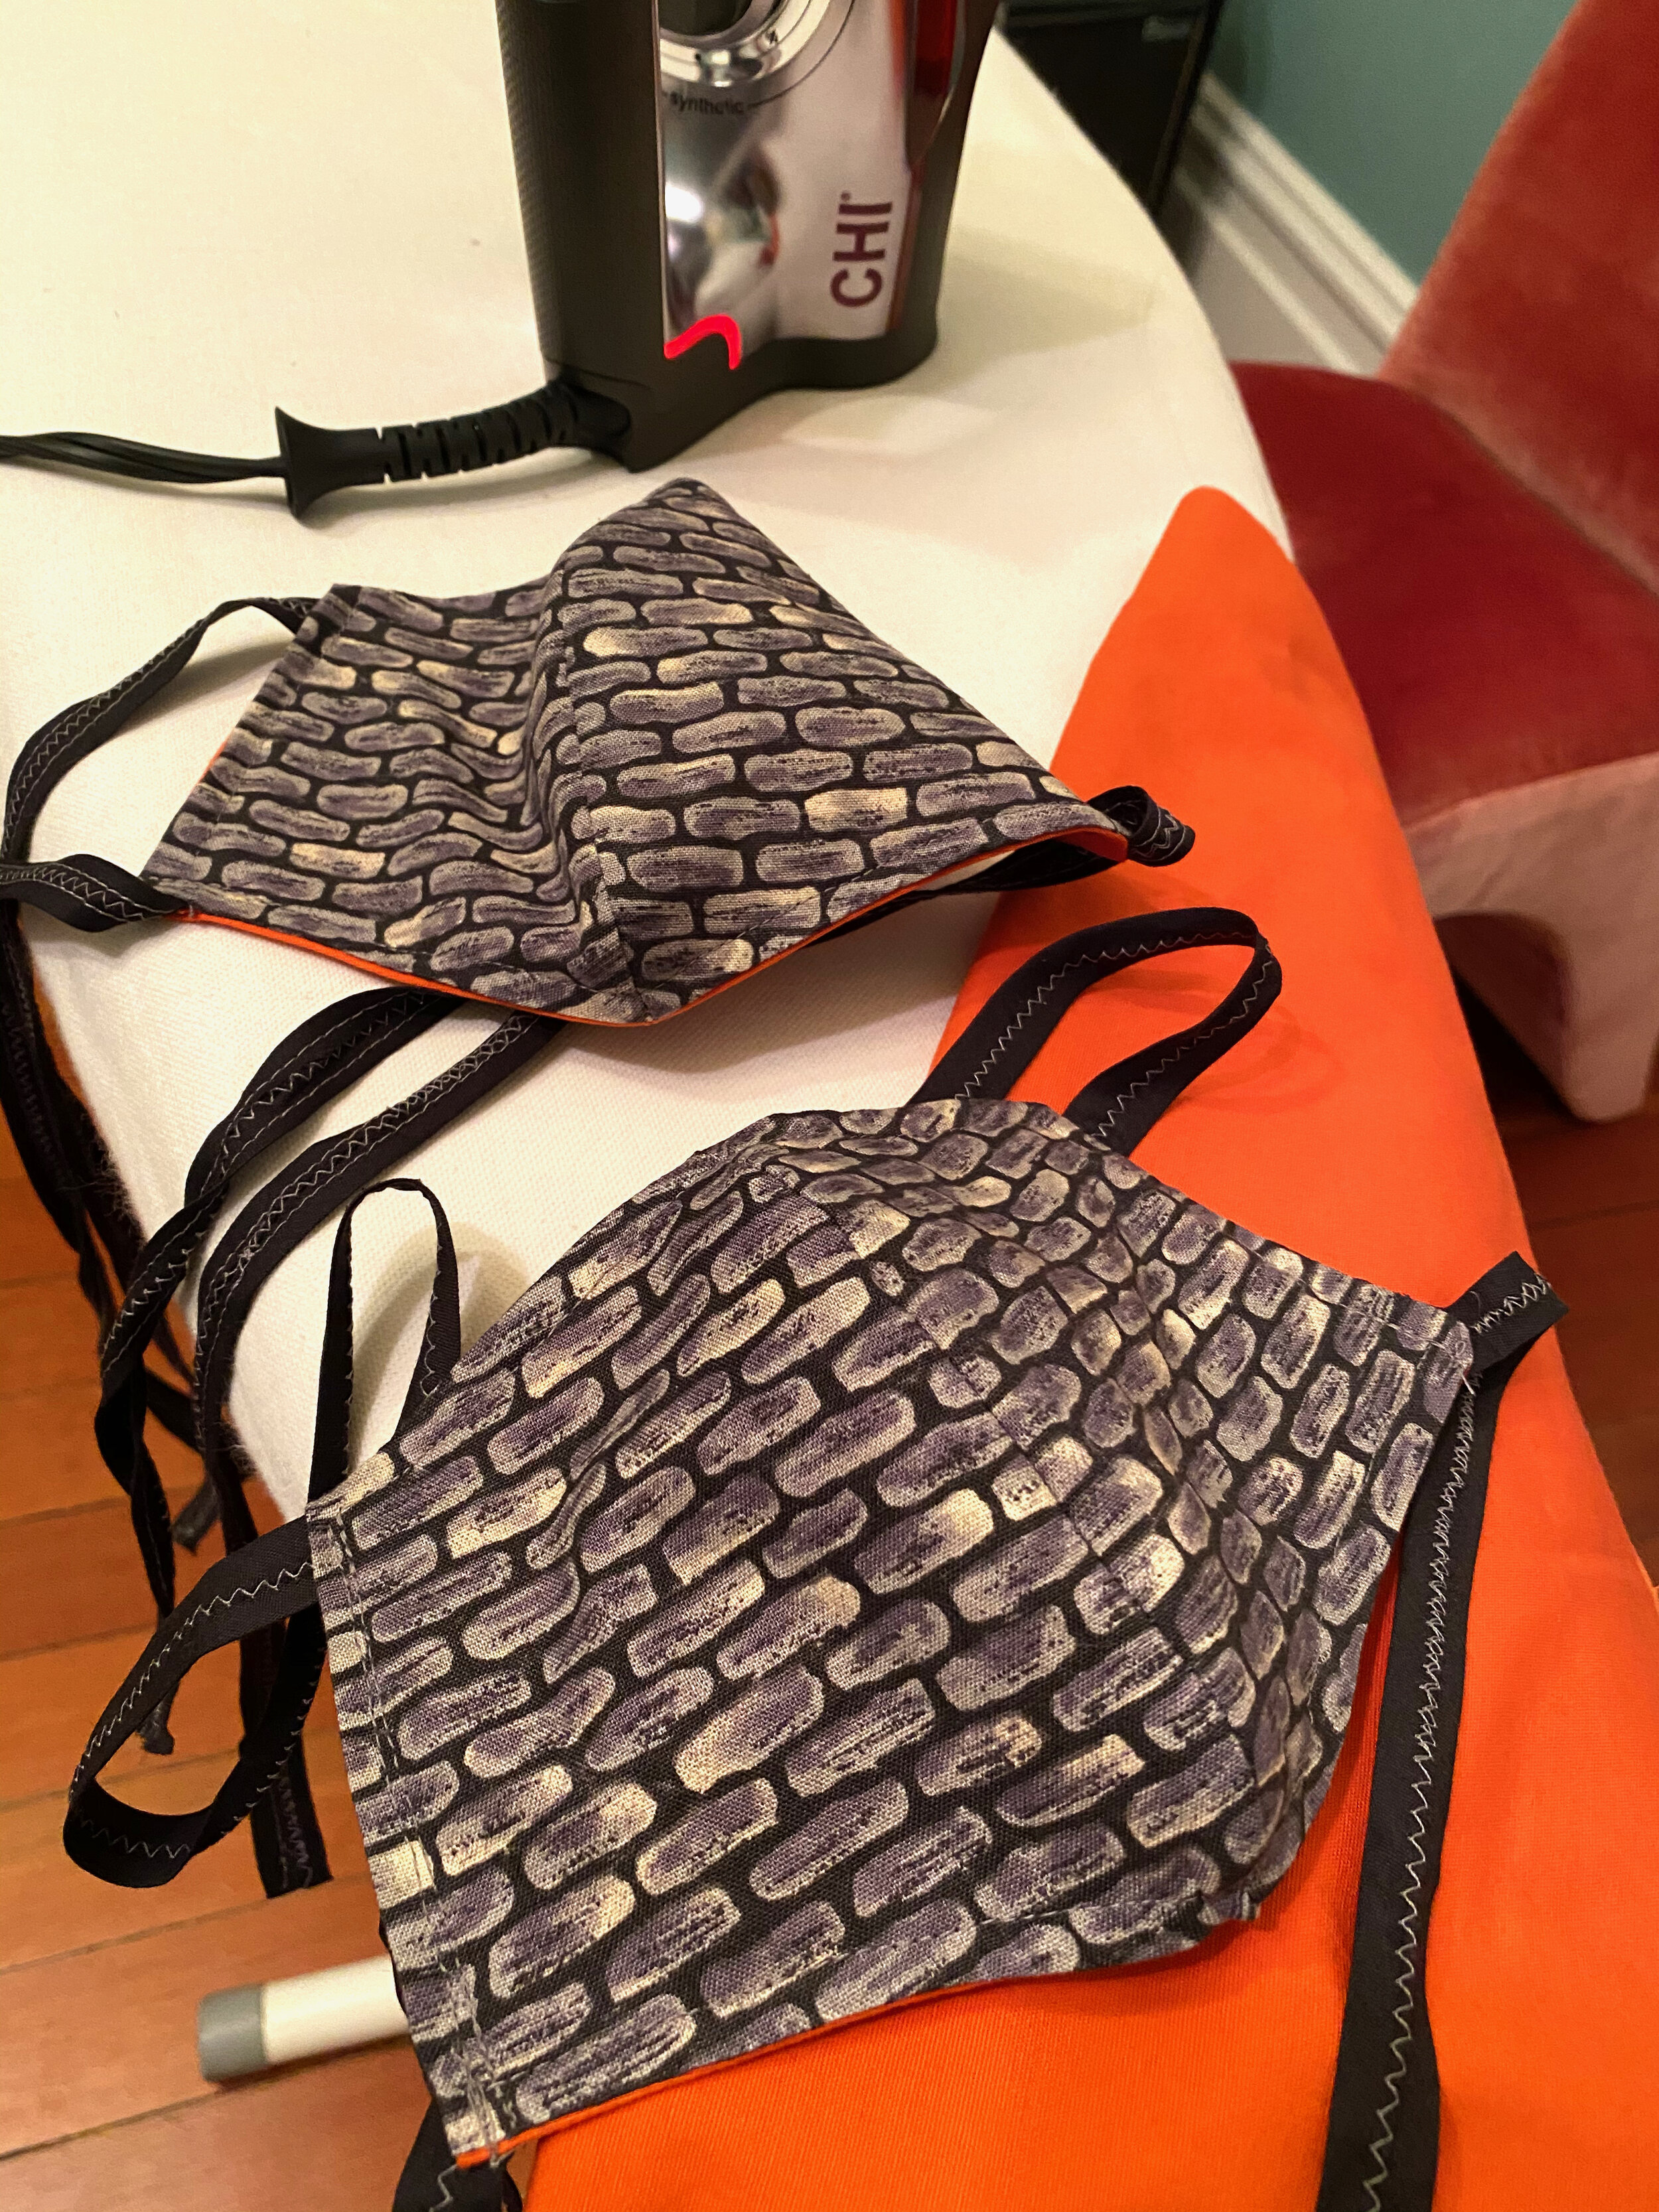
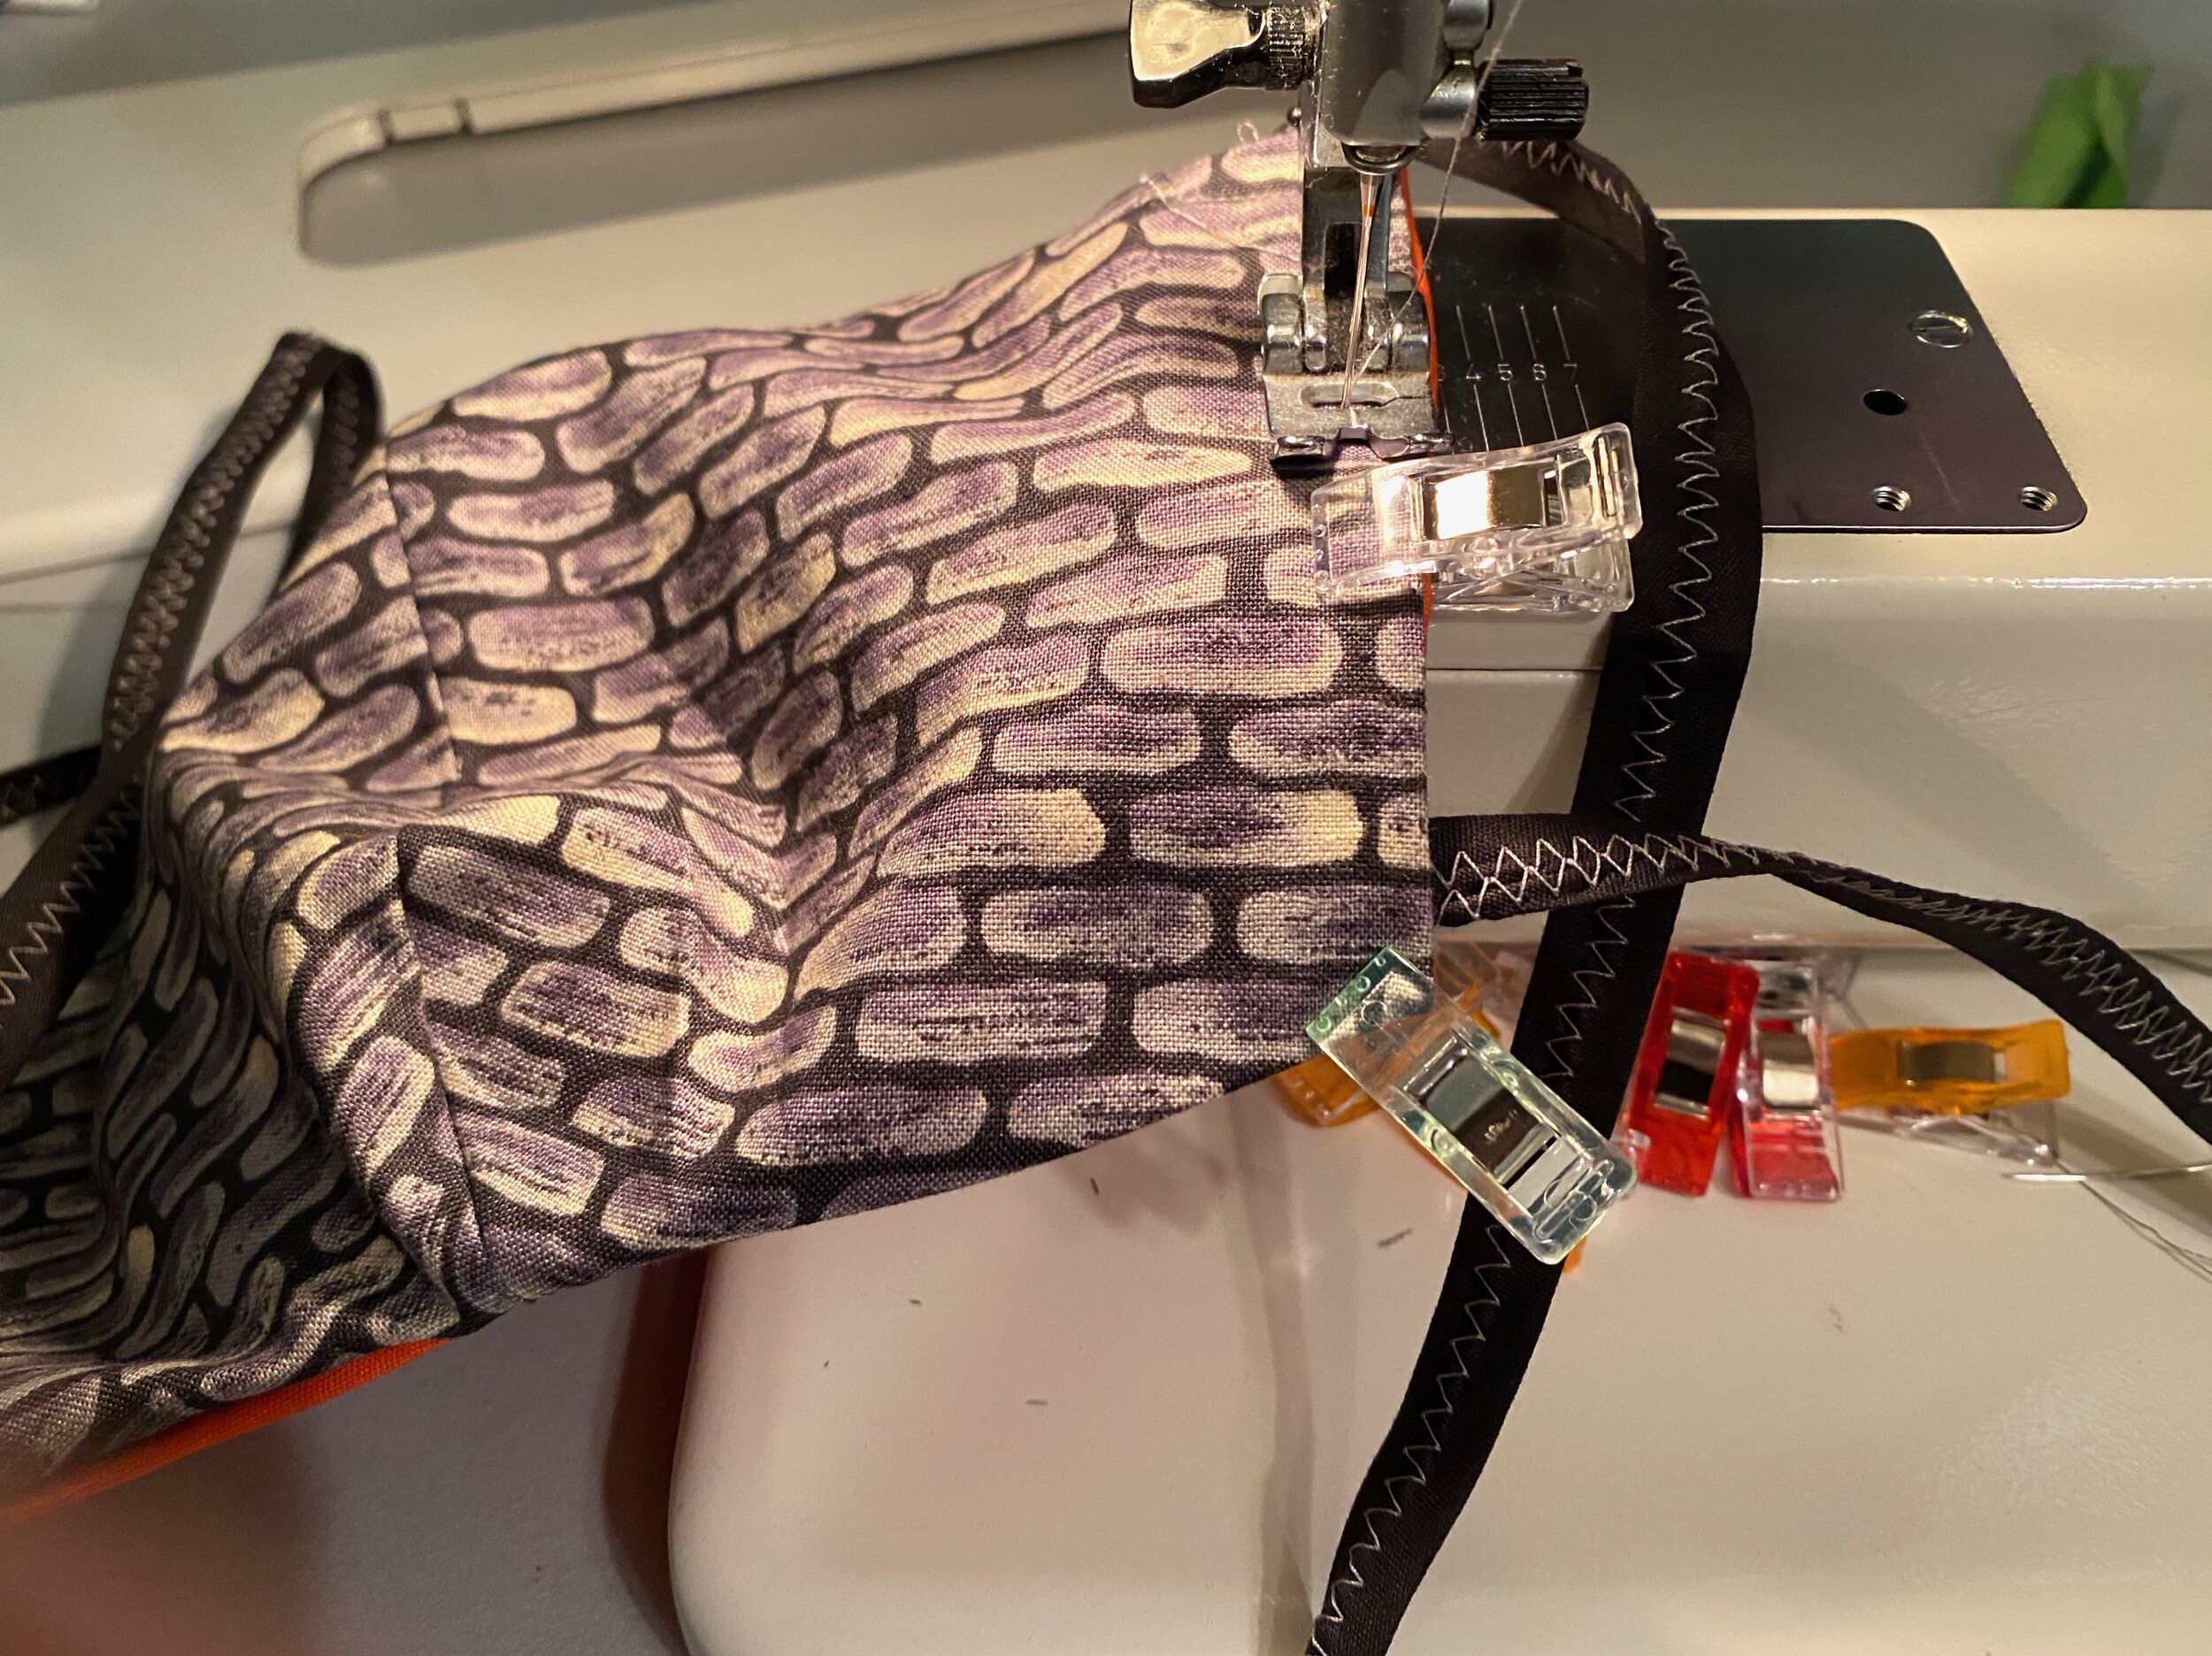
Fu Face Mask: The second style I made is the Fu Face Mask. It’s more of a dome shape, and it has shaped areas for your nose and chin. Unlike the rectangular mask that uses your ears as anchor points, in this style, one pair of fabric ties is stitched to the mask above your ears and goes around your head to tie, and a second pair is stitched to the mask below your ears and ties at the nape of your neck. We like these masks a lot. They fit us very well, are easy to sew, easy to fasten, and they stay put without fiddling. The pattern comes in different sizes, too, which means you can get a great fit.
The Fu Mask has two pattern pdfs you can download and print: Letter size and A4 size. When I printed both and compared them, the A4 size masks were a little larger than the letter size ones (I don’t know why, but they were). We like the coverage of the slightly larger ones, so I went with the A4. Here are links to my pattern pieces for S, M, and L sizes. I have added a 1/2” seam allowance on all sides. You can just print these patterns out, cut them out, and then cut your fabric to match the pattern (just remember to sew the masks with a 1/2” seam allowance).
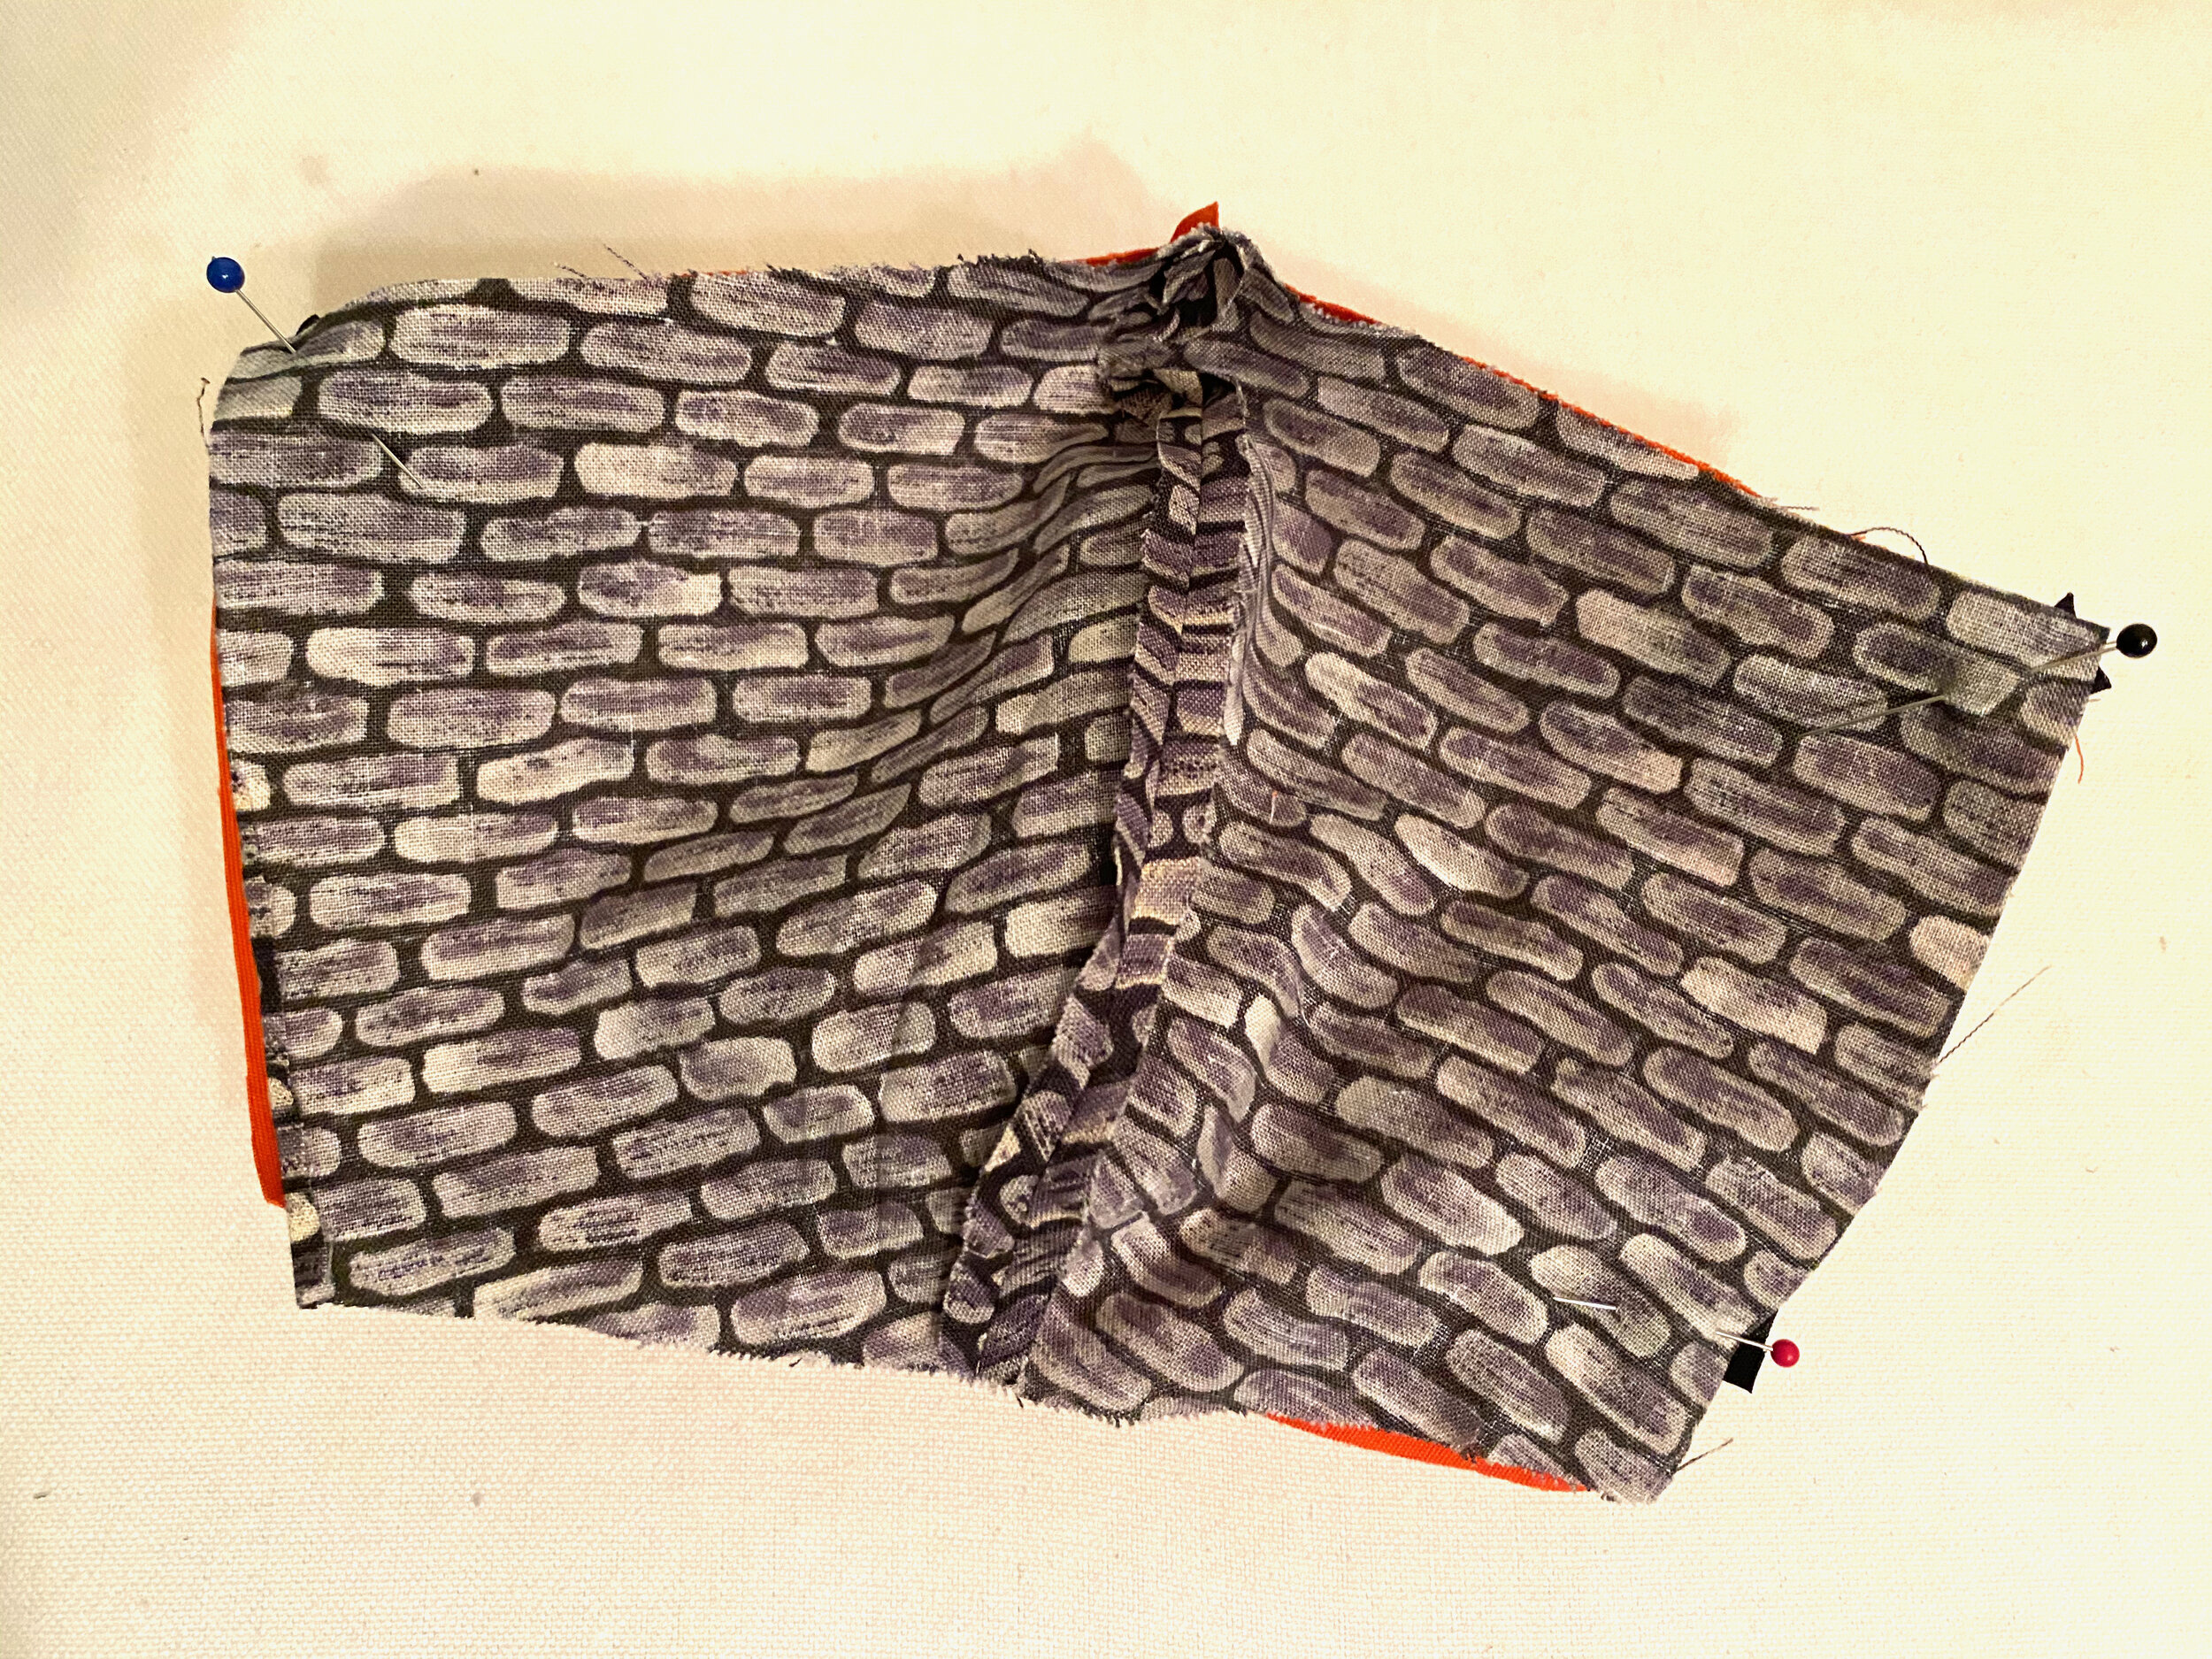
I am using tightly woven cotton fabric remnants to make our masks. I made the size S for Wyatt and for me, and the size M for Marc. My notes on how to achieve a better fitting Fu Mask are listed below, and photos are included at the bottom:
(1) If you want to add an initial (I did an M for Marc) to the lining before you start sewing to tell the masks apart, sew that first.
(2) When you sew the ties that will end up above your ears, place them at about a 45 degree angle (or steeper) so the ties will go above your ears, not across them. If you attach the ties horizontally, like they show you to do in the written tutorial, you may find the ties go directly across your ears (uncomfortable), and that once you tie the strings, they slip down (annoying and ineffective).
(3) Cut your ties to be 15 inches long (or longer if you have a bigger than average head). Their recommendation of 12 inches is too short for the noggins in this household. I used bias tape for the ties because I had packages of it in my stash. I stitched down the open edges before attaching the ties. You can also make self-fabric ties according to the instructions in the Fu Mask video.
(4) Pay attention to tie placement in relation to your seam allowances. I cut my patterns with a 1/2” seam allowance (1/4” is too stressful for the youngest sewist around here), so when I place the ties at the bottom, I need to pin them 1/2” away from the lower cut edge.
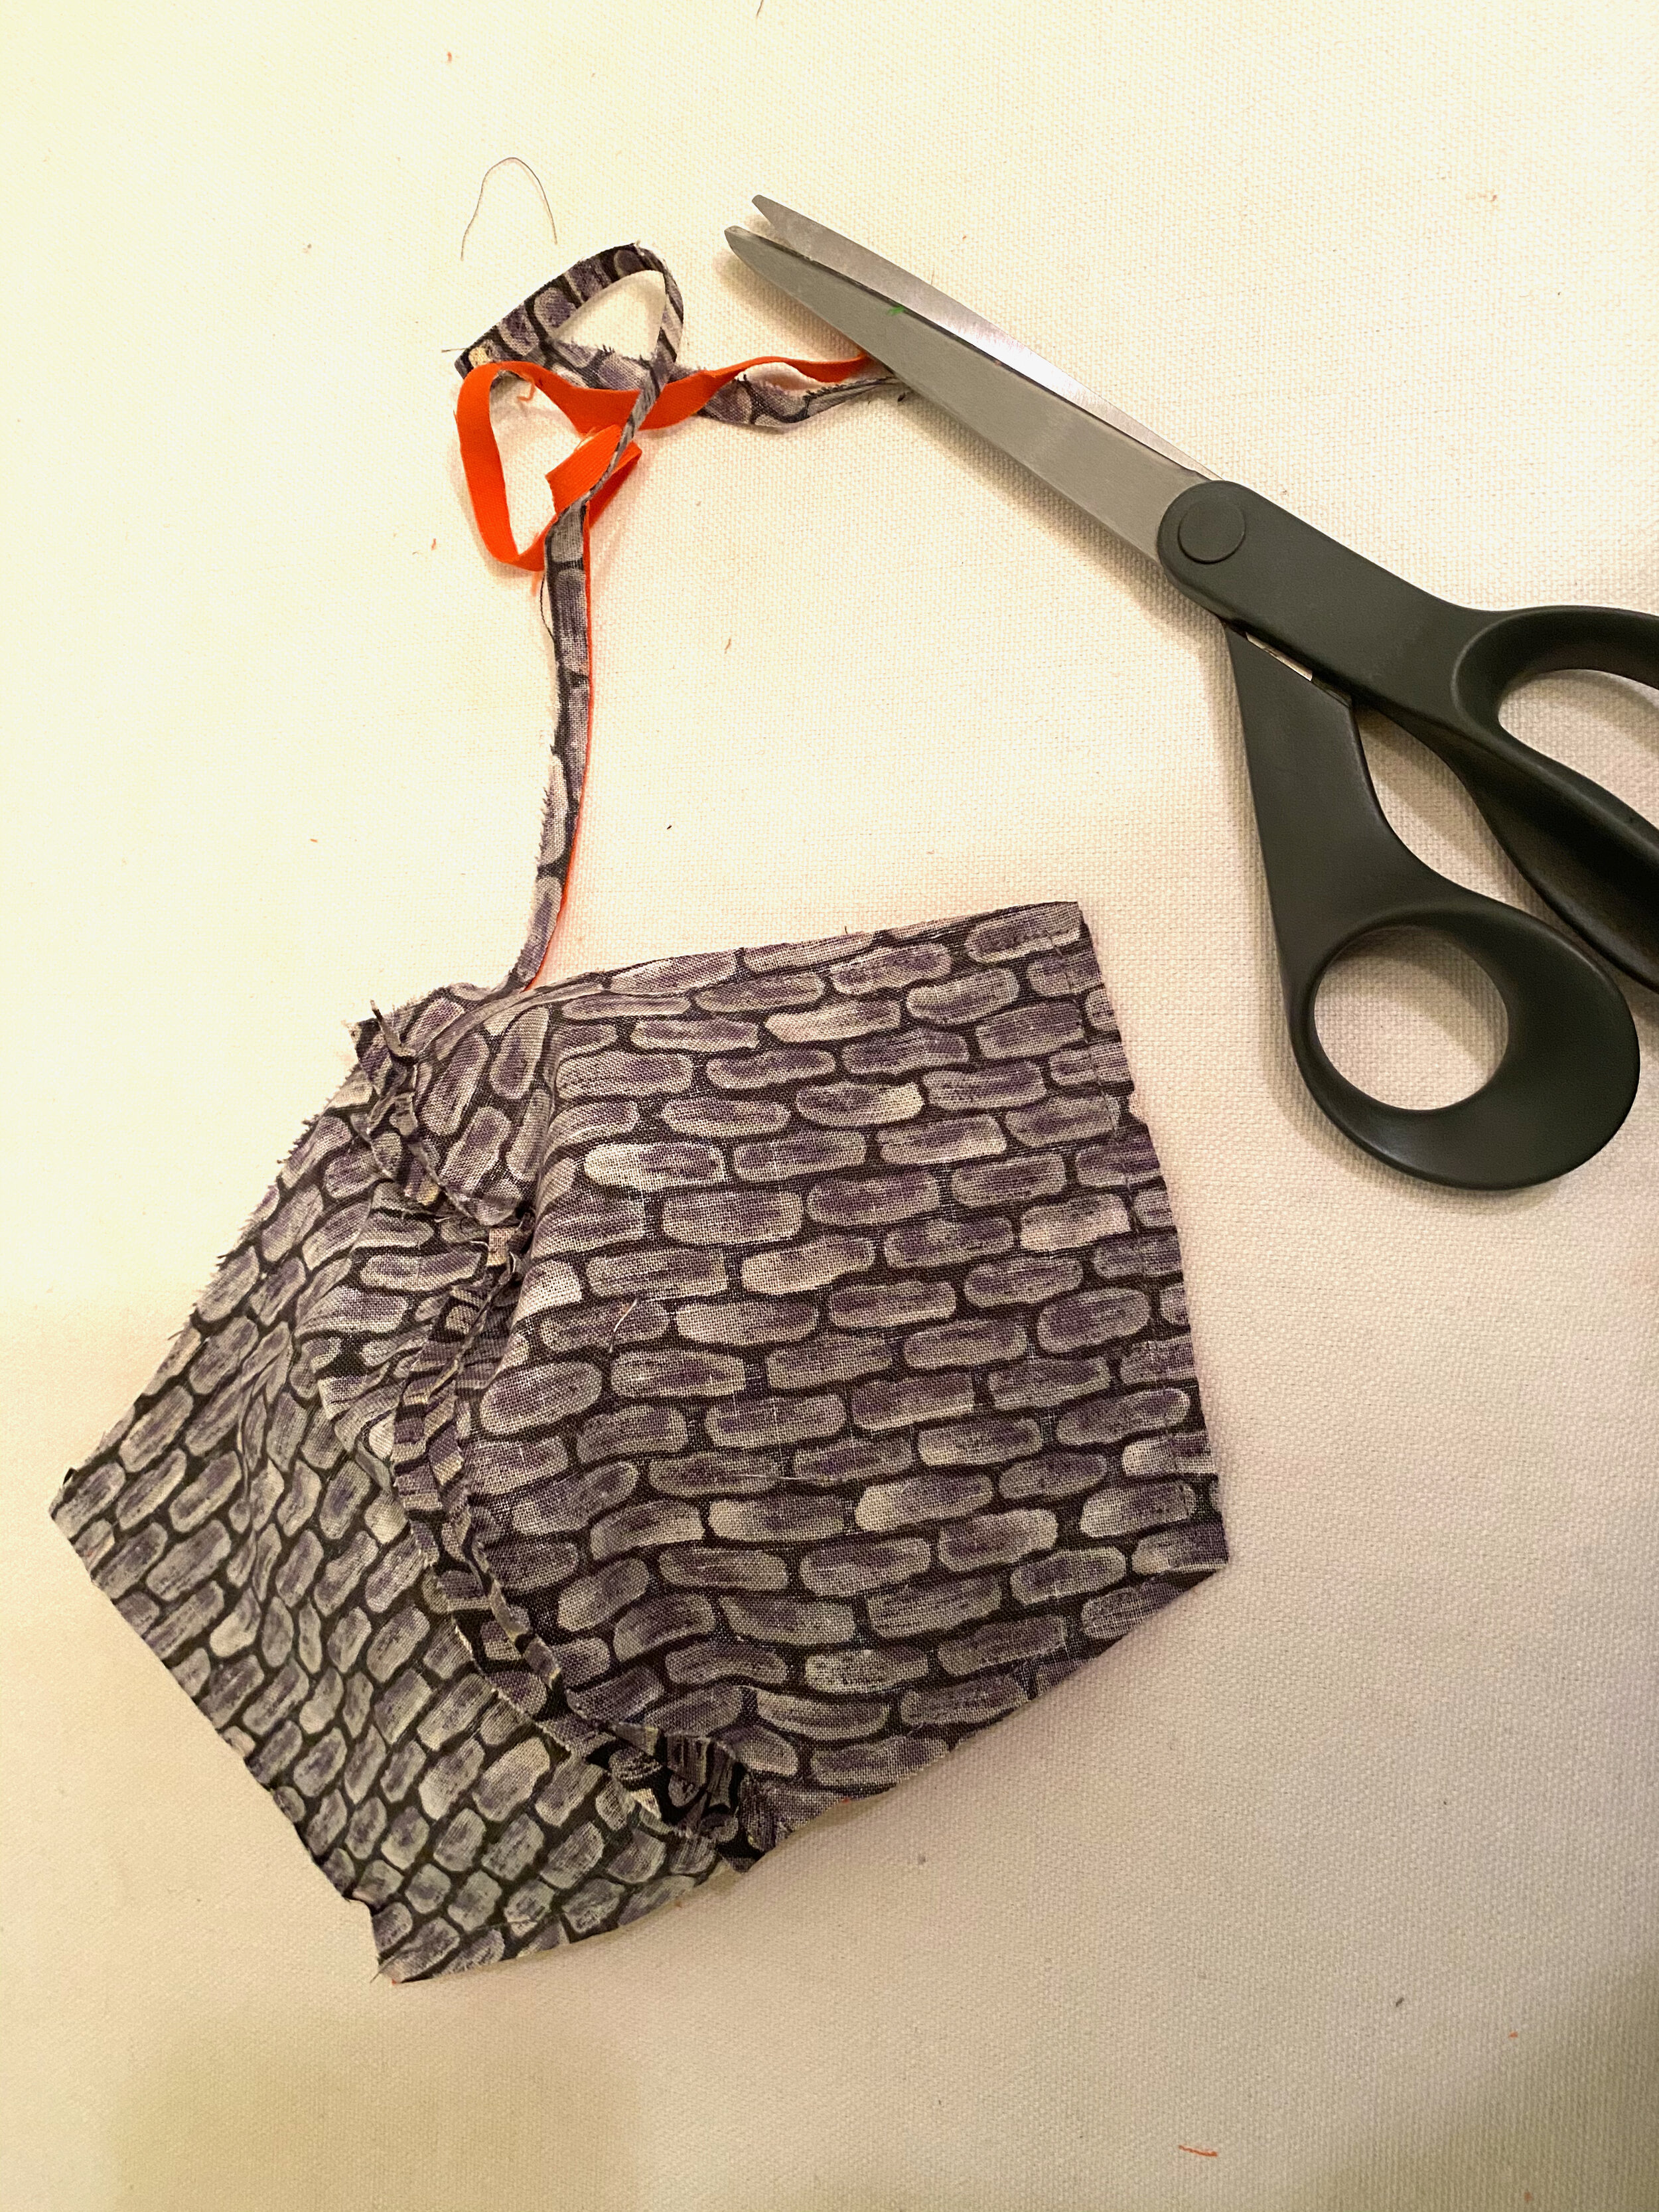
(5) Because my seam allowances are wide, I trim all but the last one (which is tucked into the mask) to 1/4” after pressing.
(6) I double stitch over the ties because I don’t want them to pull out from the seams.

