Convenience Food
I've read a lot of mainstream articles, as well as well-nourished bloggers' posts, about how healthy eating doesn't have to be time-consuming. They say that if you plan everything out at the beginning of every week, you can have a wide variety of healthy family meals on the table within minutes.
Well, maybe you can, but I can't. I tried this "plan your way to speedy, healthy meals" earlier this year. The approach worked for the first few weeks because it was shiny and new, and I was enthusiastic about becoming a well-nourished, time-saving winner. By about the fourth week, though, I wanted to rip my paper calendar to bits and delete my online calendar because it was too much to plan, buy and fit it all into the refrigerator by Sunday afternoon. And then there was the problem that even though I had planned our week of meals, fun and not so fun things always threw-off the eating plan. We'd get to the end of the week and find that there were two or more meals-worth of ingredients wilting in the refrigerator.
Of course I have now overcorrected, and I haven't pre-planned a weekday meal (never mind a week of meals) in months. Instead, I'll look at the vegetables we have from our bi-weekly box from Eatwell Farm, supplemented with whatever we have picked up that was on sale or looked good (or, even better, both) from the market, and I improvise from there.* Maybe I'll roast some vegetables to go with sprouted lentils and rice, or maybe I'll make broccoli fritters, or pull together a salad of beets, plums and goat cheese. It all depends on what I find in the refrigerator.
But at least a couple of times a week, every week, I look in the refrigerator, look at the time, and I realize I don't have time to cook anything other than scrambled eggs before dinner needs to be on the table. Those are the days I'm so very glad to have outsourced much of my vegetable prep work to microbes.
Fermented dill carrots, dill beans, slices of thyme-infused turnips and radishes, kimchi, gingered sauerkraut--all waiting for me in jars in the refrigerator, all made right in my kitchen, and no jar required more than about 15-30 minutes of my time (okay, also an occasional peek under the lid every week or so to taste progress and confirm the vegetables are still under the brine). These traditional, "slow-food" prepared vegetables are so healthy for us, thanks to fermentation, and they are huge time-savers. They're the reason we eat so many vegetables, even on busy days. And Wyatt loves them, in large part because he helps to make them.
This weekend, I found beautiful organic green beans on sale, so Wyatt and I took the opportunity to get some dill beans going. The beans usually sit for about ten days on our counter before they're the flavor we like, and after that, they keep for ages in the refrigerator. If you want to read more about the details of fermentation, check out Wild Fermentation and Phickle.
Here's how we make our beans.
Fermented Dilly Beans
Ingredients:
- Enough green beans to fill your jars. Remove stem ends from the beans.
- 1 bunch (or more) of fresh dill. (I've used as much as one bunch per quart jar, but have also used less.)
- 1-2 tablespoons of black peppercorns per jar
- 1 (or more) chile de árbol per jar
- 1/4 teaspoon of celery seed per jar
- Three (or more) peeled garlic cloves
- Enough salt and water to make a 5% brine for your jars
- Fermentation weights, one for each jar. I love Sandy Der's weights.


Directions:
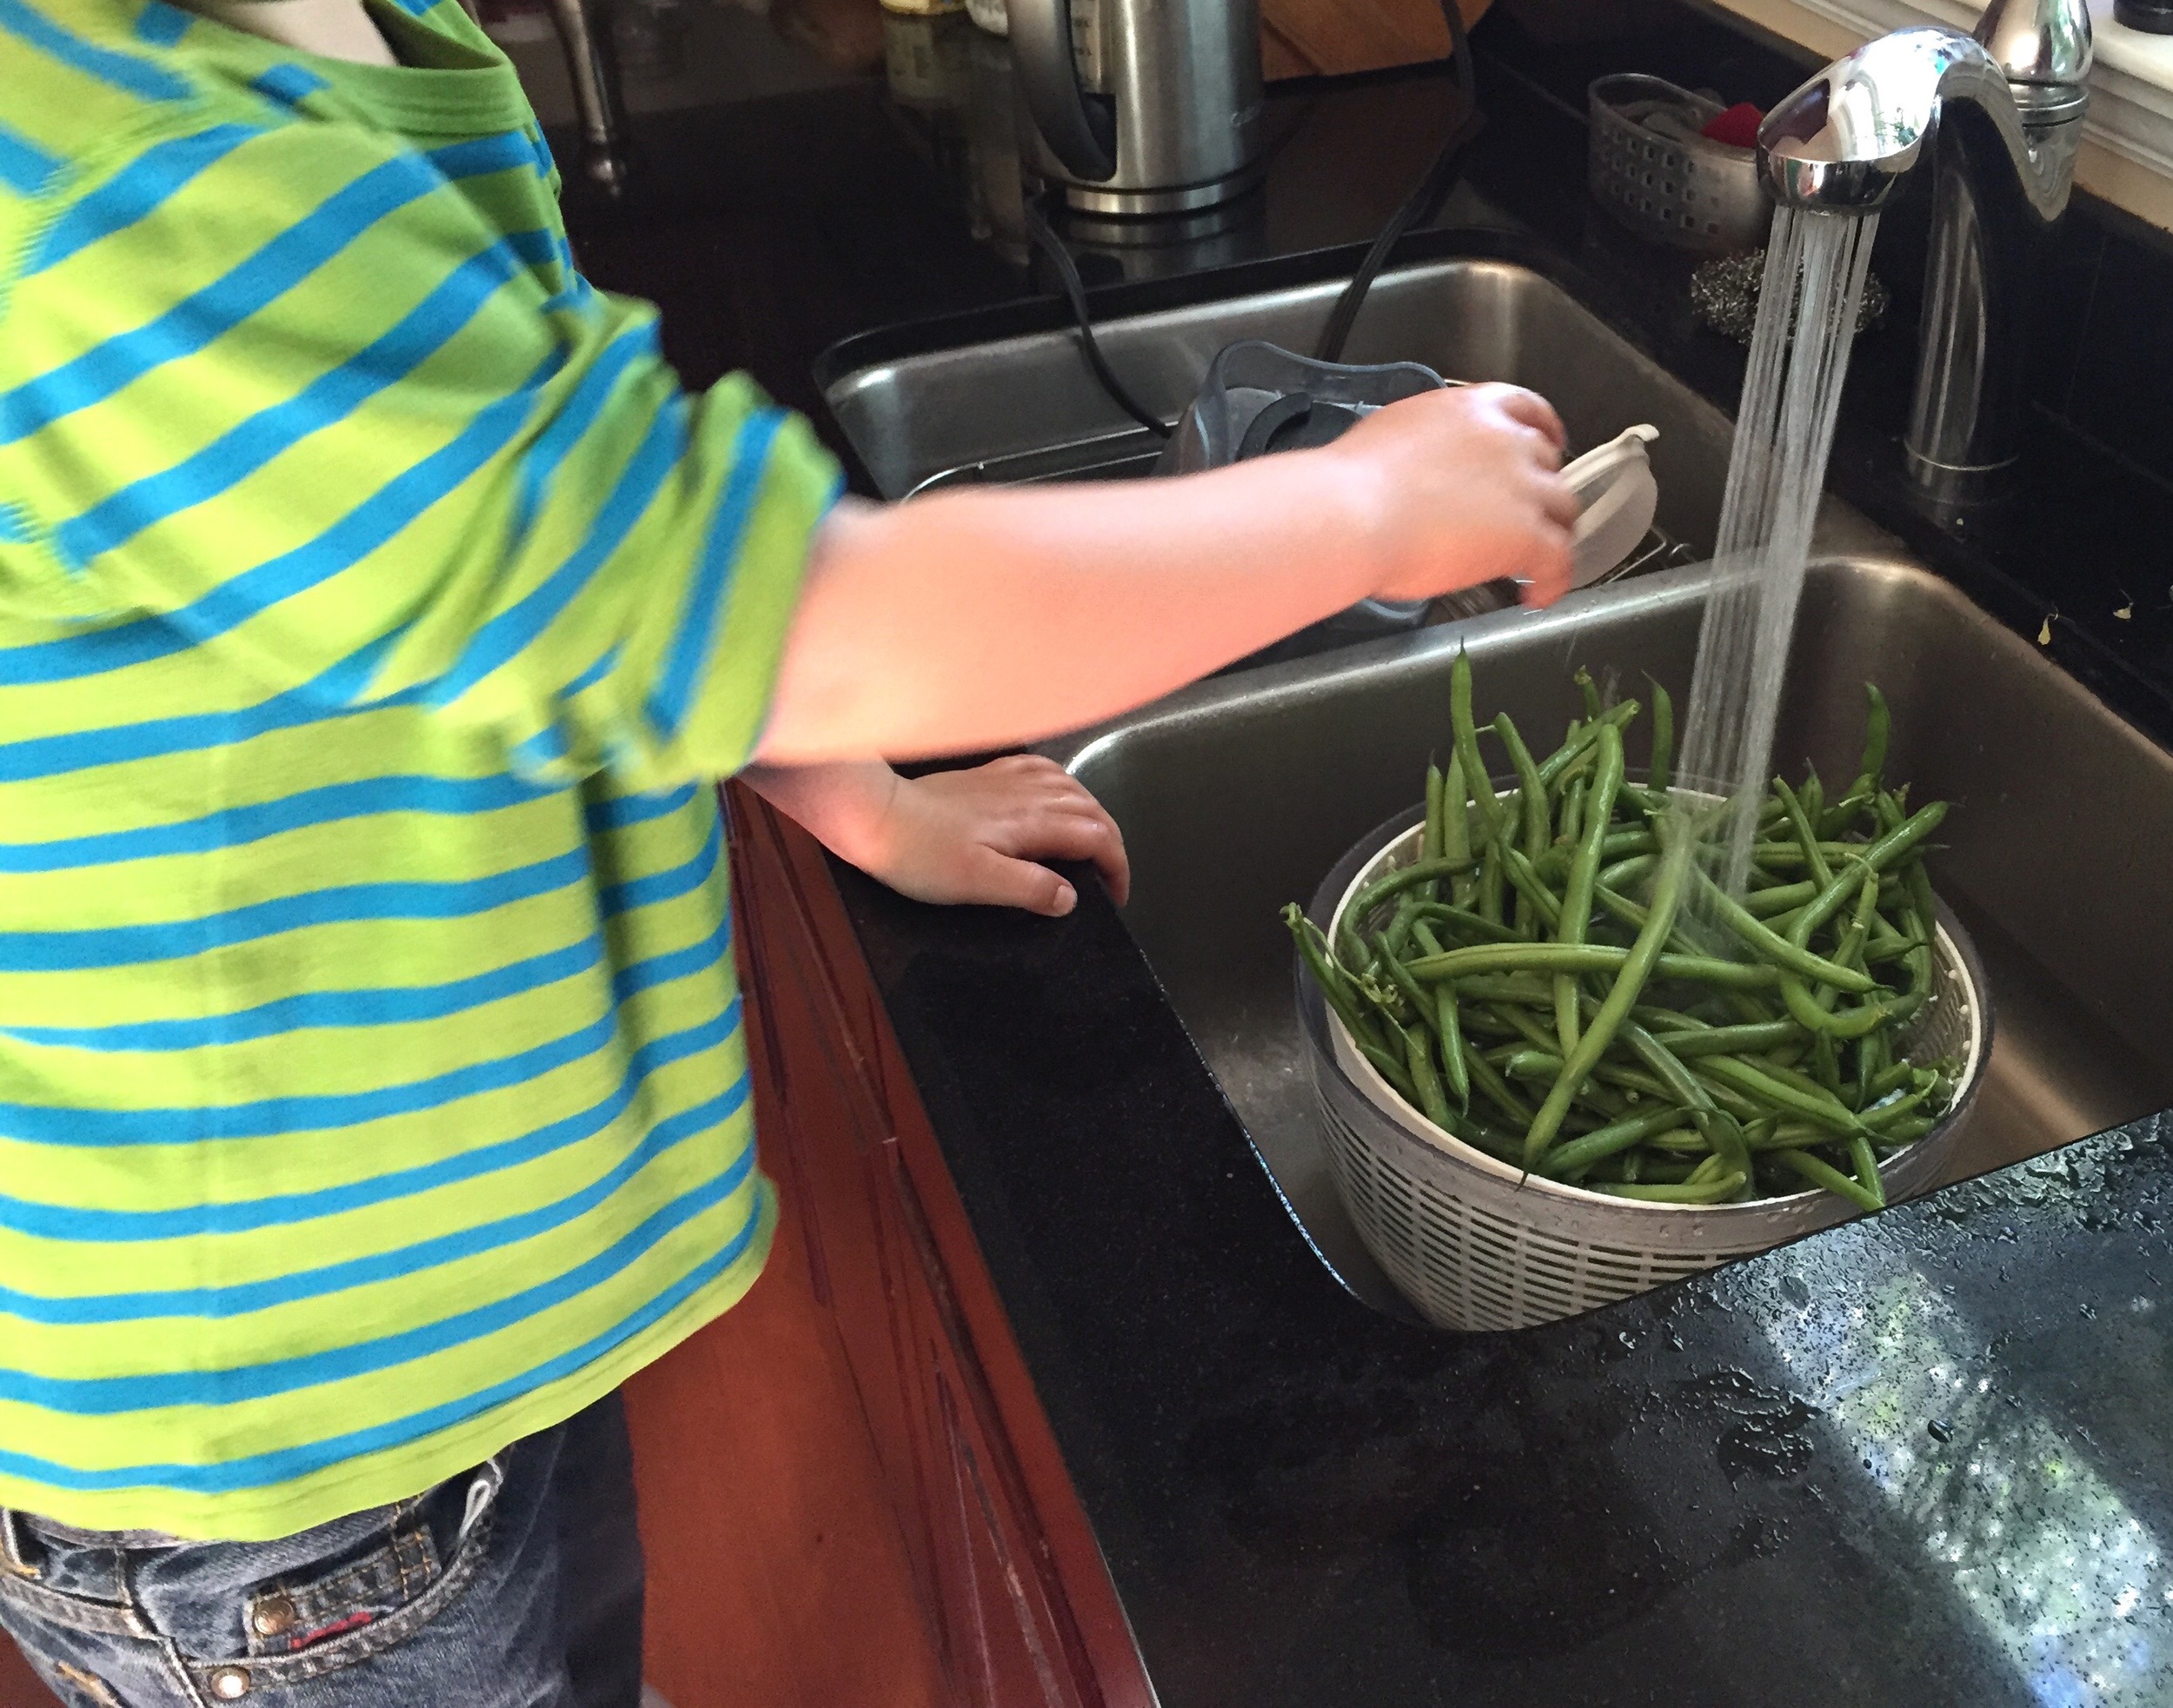
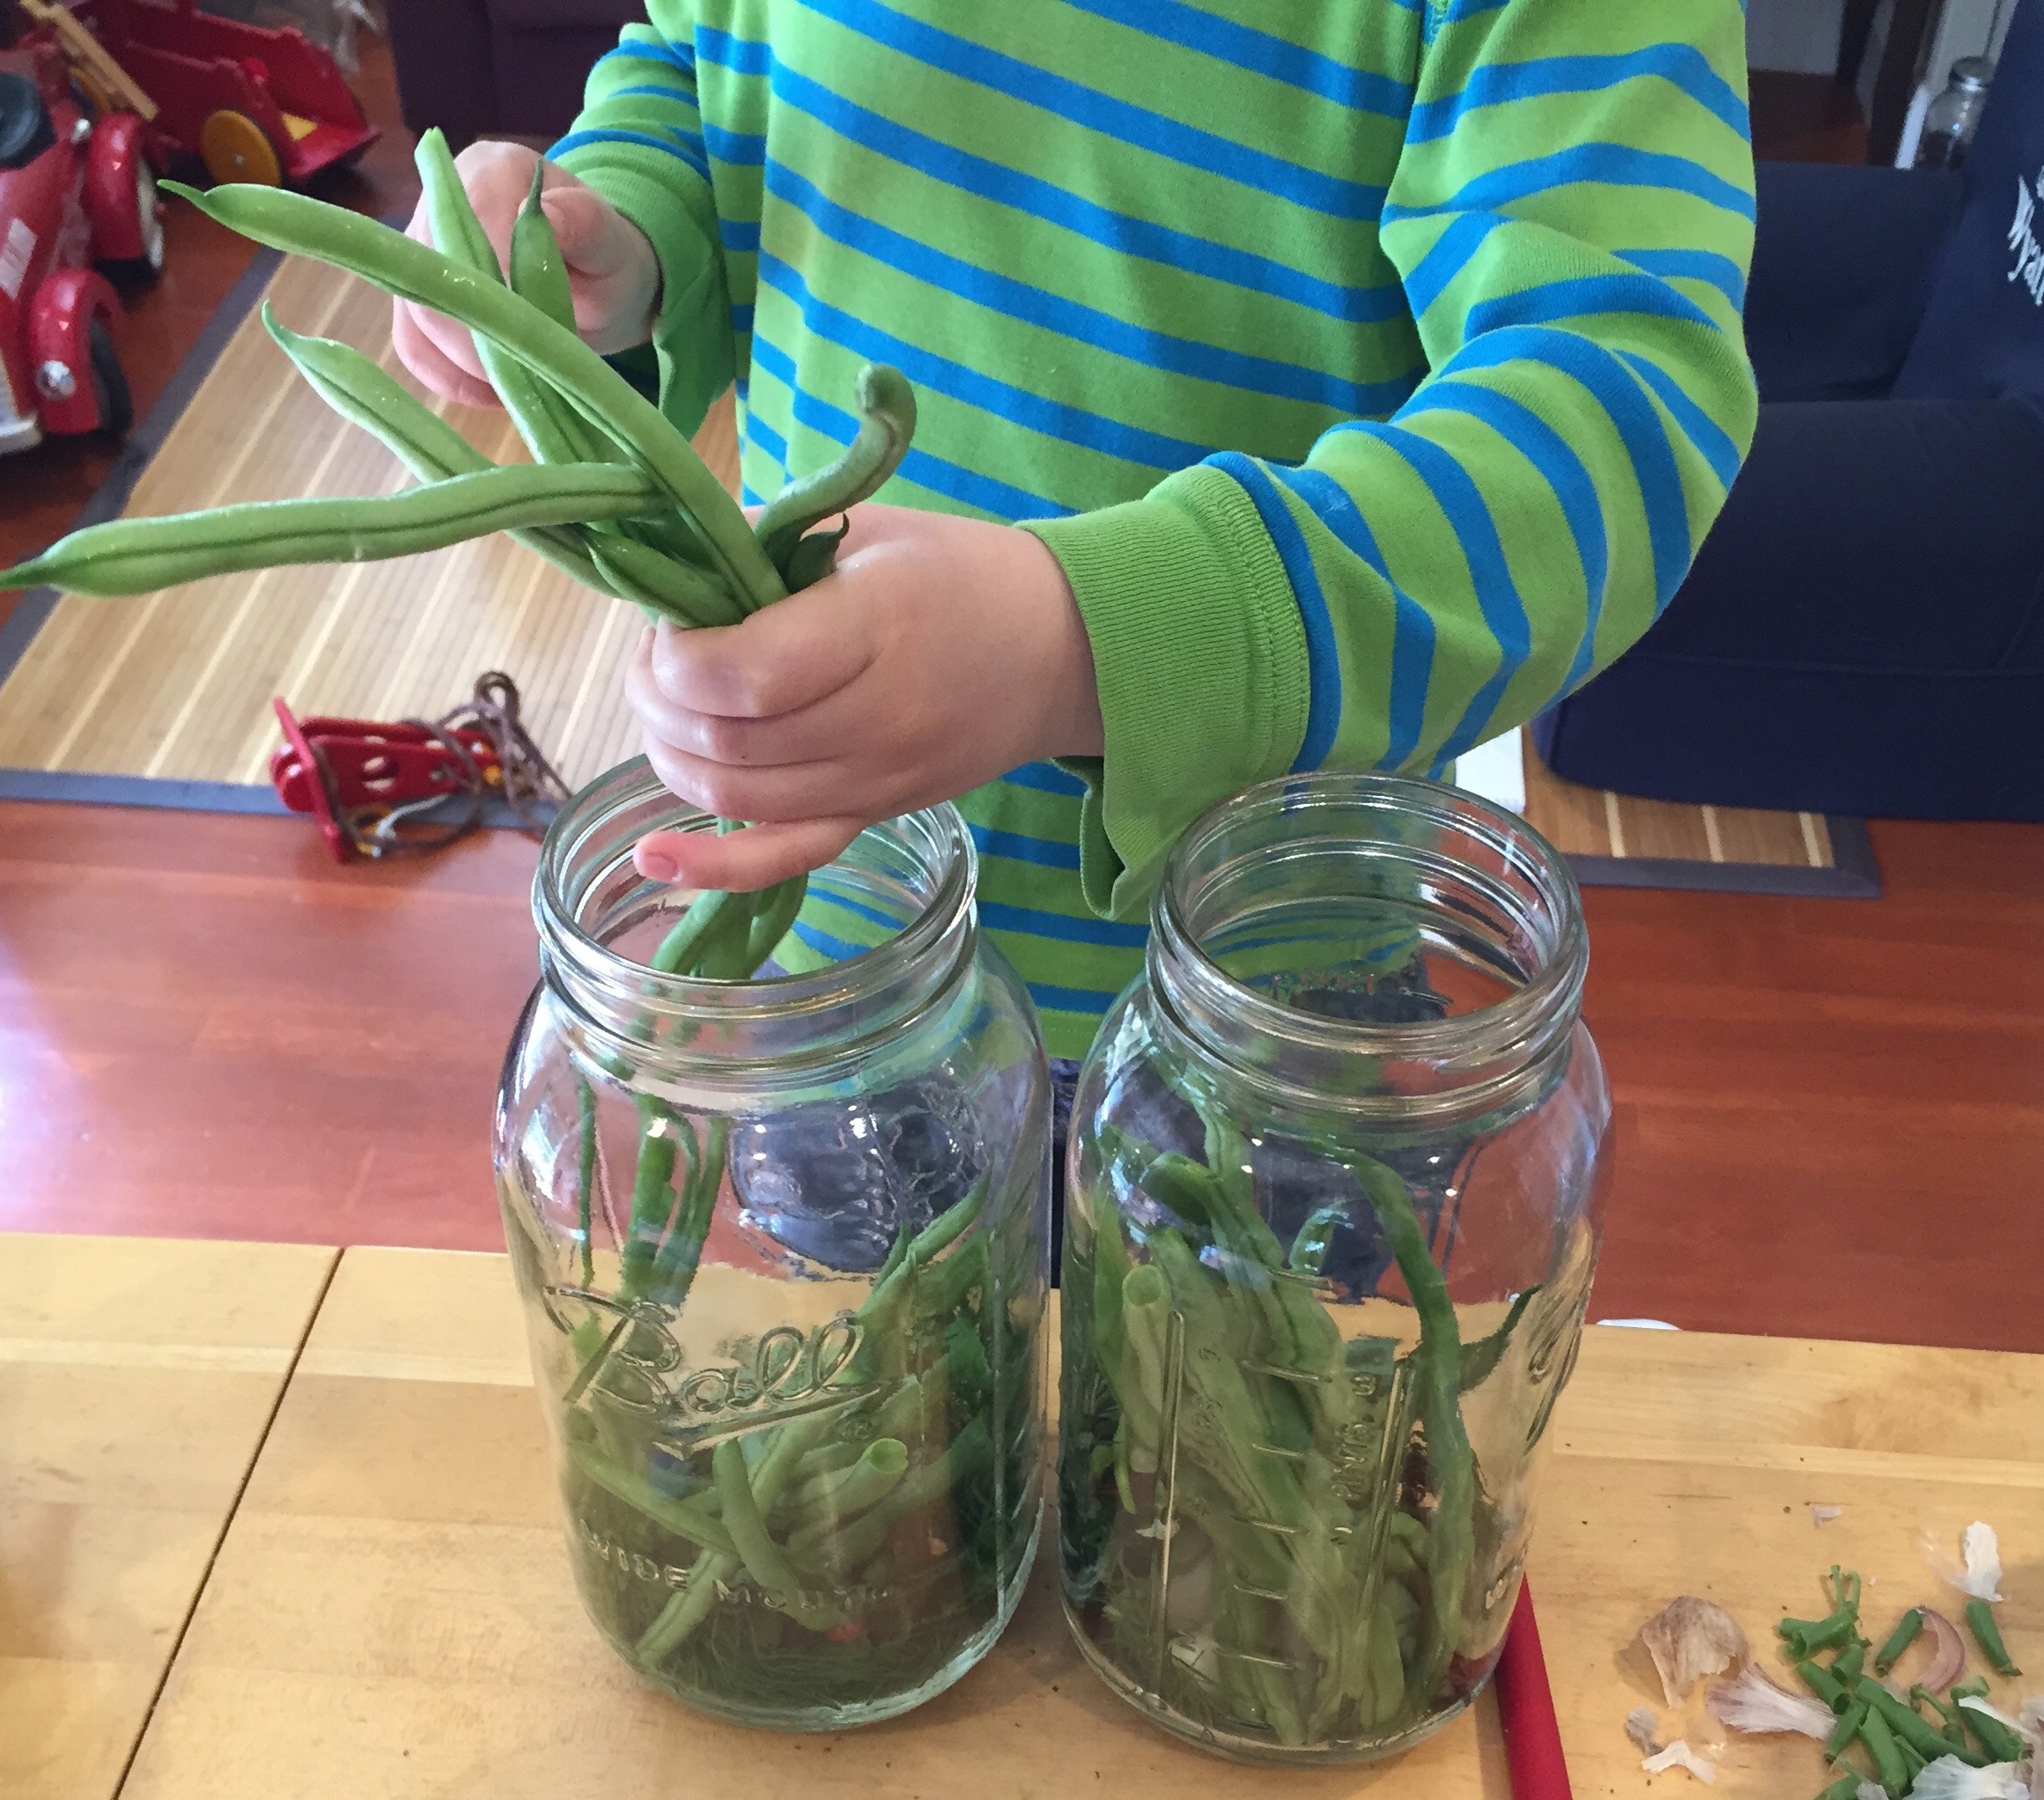
Wash the beans and the dill. Put the dill fronds into the jars along with the peppercorns, the chile de árbol, celery seed, and garlic cloves. Fit the beans in the jars, as many as you can, in as organized a fashion as you can. Leave about two inches of space between the top of the beans and the top of the jar. You may need to cut some of the beans.
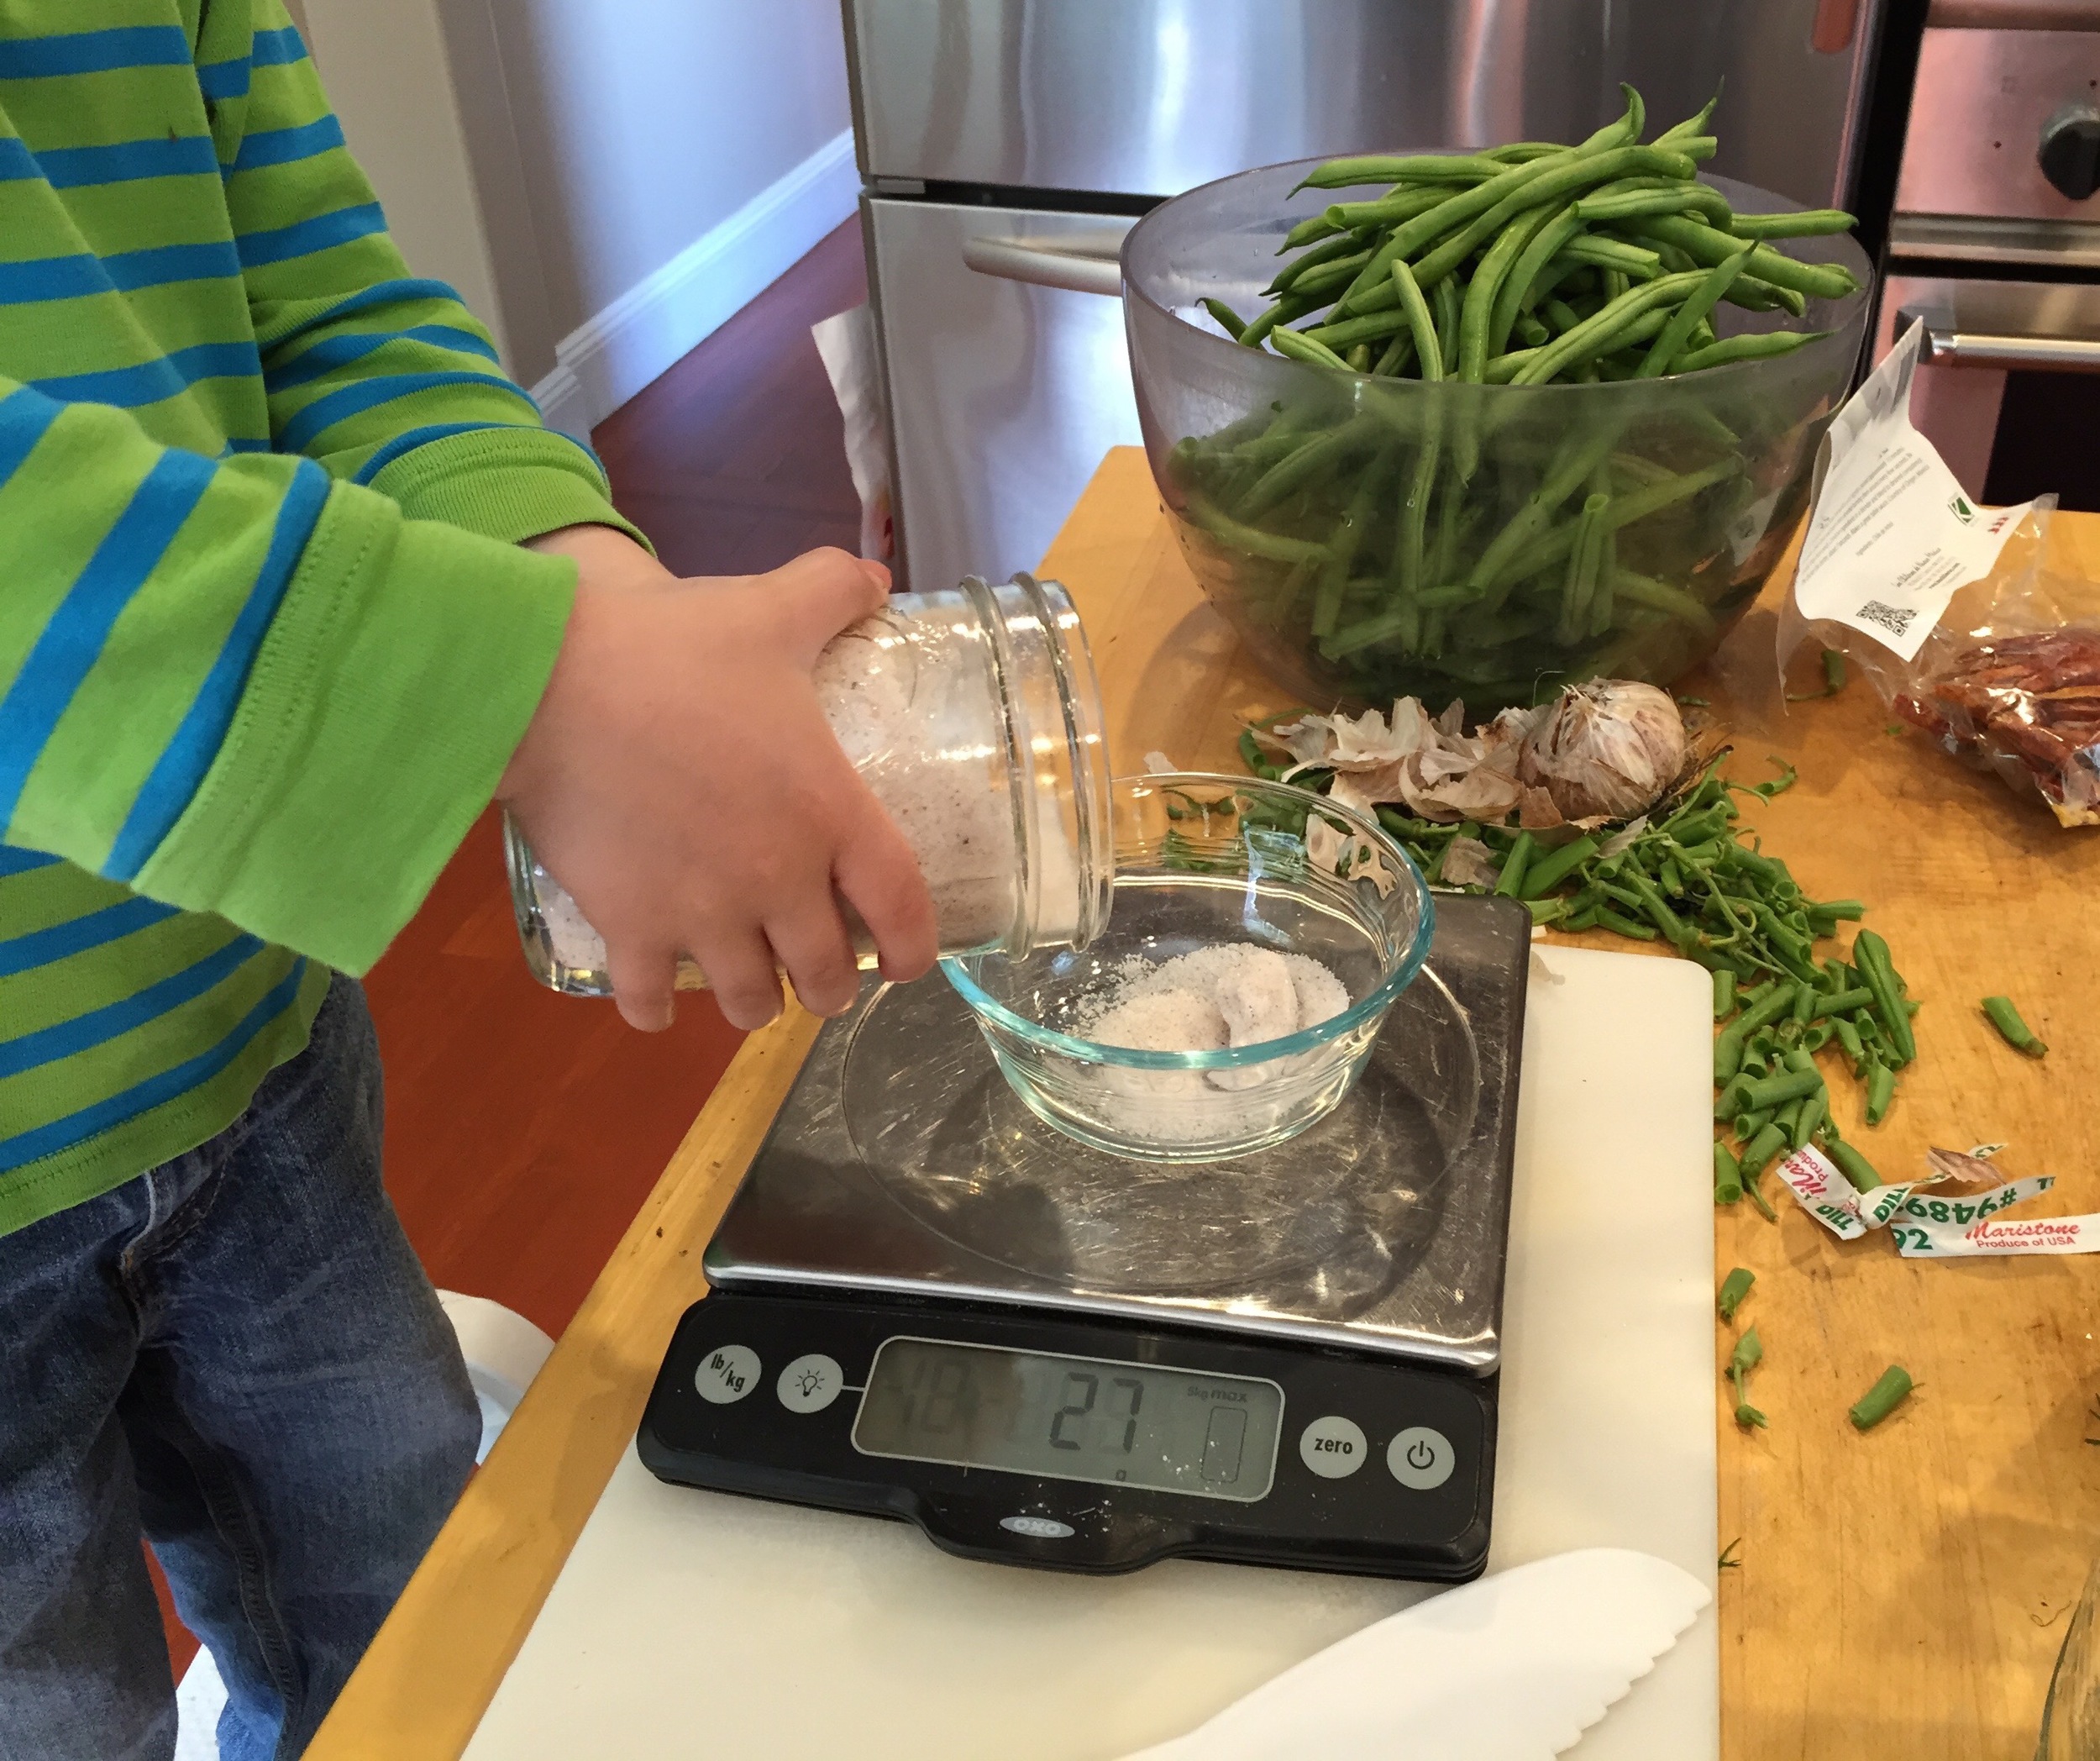
Measure 1 liter of water (about 4 1/4 cups) and 50 grams of salt (if you don't have a kitchen scale, for the Real Salt I used this weekend, 50 grams amounted to approximately 3 tablespoons of salt) and dissolve the salt in the water. When the salt is dissolved, pour the water into the jar of beans until the beans are fully submerged under the brine. Leave about an inch of space between the brine and the top of the jar. (If that wasn't enough brine for your jars, make another batch.) Place a fermentation weight on the top of the beans in each jar so that the beans stay under the brine. LOOSELY screw the lid of the jar back on the jar. Write the date you started the beans on the jar--grease pencil on the lid or a label made from masking tape work well--and put the jar in a cool corner to ferment. Check and taste every few days to see how the ferment is progressing and to confirm the beans remain fully under the brine. Our beans are usually ready to enjoy in 10 days to two weeks, but that timeframe can shift depending on the time of year and how warm it is in your house.
*My husband is a pescatarian, Wyatt and I are fully omnivorous, and I do most of the cooking. We all eat the same dinner. We usually eat vegetarian meals during the week, on weekends we may have fish, and when my husband is out of town, I visit Avedano's and experiment with cooking a variety of sustainably raised meats.
