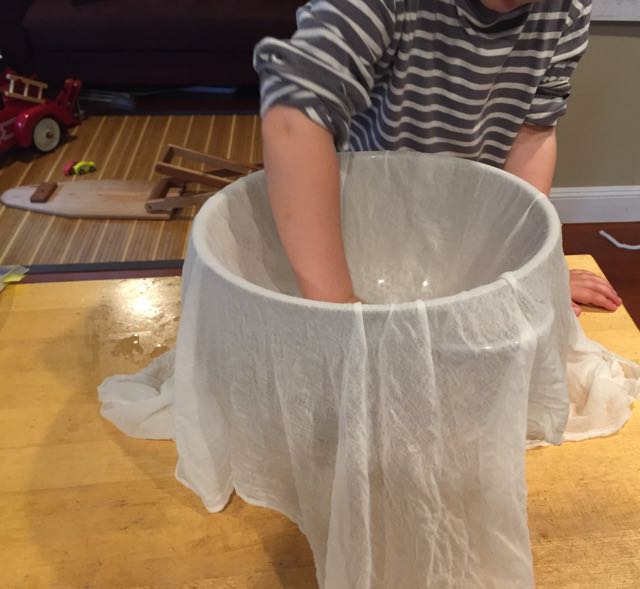
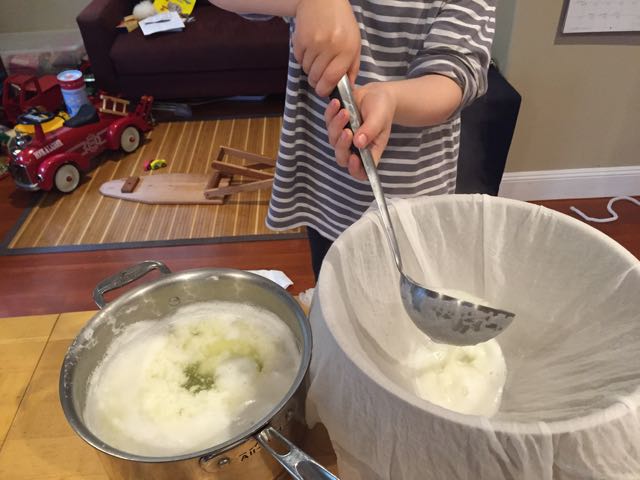
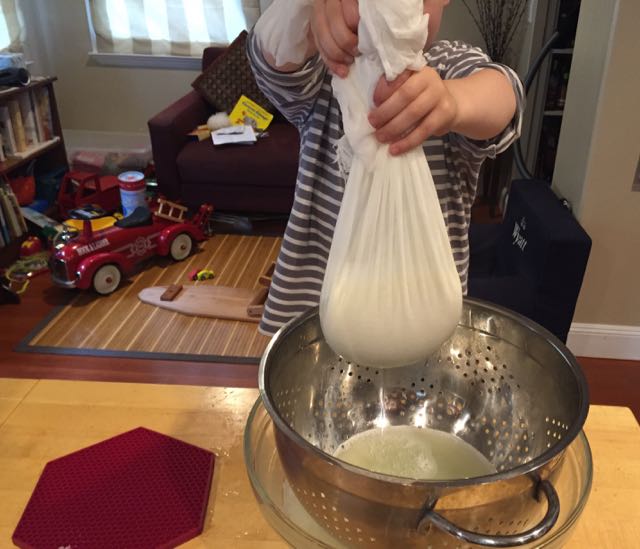
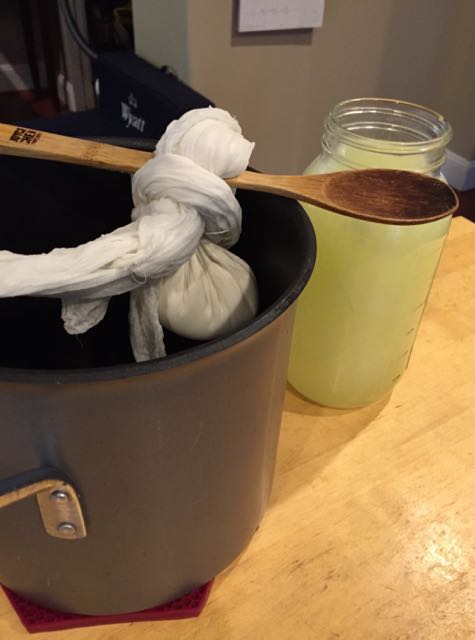
Homemade Yogurt

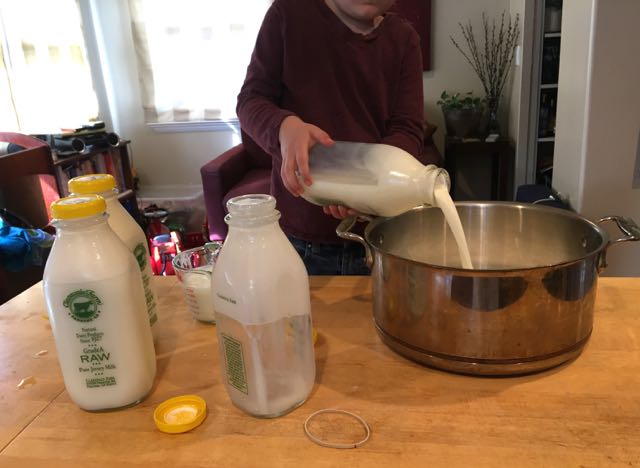
I am astounded by the number of types of yogurt for sale at the market. There are all kinds, Icelandic, Greek, Russian, Bulgarian, flavored and unflavored; but I have tried very few of them. Ever since I started making yogurt almost four years ago, I shop for milk instead. I've settled on Saint Benoit, organic Jersey whole milk, which makes a lovely yogurt with great texture and flavor. 

If you're interested in reading about (or listening to a story about) the process behind commercial yogurt making, NPR did a piece on it in 2015. Homemade yogurt is different from commercial yogurt. When you make yogurt at home, you can achieve a tastier and much more active product than what you buy at the store.

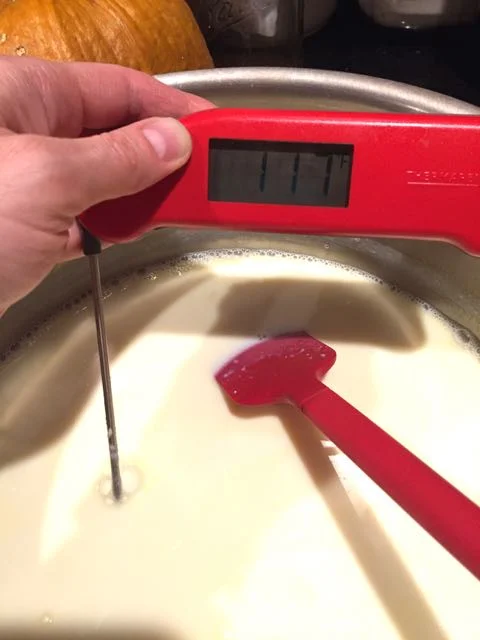
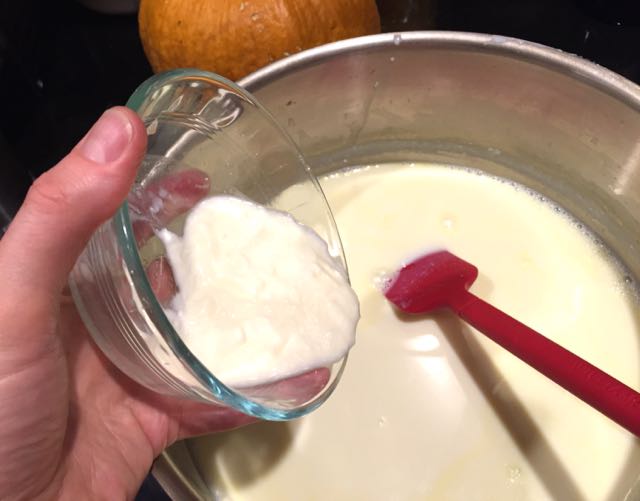
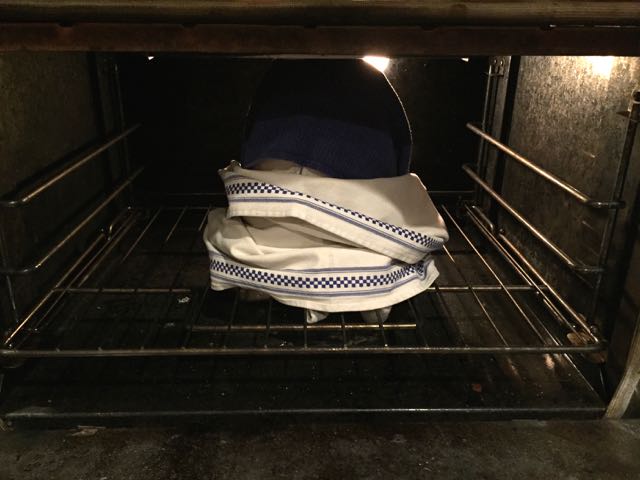
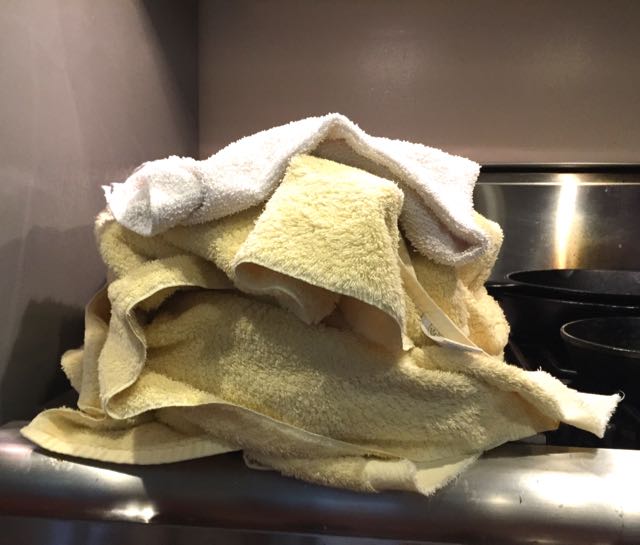
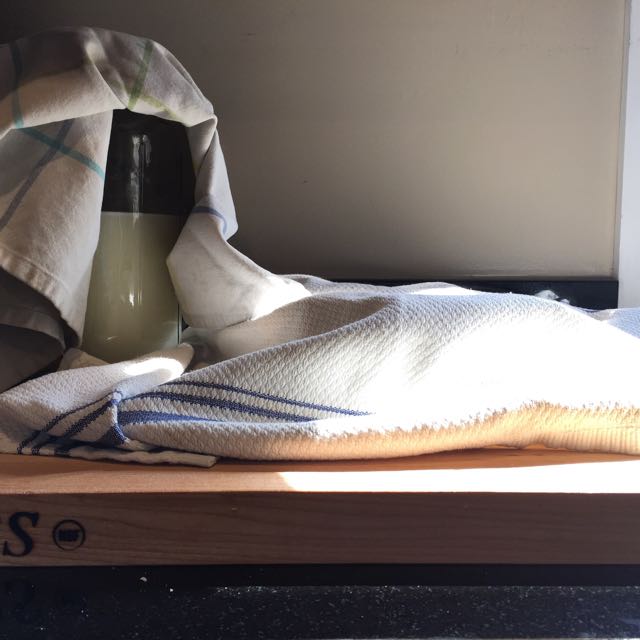
My basic process for making yogurt has always been to heat two quarts of milk to about 185 degrees Fahrenheit, cool the milk to about 117 degrees, mix in three tablespoons of yogurt from my previous batch (the first time I made it, I used Saint Benoit plain yogurt that I had purchased--amazingly, the culture was so strong that I haven't ever had to buy another starter) and then pour the mixture into a container with a lid. I wrap the container in dish towels, turn on the light in the oven, and incubate the yogurt in the oven overnight.

I have had a few yogurt mishaps. It seems like they mostly happened when I tried to incubate yogurt during the day. Two or three times, I turned the oven on, and about 15 minutes later, I wondered why the kitchen smelled like someone had been ironing. And then there was the time when I forgot about the yogurt, turned the oven on to 425 degrees, eventually smelled scorching cotton, and I freaked out. I moved way too hastily, slopping almost all of the yogurt out of the covered casserole dish and onto the inside of the oven and oven door, and all over the floor. The yogurt dripped everywhere, including between the panes of the oven door window, where I couldn't clean. I had to call our favorite appliance repair shop, Otto's Appliance Service, because I couldn't dismantle the door myself. As Otto remarked to me good naturedly, once he had the door on the floor and in pieces, "You could have bought a lot of yogurt for this service call." He wasn't wrong.

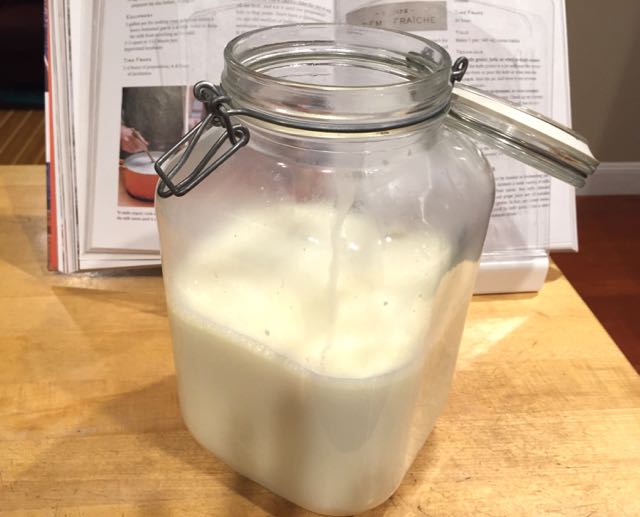
Since that incident, I bought a big Fido jar that seals nicely, and I have gotten much better about remembering when the yogurt is in the oven. For the last couple of years, I have had my yogurt process dialed-in. 

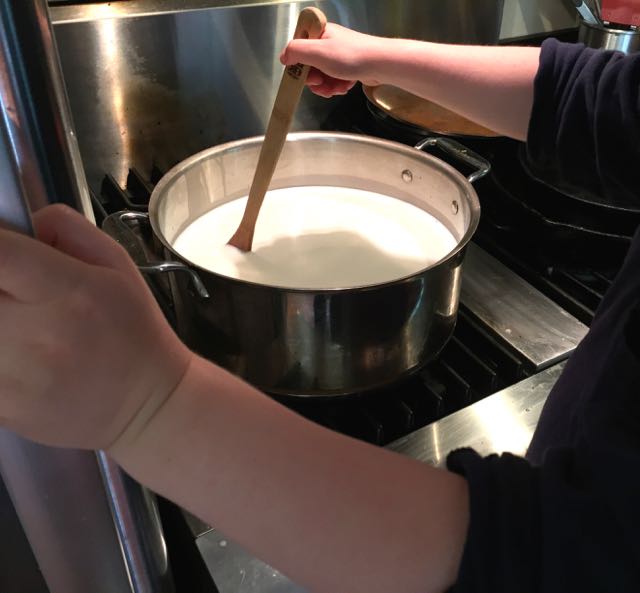
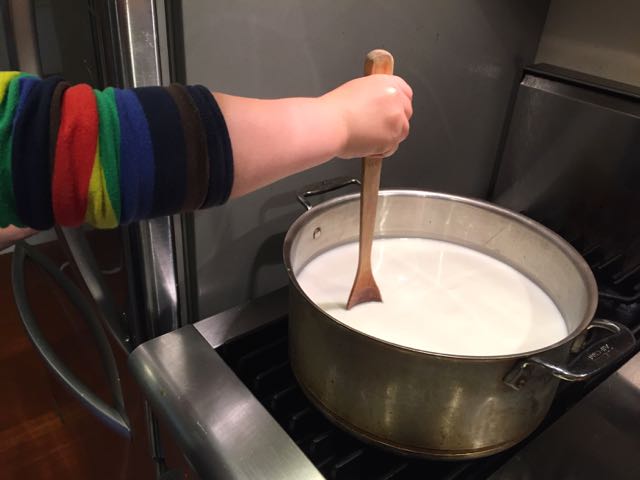
But recently, when it was time to make more yogurt, I remembered that David Asher's The Art of Natural Cheesemaking includes a section on making yogurt. Earlier, I had breezed by that chapter because I was already making yogurt. This time, I read it. David insists that the person making the yogurt must pay attention to the milk during the entire heating and cooling process. That means 30-60 minutes of constant stirring of the milk at 185 degrees, and constant stirring during the cooling period, as well. I groaned inwardly at the thought of stirring milk for over an hour. My approach had always been to reach the target temperature as quickly as I could without scorching the milk, then leave the milk to cool down on its own, checking the temperature every 15 or 20 minutes. Sure I'd get a skin on the milk, but whatever. Right? I wondered what a difference an hour or more of active time on yogurt would make.

The first night I tried David's technique, I explained to Marc what I was doing. Marc shook his head and said, "Why would you do this to yourself?" Good question. But my bigger concern was that we'd prefer this more time-intensive yogurt.

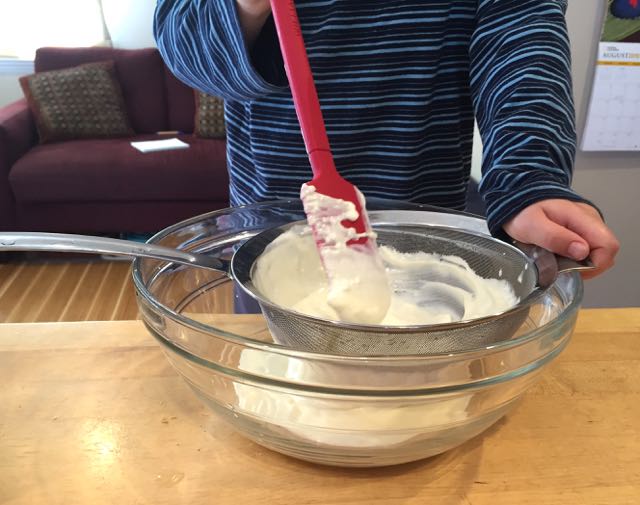
I was right to worry. David's approach to making yogurt* results in a far superior product. The texture is creamier, the flavor is well-balanced, and less whey seems to separate from the yogurt once it has been in the refrigerator for a few days. In fact, the yogurt tastes so much better than the yogurt I used to make that I have gotten in the habit of saving some favorite podcasts for while I stand and stir for over an hour every two weeks or so.

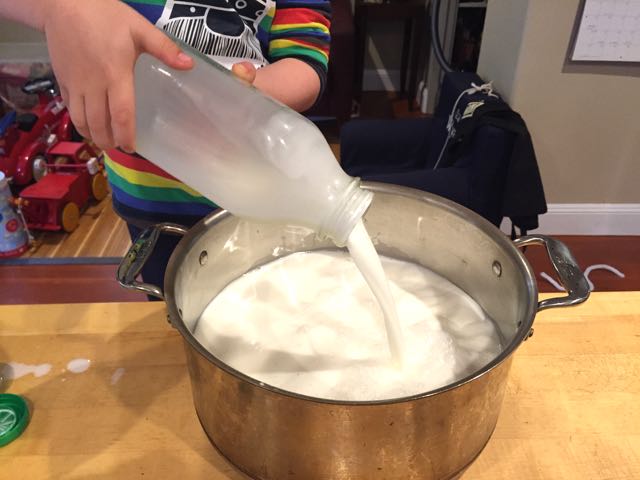
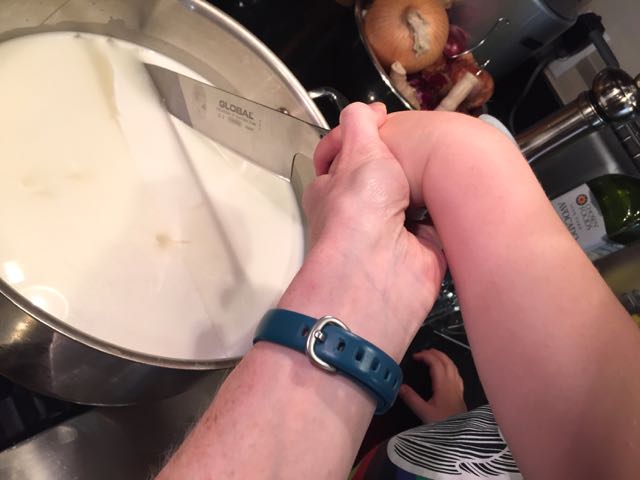
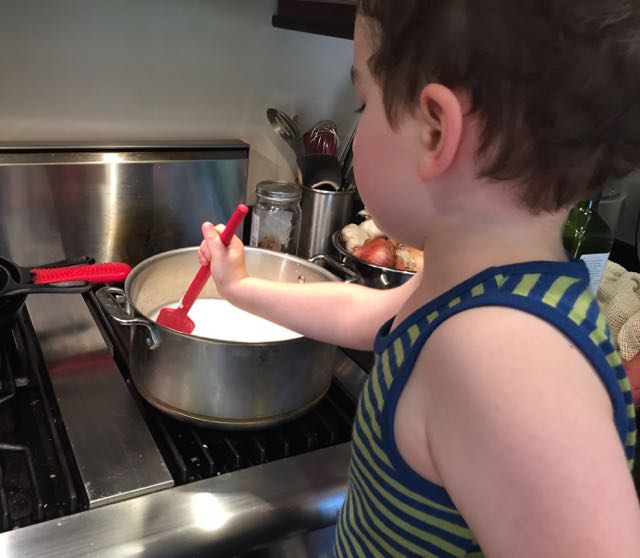
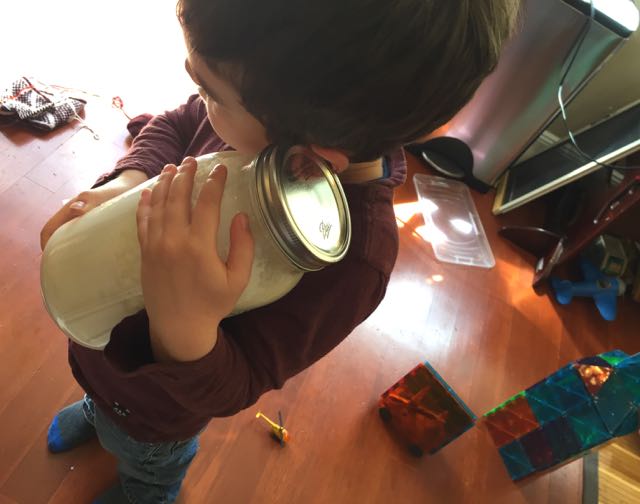
Yogurt making is not an activity that I can do with Wyatt at this point. After a couple of minutes of stirring, like any reasonable person, he's ready for both of us to move on to something more exciting. He does, however, love to "wake the yogurt up" when it's done culturing by opening the oven door, removing the kitchen towels and pulling the giant jar out so he can eat fresh yogurt for breakfast.

Am I being ridiculous to spend so much time making yogurt? Maybe. Or maybe not. It's really good yogurt. And in my defense (if I need one) I'll note that even I have limits. I have consciously decided not to try cooking the milk for more than 30 minutes. The range David suggests is 30-60 minutes of stirring at 185 degrees, and the longer the milk cooks, the thicker the yogurt will be. Because there is a pretty good chance we will love the longer-stirred yogurt even more, I'm not going there. 
My Yogurt Recipe

Ingredients

  • 2 liters (or 2 quarts) of milk
  • 3 tablespoons of yogurt starter

Equipment

  • A large pot, spoon or spatula, thermometer, glass jar(s) with lid(s), towels, oven or warm place for incubation.

Method:

  • Take 3 tablespoons of your yogurt starter out of the refrigerator and put it on the counter so it can come to room temperature.
  • Turn on the oven light.
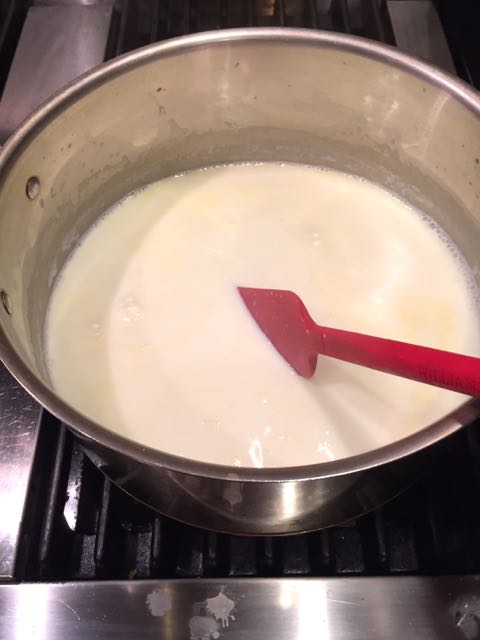
  • Heat two liters of milk over medium heat, stirring occasionally, until it reaches 185 degrees Fahrenheit.
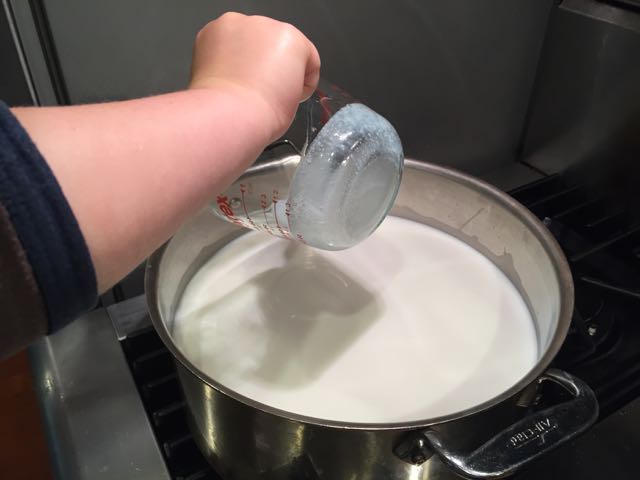
  • Set a timer for 30 minutes, start stirring, and don't stop stirring. Keep checking that the temperature of the milk is 185 degrees. Raise or lower the heat of the burner as needed to maintain 185 degrees.
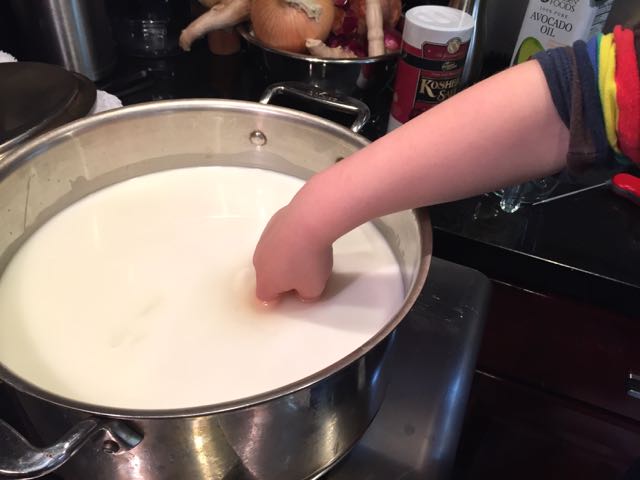
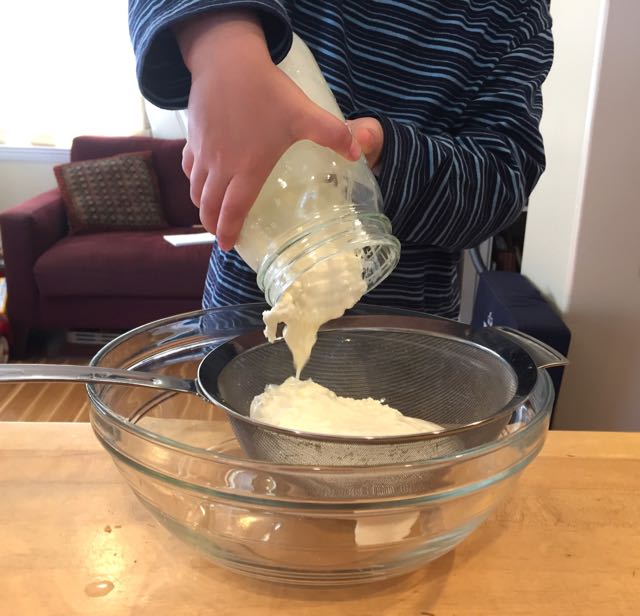
  • After 30 minutes, remove the pot of milk from the heat and keep stirring. Check the temperature occasionally and when it hits 117 degrees or so, stir in the 3 tablespoons of yogurt.
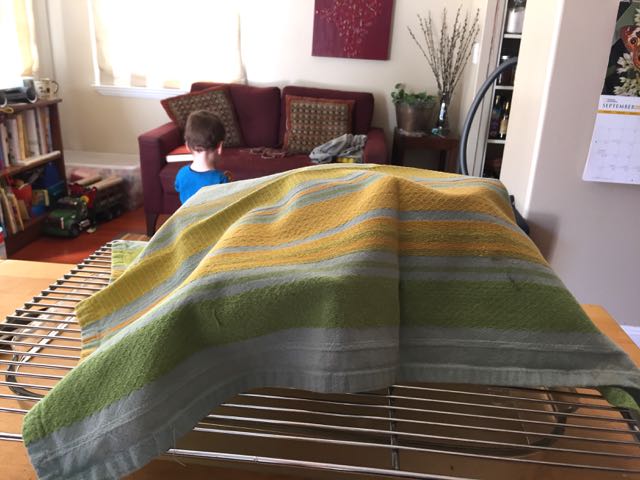
  • Pour the milk and yogurt mixture into the jar(s) you will be using to ferment the yogurt. Close the containers and wrap kitchen towels around them to keep them warm. Place the jars in a warm spot (like an oven that is off but has the light on). I usually let the yogurt ferment for 10 hours or so.
  • Wake your yogurt up in the morning, just in time for breakfast.

*David makes his yogurt with kefir culture. I'm happy with our yogurt culture, so I haven't switched to making kefir based yogurt.

Black Sheep School of Cheesemaking's Mason Jar Saint Marcellin

"Mom. These soft mold wrinkles are just so beautiful! This is definitely the most beautiful cheese we have made."

I love Wyatt's perspective on mold. Some mold really is stunning. But to be honest, before I got into fermenting, I held my nose and flung into the compost bin whatever I found decomposing in the back of the crisper. These days, though, we spend a lot of time examining mold. Sometimes, food spoils in spectacular fashion, like when it grows "cat's hair mold." And other times, when we manage to harness the microbes we want, we get beautiful cheese.

I haven't written about cheese in awhile, but we have been working steadily behind the scenes. Over a month ago (on November 21, actually) we started making Mason Jar Saint Marcellin. Saint Marcellin cheese is from Lyon, France, and is traditionally made in little clay pots. It is a rare aged lactic cheese made with cow's milk. In The Art of Natural Cheesemaking, David Asher explains how to make Saint Marcellin in shorty mason jars. The jar itself provides the ideal aging environment for the cheese, so you don't need a cheese cave. Mason Jar Saint Marcellin seemed like the perfect cheese for us to try while we waited for the weather to cool off enough to set up our cheese cave in the garage.

Saint Marcellin starts out like the feta and chèvre we have made, except for the obvious difference that it uses cow's milk instead of goat's. We took a gallon of raw cow's milk, heated it to baby-bottle warm, and added active kefir and rennet. We fermented it until Geotrichum candidum bloomed, and then we drained the curds. After a day of draining, we added salt, and then we let the curds drain for two more days.

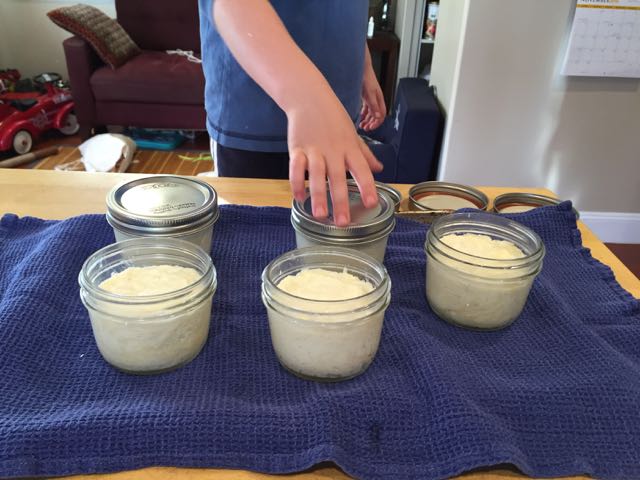
Once the curds had drained, it was time to pack them into jars. We sealed the jars loosely. On November 27, we placed the jars in our garage, where the temperature was about 60-65 degrees Fahrenheit. We opened and checked on the cheese daily. In ten days, we had an impressive coat of Geotrichum candidum on the surface of all the cheeses.

On December 7, we closed the jars tightly and stacked them in the refrigerator.

We check on them twice a week, wipe off any moisture on the lids, and place them back in the refrigerator.

Because the cheese should be ready in in four to eight weeks from December 7, and my parents were visiting over New Year's, we tried one of the jars on New Year's Day. Here's a photo of our cheese board:

In the back row, from left to right, we had: Dunbarton Blue, our very own Mason Jar Saint Marcellin, Fat Bottom Girl, and a lovely California Crottin. In the front row, from left to right, we had: our own homemade creamy feta, Jeff's Select Gouda, and Monte Enebro. We ate our cheese with homemade gluten-free sourdough bread, black eyed pea soup (with Super Lucky 2016 black eyed peas from Rancho Gordo), and Ethiopian-style collard greens.

The Saint Marcellin was still a little young, but it was already incredible. The top quarter inch or so of cheese had gone, as Wyatt said, "liquidy," and the rest of the cheese had begun to soften but still retained a sort of puffy, slightly granular texture. The "liquidy" section was the most delicious part--creamy like a ripe brie but with a bright, slightly sharp flavor. The rind was so thin and delicate, it was practically nonexistent. We ate the entire jar that evening. As the aging process continues, more and more of the cheese will liquify like the top layer of the jar we already enjoyed. We plan to let the remaining four jars of cheese age for another several weeks in the refrigerator, fully confident that the cheese will be worth the wait.

Meanwhile, we also have two separate cheese caves going in the garage. One is for Camembert that started aging on December 12, and one is for Crottins and Valençay cheeses. That one went into service yesterday.

And because you will never guess what we did with the last slice of sourdough bread from dinner on New Year's Day, I will tell you. We have inoculated it with a pea-sized piece of Cowgirl Creamery Rogue River Blue Cheese so we can grow our own Penicillium roqueforti mold and make our own blue cheese sometime soon.

Holiday Treats

"Mom. I love Christmas carols. And Christmas trees. And presents! The only thing I don't love about Christmas is waiting for it to come."

Christmas is coming! Wyatt reminds us about it every day.

Before Wyatt was born, our house was not usually very Christmas-y around the holidays. Sometimes we got a tree, and when we did, it was usually a very manageable car-trunk-size. The years we decorated a little tree, our other Christmas decorations would stay boxed away because one of the worst parts of Christmas decorating is putting it all away for next year. In fact, the Christmas a few months before Wyatt was born, we consciously opted out of getting a tree or decorating our home in any way. We figured it would be our last chance for awhile to get away with such a stripped-down holiday.

Our instincts about holiday decorations were absolutely correct. Like every child I've ever met, Wyatt loves holiday lights, decorated trees, treats, and of course, presents. So we're now five Christmas seasons into CHRISTMAS!

And having CHRISTMAS! while striving for "less is more" in our lives can get tricky. Acquiring only great items we know we need or will really use and enjoy has helped make our home livable, our lives less cluttered, and, with any luck, the earth a tiny bit less of a waste dump. Of course Wyatt disagrees 100% with this approach to consumerism and complains bitterly every time we tell him, "No, we are not buying that."

Some of the best gifts we have received over the years have been memberships to museums or gift certificates to favorite restaurants. These types of outings have helped us create connections in a way that unwrapping a thing, no matter how thoughtfully chosen, doesn't. It's tough to beat having a terrific time on a loved one's dime while you recount fun (and funny) stories about times you have all spent together.

And while Wyatt would swear he absolutely prefers toys over fun excursions, there is a small chance that on a given day he would choose a day of ice skating or a dinner out over a toy truck. Not a fire truck or anything fancy, mind you, just a frills-free one. So we do our best to strike a balance for him between experiences and things. We try to minimize overlap with toys he already owns, choose things we think he will use a lot in a variety of ways, and include items like art and craft supplies that will spark creativity and get consumed.

Let's face it: Gift giving is challenging. Most adults we know would prefer less stuff in their lives. But I've noticed that almost everyone welcomes a homemade, edible holiday gift. So, like any good urban homesteading family, we started working on certain gifts awhile ago.

In mid-November, we started a giant jar of preserved lemons with rosemary. My friend, Maja, shared the idea with me, and the lemons were easy and fun to make.

The only issue we had was that salty, juicy lemons can make your hands sting like crazy if you have even the tiniest "owie," as Wyatt always does. Using disposable food service gloves helped keep his little hands sting-free. We checked on the lemons every few days to see and smell how they changed with time. They were a bright and sunny addition to our fermentation corner.

Yesterday, we repackaged the giant jar into two smaller gift-sized Fido jars for Wyatt's teachers. And thanks to Marc, who commented, "Wow. If someone gave me that, I would have no idea what to do with it," I included some recipe ideas in the card.

In the just-in-time edible gift department, we made four batches of caramel popcorn clusters. We made three batches with peanuts and one without, because as Wyatt pointed out, "Some friends might be allergic to peanuts." Wyatt assisted with some measuring, stirring, and of course he carefully tasted every batch. I packaged the popcorn clusters into treat bags.

Once Wyatt had tasted our caramel popcorn, he found it very difficult to give it away, or even look at it in the pantry without complaining that he wanted to eat all of it. But giving it away is becoming easier for him. The other day, he happily presented our most favorite Recology driver with some gift cards and a bag of caramel popcorn. Wyatt informed him, "I helped make this popcorn. It's really good. You'll want to eat all of it all the time, but it's only a sometimes food."

The recipe we used for our caramel popcorn clusters is here. We have a hot-air popcorn popper, so we use it for this recipe and skip the first paragraph of instructions. Lately, I substitute brown rice syrup in an equal amount for corn syrup. Having made the recipe over the years with corn syrup and other years with brown rice syrup, I can honestly say that the substitution doesn't seem to affect the recipe or outcome at all. I seriously doubt that the substitution makes the popcorn healthier. But it does make me giggle to think that, thanks to my careful shopping this year, I could honestly slap an "Organic, Gluten-Free and Corn Syrup Free" label on our treat, and still send someone into orbit on a sugar high.

And finally, we did some unexpected baking this weekend because Wyatt's classmates will be working on "gluten sugar cookies" at school this week. Thanks to Molly, my friend of a quarter-century or so, who is an extraordinary cook and baker with years of gluten-free experience, Wyatt and I made our first batch of gluten-free roll-out sugar cookies. At Molly's suggestion, we used this recipe, and substituted Cup 4 Cup gluten free flour, used only 6 tablespoons of butter (1/4 less butter than the recipe says), and added some lemon zest. Yum.


Cheese Tasting

One downside of a blog is that it's not the greatest place to post little updates on things like cheese that have just been coming along at their own pace for the last couple of months. But the cheese has indeed been coming along, as you can see.

   Homemade Creamy Feta, Shankleesh and Classic Style Feta in the back; Fern's Edge Feta in front.

   Homemade Creamy Feta, Shankleesh and Classic Style Feta in the back; Fern's Edge Feta in front.

As you may remember, we started a classic style feta, a creamy (or Bulgarian) feta, and a middle-eastern yogurt cheese called shankleesh. We then did our best to forget about them. Benign neglect, really. The shankleesh lived in the garage, and the jars of feta lived in the back of the refrigerator.

Over the past many weeks, our three cheeses have been aging and we have been tasting, and now that the cheeses are gone, I can honestly say they were great. Maybe they were even outstanding, if you consider that they were our very first attempt at aged cheeses.

And we were very patient. After I had counted, Wyatt put a sticker on the calendar to mark the day that our creamy feta turned 30 days old. When that day arrived, Marc, Wyatt and I tried all three cheeses. The shankleesh was really full-flavored thanks to the tangy yogurt and herbs. Wyatt claimed it was sour and didn't enjoy it. The fetas, on the other hand, while definitely fetas in texture and appearance, were still pretty mild and frankly a little boring in flavor. So all the jars went back to their aging locations.

A month later, we tried the cheeses again. But we were even bolder than just tasting them ourselves. We carried them with us when we flew to visit friends in Los Angeles. I packed the cheeses in containers in Wyatt's lunch bag (without brine or oil, lest they be confiscated by TSA) and guarded them in my carry-on. We enjoyed all the cheeses with our friends during lunch at their house the day we arrived. Fortunately, the cheeses had either remained the same or improved somewhat over the last month. The shankleesh tasted the same, but the fetas had definitely changed. The more classic feta had become softer and saltier. The creamy feta had become drier and deliciously tangy, but remained only slightly salty in flavor.

A few weeks after our Los Angeles trip, we brought the cheese out for another tasting, this time with some local friends. Once again, the shankleesh didn't taste much different. But with the fetas, the same flavor trend had continued. The classic feta had become almost too salty to enjoy on its own, and the creamy feta was still tangy, showed even more complex flavors, and remained only slightly salty.

During this last tasting, we tried our homemade cheeses beside a commercially available artisan goat feta, Fern's Edge, that I had found at Rainbow Grocery. The Fern's Edge feta was amazing, of course, but what shocked me was that it wasn't actually better than the creamy feta we had made. We achieved some wonderful flavors in our cheese that weren't present in the Fern's Edge. And even though I had mentally downgraded our classic feta because it had taken on so much salt, after trying some commercially available sheep's milk feta last weekend, I found myself stunned at its saltiness and its similarity in texture to our classic feta. I started to think that there may not have been anything wrong with our execution of our classic feta after all.

These successes have been more than enough to encourage us to continue trying to make aged cheeses. Now that the weather is cooler, we have started to think about trying aged goat cheeses and camembert. We are even ten days into aging a mason jar marcellin from The Art of Natural Cheesemaking.  Here's a photo of our cheese so far, with Geotrichum candidum well-established on the rind. The cheese smells a lot like camembert, and I find its wrinkles adorable, the same way I find wrinkly Shar-Pei dogs adorable. I am still astonished that this remarkable little pot of cheese started out simply as raw milk and kefir culture. But more on the story of this cheese later, in its very own blog post.
Meanwhile, this jar and its four siblings went into the refrigerator today. We'll check them again in two weeks to see how they're doing.


Homemade Cultured Maple Butter - Part 2

"Mom. Does everyone in this family have a Christmas list? Or just me? You really should ask for a chef's hat that way we can be chefs together."

On Saturday, we began testing Dave Arnold's ideas about improving our maple butter. As he explained on the podcast, the problem with getting maple syrup into butter is one of water. To get the maple syrup into the butter, you have to either replace as much of the water as possible in the cream with maple syrup, or make the maple syrup more of a solid and knead it into the butter. We tried both approaches.

We started with two pints of heavy cream, kefir grains, maple syrup and salt.

For the first jar, I cooked two cups of cream on low heat, stirring continuously, until the cream had been reduced to 1 1/2 cups. I stopped there because the cream was starting to look a little grainy and weird, like something irreversible was about to happen. I also reduced 1/2 cup of maple syrup to about 1/4 cup. I stopped cooking it when the temperature reached about 245 degrees. Once again, I stopped because the color appeared to be starting to darken and the smell was starting to change, and it seemed that at any second, there would be no turning back. I let the syrup cool down, and I mixed it into the cream. I then cooled the cream mixture, stirring continuously until the mixture was about 90 degrees. At 90 degrees, I found myself so bored with stirring that I just refrigerated the bowl until the mixture was about room temperature. I added a tablespoon of kefir grains and left the cream to ferment overnight. In retrospect, I probably should have just added a tablespoon or two of active kefir so we wouldn't have had to strain the grains out of the thickened cream the next day. I recall considering this option and then going with the grains themselves for a reason I don't remember. I did not hold back later, though, when tweeting my questions about the health of my mapled kefir grains to Amanda Feifer of Phickle. She confirmed that prepared kefir would have been a better way to go, but assured me all would be well with the grains. She's the best.

For the second jar, Wyatt poured the pint of cream into the jar, we added a tablespoon of kefir grains, and we left it to ferment overnight.

On Sunday, we made the crème fraîche in the two jars into butter.

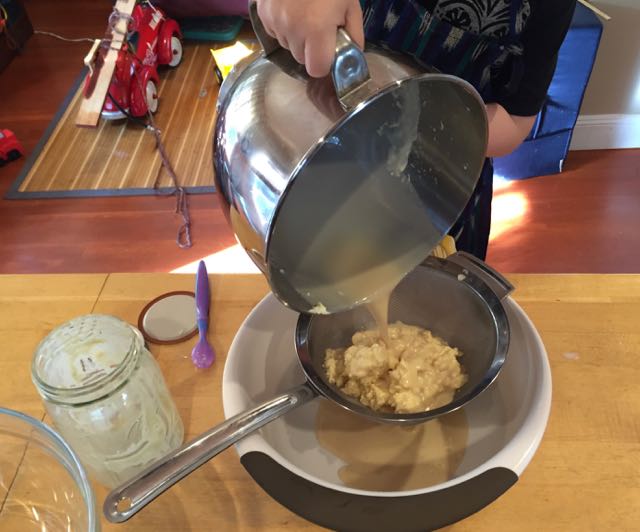
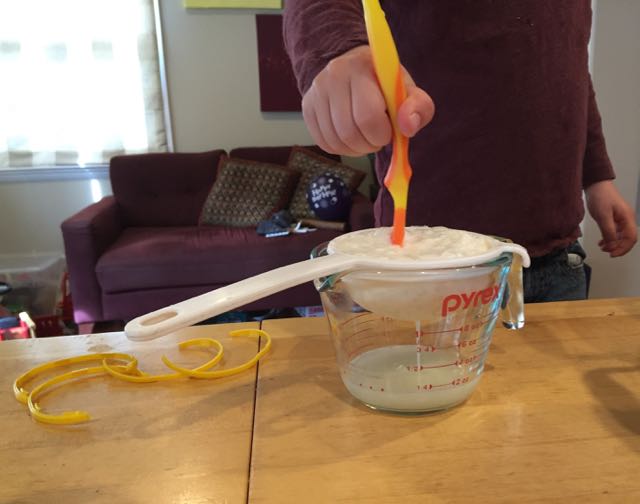
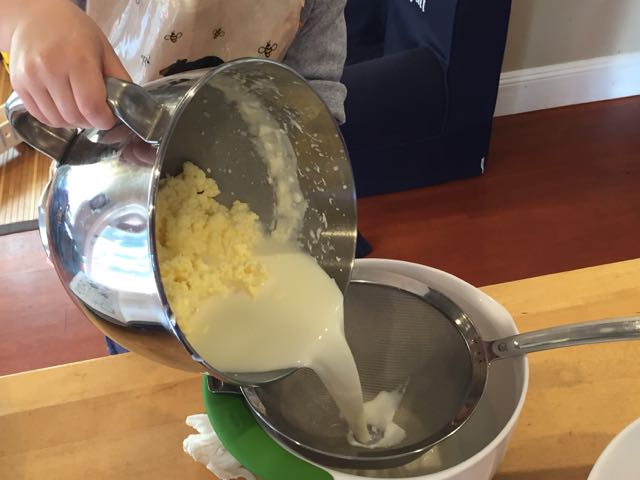
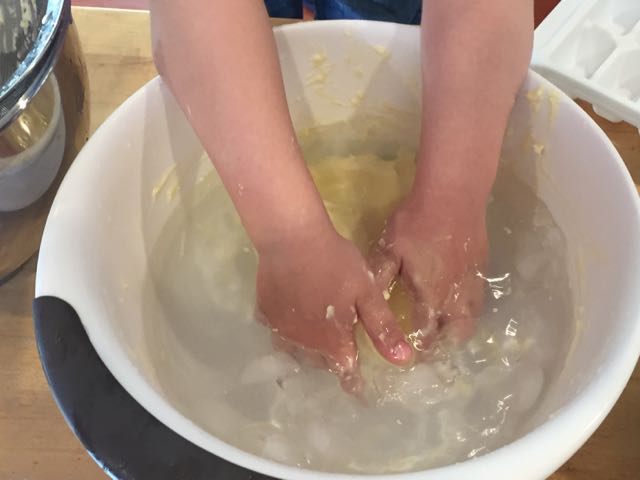
For the first jar, we strained the crème fraîche, whipped it into butter, drained it, rinsed it in cold water, and kneaded in salt. Let me just tell you that the maple-flavored buttermilk that resulted was incredible. Really amazing. 

For the second jar, we made the butter the same way. We also made Dave Arnold's recommended "snotty xanthan gel" of maple syrup. I made a 1% fluid gel by first dispersing the xanthan into water because, from what I had read, maple syrup is about 66% sugar and xanthan doesn't hydrate well in liquid that is more than 60% sugar. 

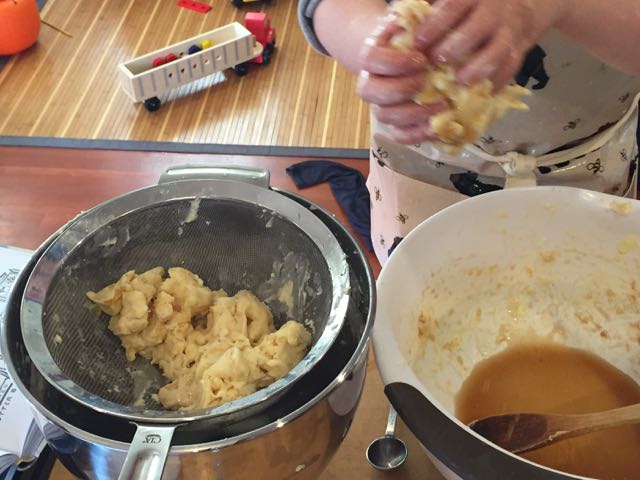
As Wyatt said about this preparation, "Try it, Mom! It tastes WAAY better than it looks." The gross-out goo level on butter bits was pretty high, so I actually rinsed the butter bits in cool water in the sieve. Only then was I able to get it all merged back into one ball of butter. 

Marc was our taste tester. He concluded, "These both taste really good. But maple? I don't know if they taste like maple. They may be circling maple. They taste sweet to me."

I think the xanthan preparation resulted in stronger maple flavor, but it was still pretty mild. The cream and syrup reduction preparation was even lighter on the maple flavor. After all, much of the maple flavor ended up in the best buttermilk ever created. While the flavor was more robust in the xanthan preparation, the butter unfortunately ended up with little blobs of maple gum throughout. The butter spreads well, but my kneading of that mess was apparently not thorough enough. 

There is one more idea that we may eventually try: adding maple sugar to the cream before culturing. Maybe that would work. But before we go there, we will need help eating our way out of the current round of butters.


Homemade Cultured Maple Butter - Part 1

"Hang on Mom! I need to change into my jeans, put my tools in my pockets, put my hard hat on, and Halloween beads. Then I will be a real construction worker. And we can start mixing the butter!"

With an eye towards homemade holiday gifts, we began experimenting with flavored butters. Delicious kitchen experiments are the best.

We started with cultured maple butter. Our first attempt tasted good. It could definitely use some improvements, but before I get into the issues, I'll describe what we did.

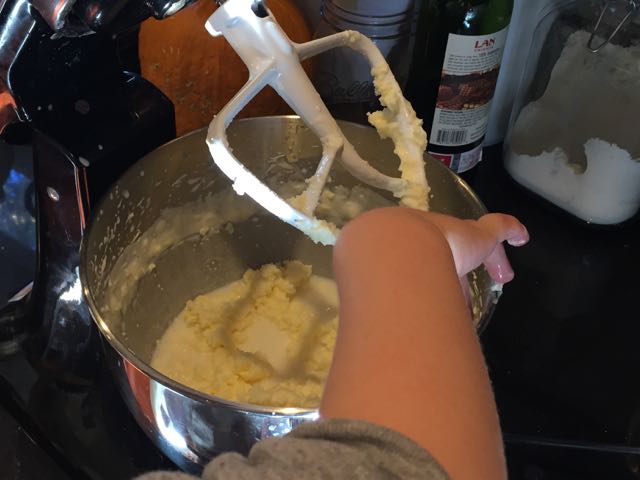
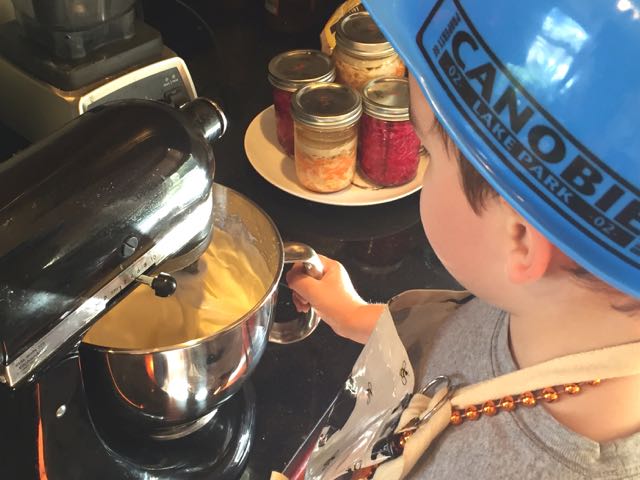
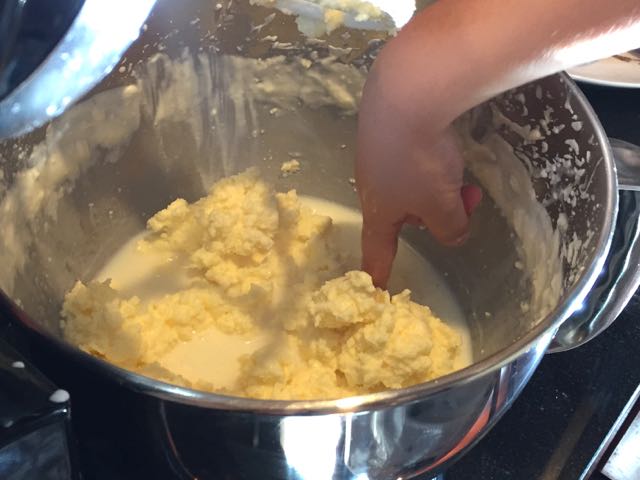
We started with a quart of homemade crème fraîche, and turned it into butter by whipping it gently in the stand mixer. We gathered all the butter bits, drained the buttermilk, and then washed the butter in cold water. Wyatt wore his Canobie Lake Park hard hat and sparkly Halloween beads for the occasion. 

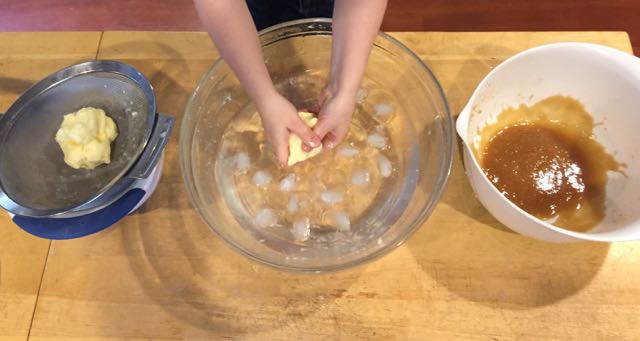
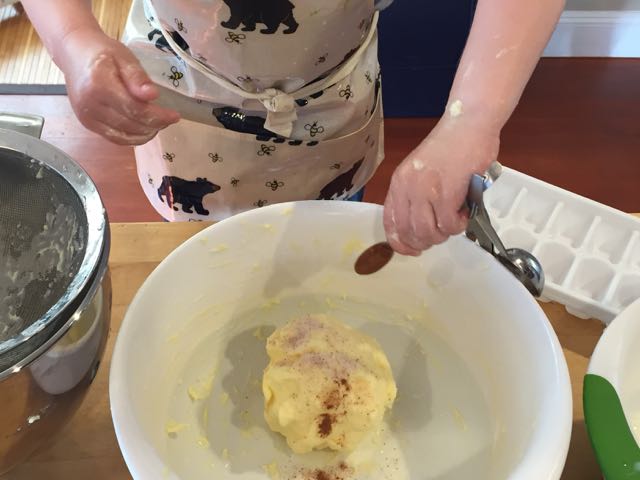
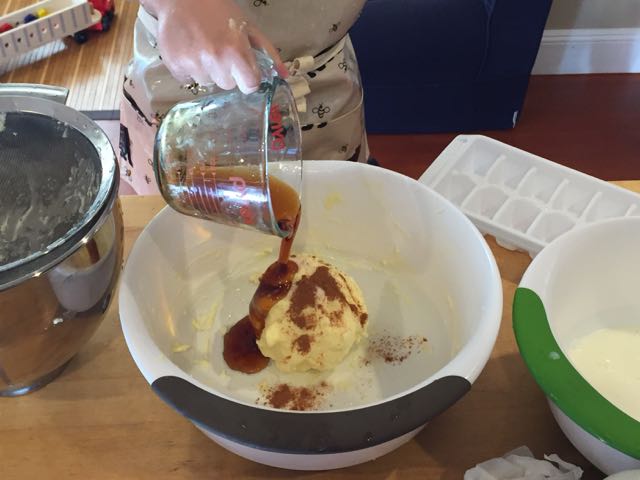
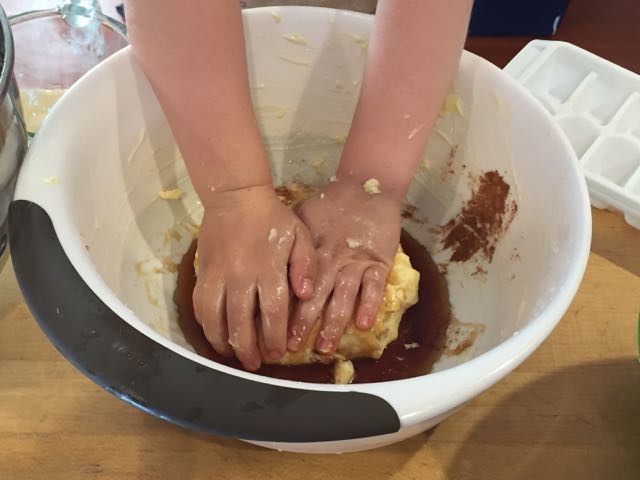
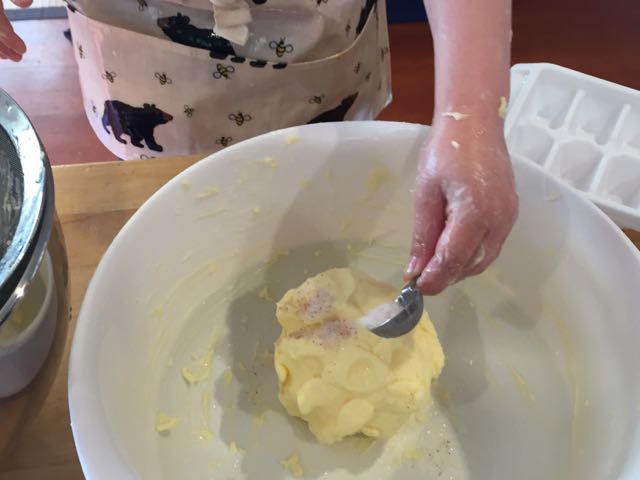
Then we added salt, cinnamon, maple syrup, and mixed it all up by kneading it.

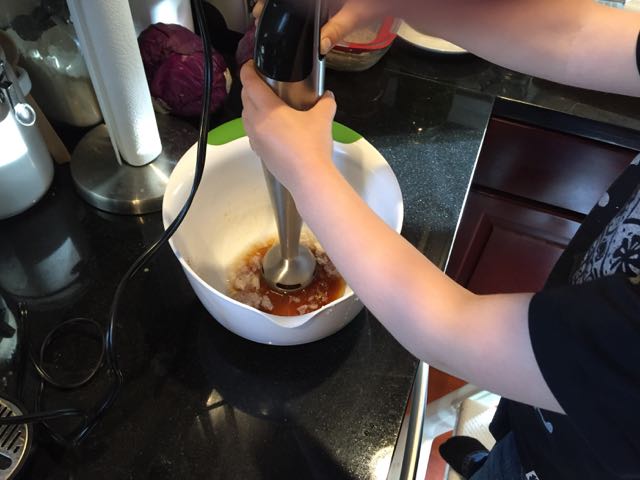
As I mentioned, it tasted good. But the maple flavor was not very robust. Also, the maple syrup that we were able to get into the butter (you can see from the photo that there is a fair amount left in the bowl) never fully integrated with the butter. As a result, the syrup continuously collected in little droplets on the surface of the butter and in the butter container, like the butter was weeping syrup. Weeping butter is weird. To me, it seems to require excuses, or at least an explanation.

I emailed Cooking Issues, my favorite cooking podcast, to see if Dave Arnold had any thoughts on how to improve our maple butter.

The Tuesday after I emailed the show, I listened live to episode 227. There was no mention of my question. As a result, Wyatt, my defeatist attitude and I started a giant jar of preserved lemons so that we would have some homemade gifts ready by Christmas.

I didn't bother attempting to listen live to the next episode of Cooking Issues.  I just listened as usual, later in the week, while doing cooking-related things. This past Thursday evening, I had time to listen to Episode 228 while cleaning up dinner and making Wyatt's lunch. And at minute 47:30, I had to sit down because I was too stunned and excited to do anything else. Dave Arnold read my email on the show and he had suggestions of things to try to improve our maple butter! 

That little bit of encouragement-via-podcast was all I needed. Wyatt and I spent time this past weekend trying two improvements inspired by Dave Arnold's suggestions. The details of those delicious and weird messes will be included in another post, "Homemade Cultured Maple Butter - Part 2." And because I am so grateful to anyone who is reading about this maple butter experiment during this Thanksgiving week, I'm planning to break with my my recent tradition of one-post-per-week and publish that story tomorrow.


Chèvre. Twice.

After listening to David Asher on Cutting the Curd and Fuhmentaboudit!, I was inspired to make his favorite cheese: chèvre. As he promised in The Art of Natural Cheesemaking, this cheese was very straightforward and required very little active time. 

Look at this beautiful chèvre! We got about a pound and a half of it, too, which is terrific. We ate it for snack on some crackers, with apples and honey. I also put some into a vegetable frittata for lunch yesterday. 

For as simple as this cheese is, would you believe that we may have had another cheese fail along the way? Here's what happened.

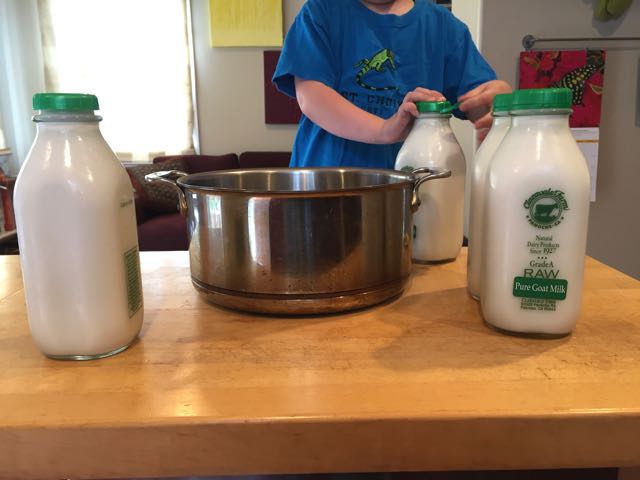
On Wednesday, I set up our kefir to culture so we would be ready for cheesemaking on Thursday. Thursday, morning, I went to Rainbow Grocery to buy four quarts of Claravale Raw Goat's milk. The milk was delivered that day. In fact, I had to wait for it to be taken off the truck. I brought the milk straight home, refrigerated it, and after school, Wyatt and I set to work making cheese.

Right away, we noticed an issue. The milk smelled strong. And while the milk didn't taste horrible, it didn't taste good. It had a strongly acidic and goat-y flavor, and there was no way either one of us would have even entertained drinking it. But this was only the fourth time or so that we had purchased goat's milk, and I wondered whether it was just we who had a problem with it. Maybe this milk was within the acceptable range of goat milk flavors. Or maybe the idea of doing another hour-plus round trip to the store with drippy milk bottles was just more than I could handle. We decided to move ahead with the cheese to see what would happen. 

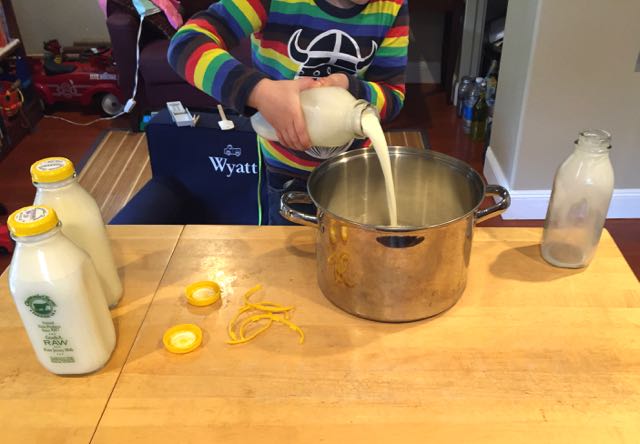
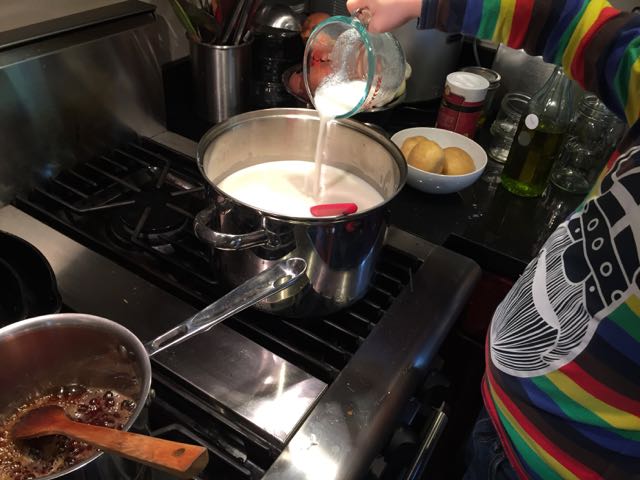
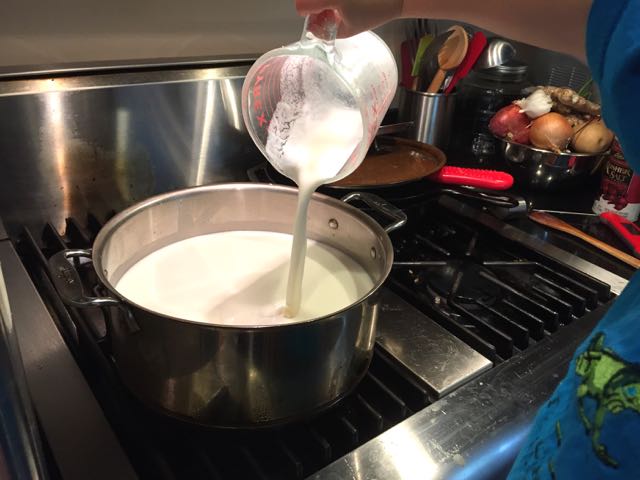
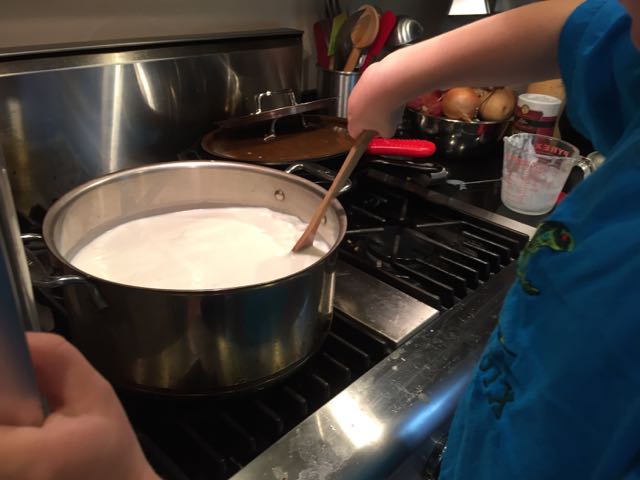
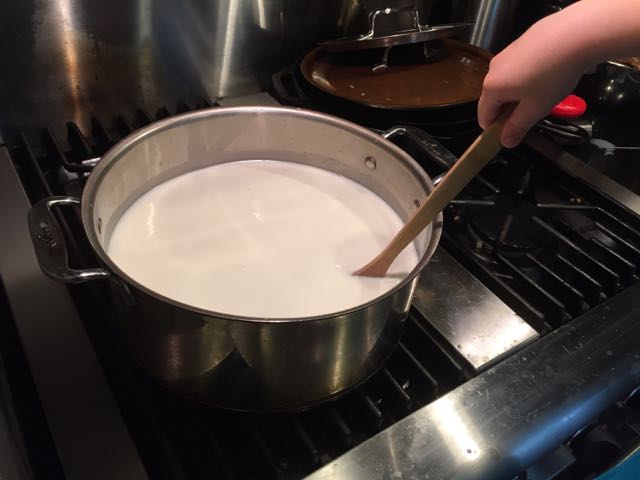
As usual, we poured and heated the milk, dissolved the rennet, added the kefir culture, added the rennet, and then left the cheese to ferment. The period for this cheese to ferment is 24 hours at room temperature.

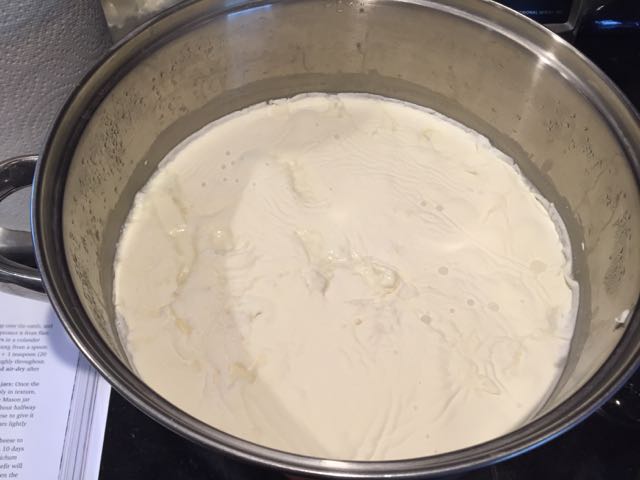
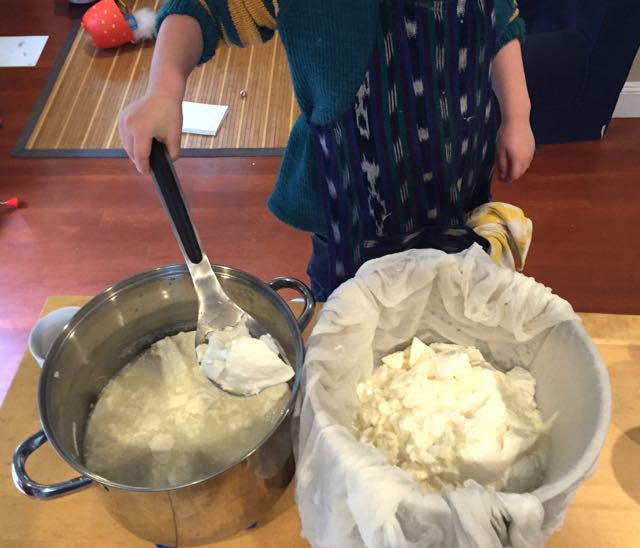
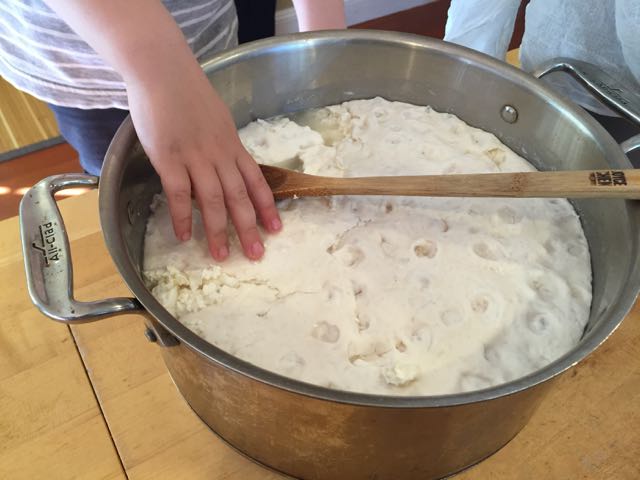
The cheese that resulted was definitely weird. The curd was firm, full of holes and spongy. You could actually wring out the whey from it. It looked nothing like David's photos, and it tasted strong. The flavors were more like the milk had been clabbered, so maybe there was something that had happened with refrigeration during the milk's transit to Rainbow. I emailed Claravale to find out what might have happened, but they never responded. We ate some of the cheese, crumbled on tacos on Friday. None of us suffered any ill effects, but we weren't that eager to eat more of it. 

On Saturday, I bought more goat's milk and we tried it again. This time, the milk tasted good and only mildly goat-y. And the curd we achieved looked like David's photos. Even better, the cheese tastes amazing.

I think the (admittedly obvious) lesson I have learned from this recipe is that we should trust our noses and taste buds, regardless of when the milk was delivered. If there's something off with the milk, the cheese will be off, too.

If anyone has any experience with goat's milk and can let me know what may have been wrong with the first batch we tried, I'd love to hear it. Please leave a comment!

Mozzarella, Fast and Slow

"I just need to finish building this helicopter, and then I can make cheese."

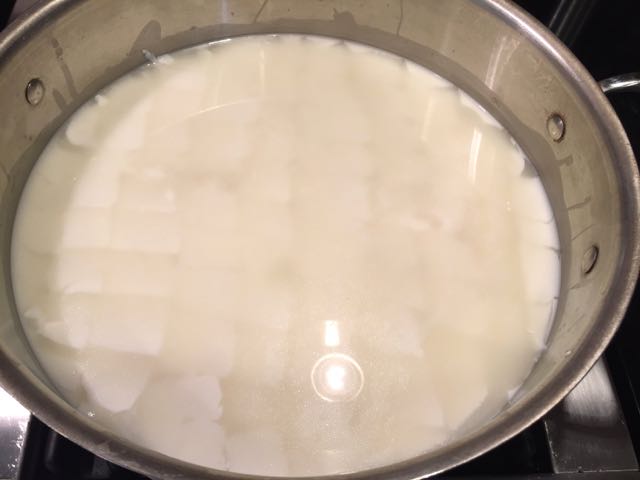
We've been working on mozzarella for the last week, following the recipes in David Asher's The Art of Natural Cheesemaking

Or, I should say, we have mostly been following the recipes. Our first mozzarella attempt was last Monday, and it was our first cheese fail. "Fast mozzarella" is cooked and ready to stretch in about an hour, and it has a very mild, sweet milky flavor because it has not fermented at all. But we didn't learn what it tastes like last Monday because the curd never set in our cheese pot.

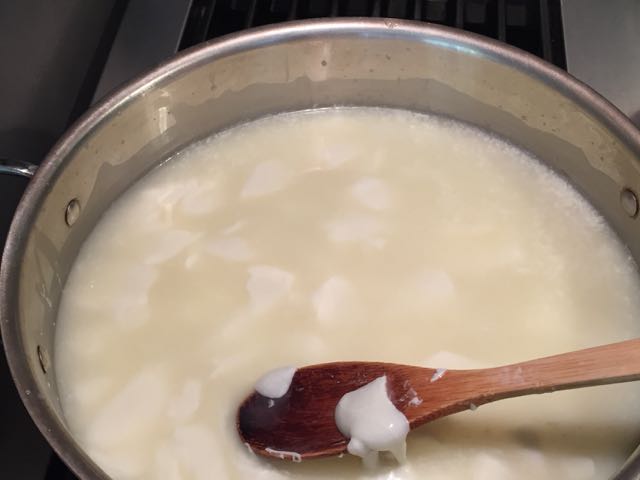
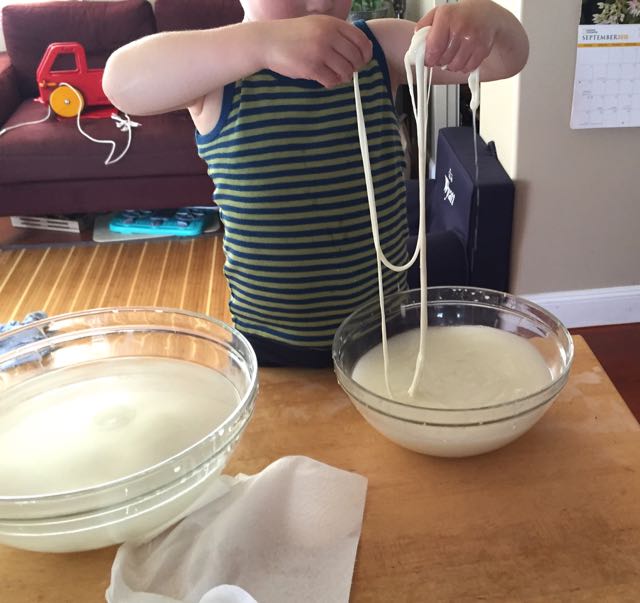
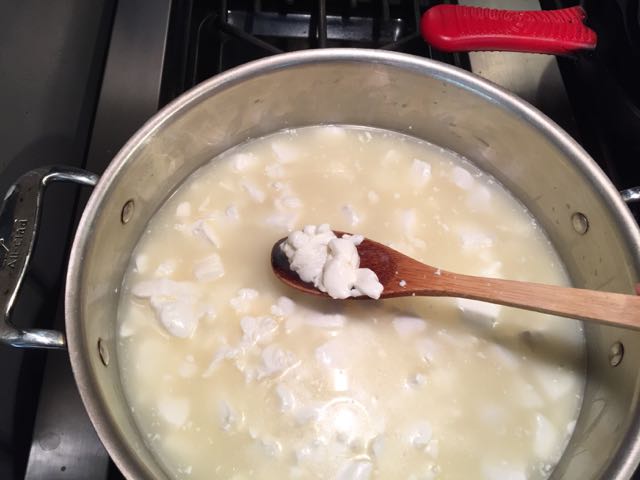
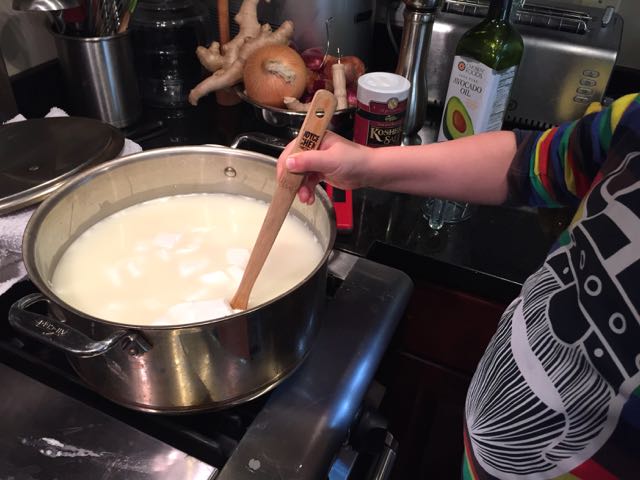
Luckily for me (and probably unfortunately for him), David Asher has proven to be the kindest, most supportive cookbook author ever. Last Monday, because we were in the middle of an email conversation about his slow mozzarella recipe, I told him about our fast mozzarella fail. He very gently asked whether I had forgotten to add the rennet. I hadn't, as you can see from this photo (also, I should have used a spoon, not a whisk), so the failure remained mysterious until yesterday when I remembered that I had used tap water to dilute the rennet. I also recalled that at the time, Wyatt had asked me why I wasn't using bottled water, like I had the other times we made cheese (and as David says in his book to use). I had told Wyatt it probably didn't matter whether we used tap water with the fast mozzarella because there was no kefir culture in the fast mozzarella recipe. I was so wrong. A little research yesterday proved that chlorine in water makes rennet ineffective, and while I have been unable to confirm whether whether chloramine (which is in our tap water) has the same effect, I'm pretty sure that it must.

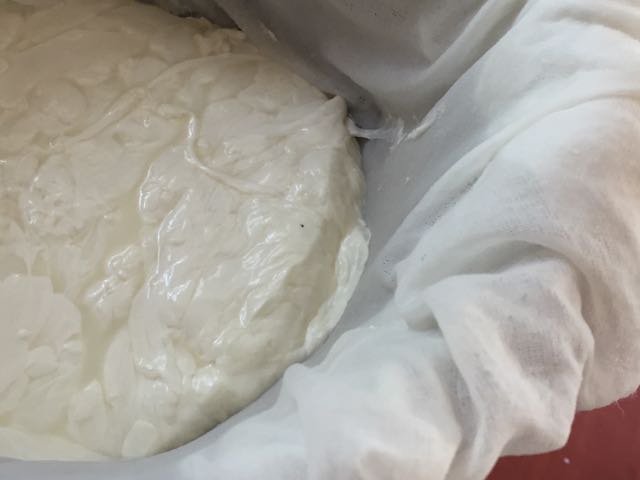
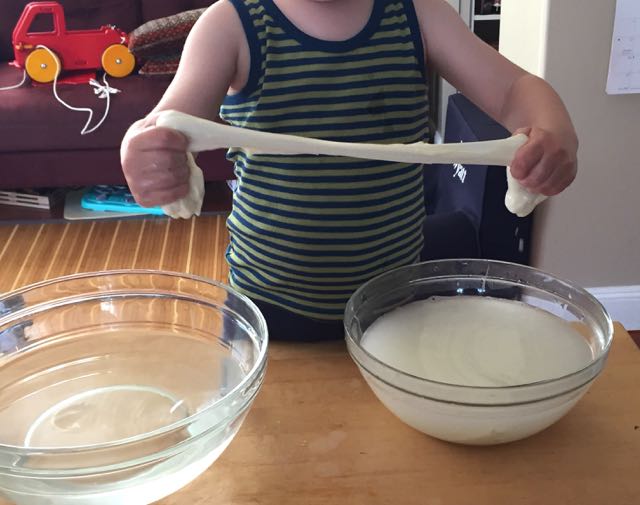
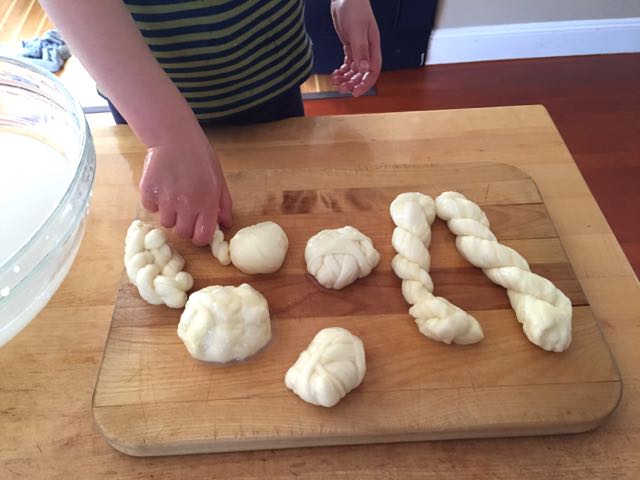
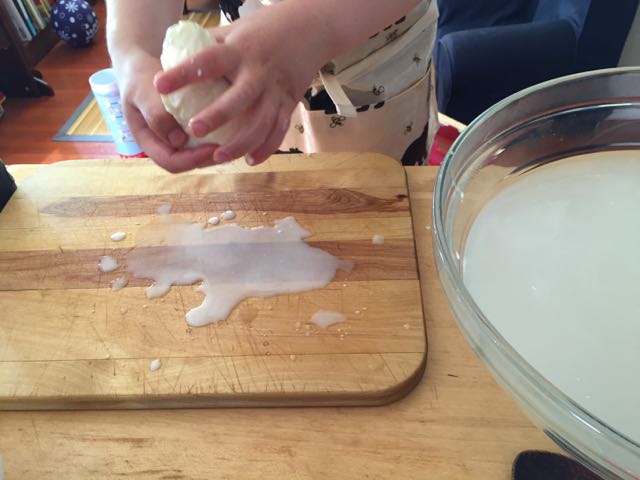
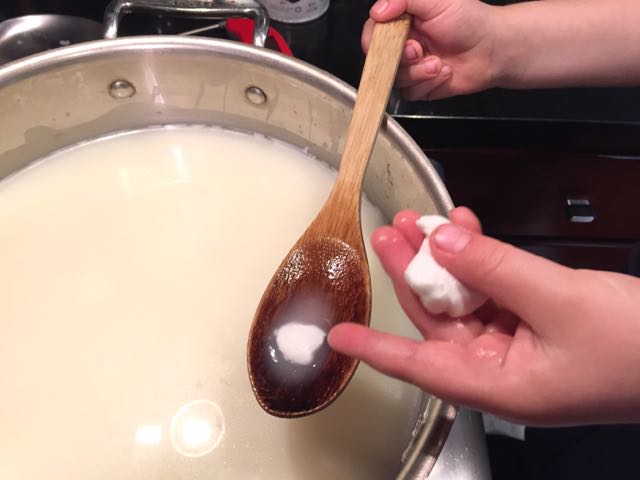
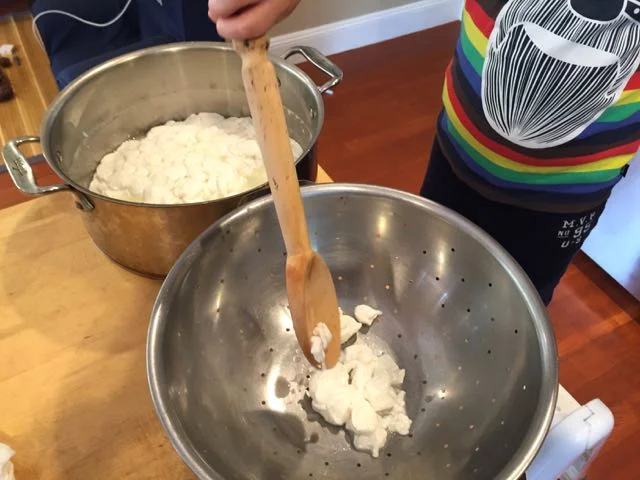
We tried the fast mozzarella again on Thursday, with improved results. But the curd stayed pretty soft. That time, I had used the remaining tiny bit of a bottle of water and topped off the quarter cup I needed for rennet dilution with tap water. Even though our finished cheese slumped, we had decent success and a huge amount of fun stretching the cheese into crazy string cheese shapes.

Our next recipe to try was slow mozzarella. This was the recipe I had emailed David about initially, because the recipe states it takes between 8-12 hours to complete, and you have to test the curd for stretchiness every hour. There was no way Wyatt and I would be able to hang with this project for 12 hours. If it took the full 12 hours, Wyatt would be in bed by the time the fun of stretching came along. And paying attention to cheese every hour for 12 hours, not knowing when we'd have to stretch it, was too much uncertainty. Fortunately, David had a suggestion. He said we could prepare the cheese, ferment it in its whey in the refrigerator for 24 hours, and then knead, stretch and shape it. That plan was totally doable.

Because we wanted the cheese to be ready to stretch around 2:30 or 3:00 pm on Monday, we needed to get it into the refrigerator by Sunday afternoon around the same time. And because the rest of the process would take about 4 hours, we would have to start the cheese around 10:00 am on Sunday. So that's what we did, and it worked perfectly.

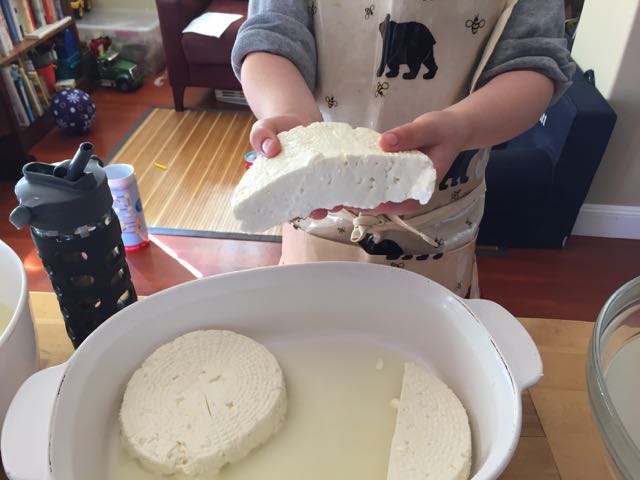
I have to note, though, that Wyatt has become more selective about the parts of cheesemaking he wants to do. This time, he decided he'd rather go outside to play than dissolve and pour in rennet, and he didn't really care about cutting the curd or stirring the pot of curds every 5 minutes for an hour. So I did those steps. The cheese forms, on the other hand, were new, so he definitely wanted to fill those. And he definitely wanted to remove the cheese from the forms and put them into their bath of whey. And because he knew how much fun the cheese stretching was, he had no problem setting aside Monday afternoon for stretching and shaping cheese.

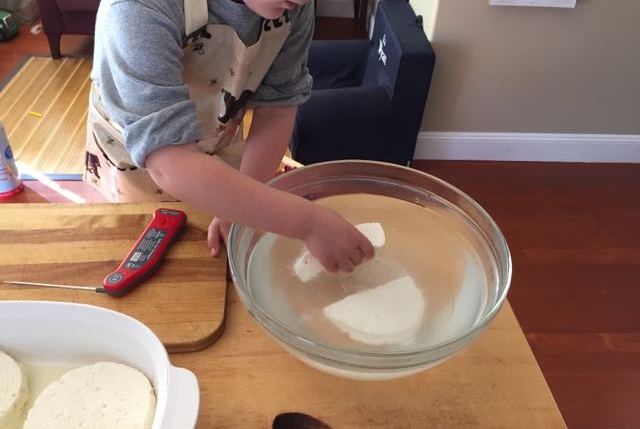
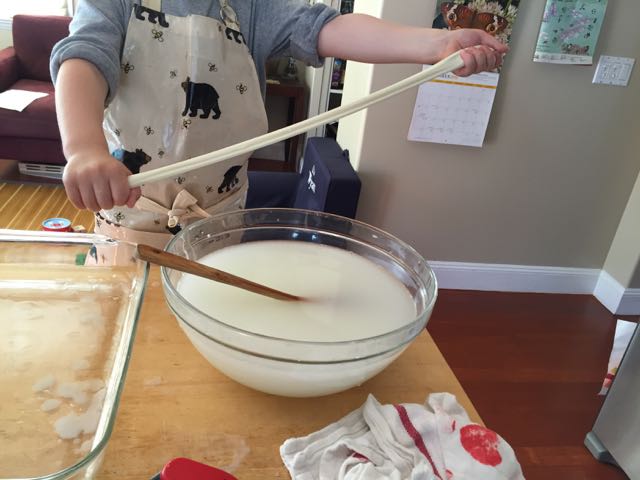
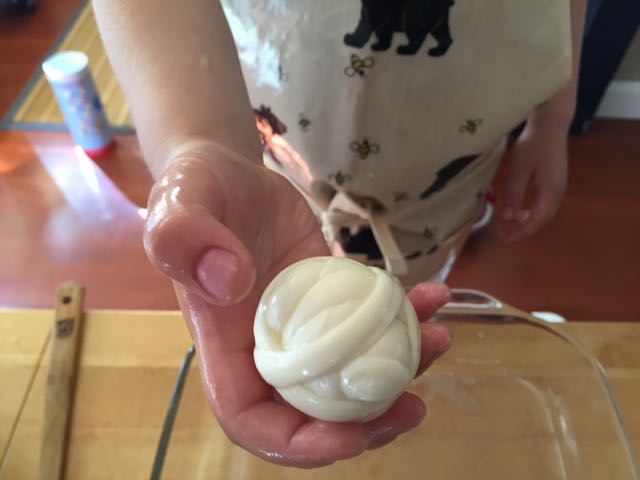
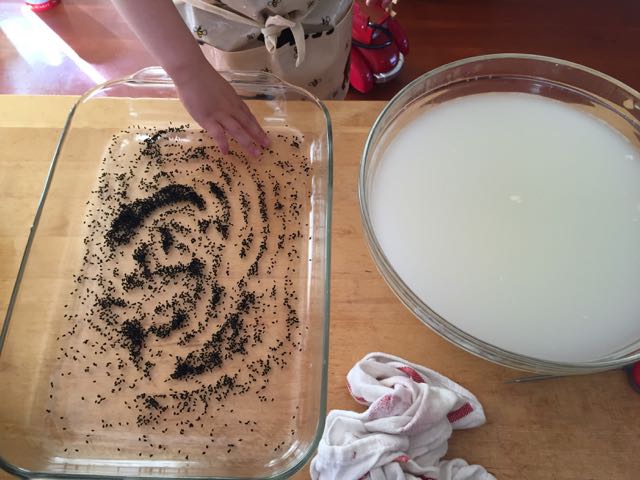
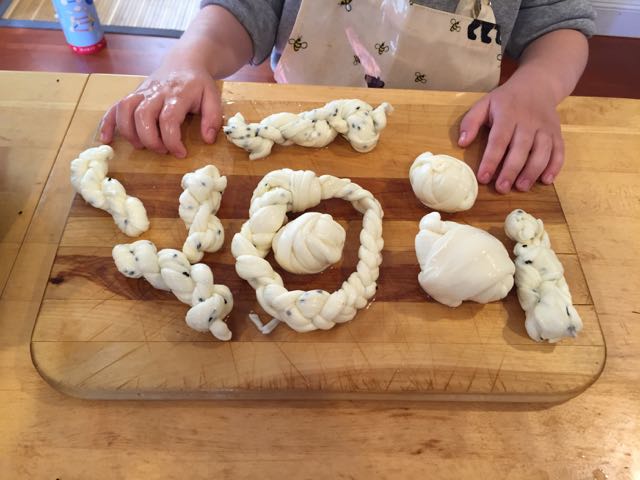
We could have attempted to make tender mozzarella balls, but we decided it was much more fun to overwork the curd and make string cheese. So we made Oaxacan string cheese and Majdouli, a Middle Eastern string cheese that incorporates nigella seeds.

The flavor of the slow mozzarella is much, much better than the fast mozzarella. It's still mild, but it's more complex and less sweet. We ate some for dessert with apples and honey, and it was so good. 

But the lessons for me from this mozzarella adventure are that I should heed the recommendations of my assistant and always use bottled water to dilute the rennet.


More Feta Fun: Creamy Feta

"Oops. Mom. I smushed that little part off. But it was by accident, and it's only a small piece. So it's okay, right? And I can probably eat it, now, right?"

Did you know there was such a thing as creamy feta? I didn't. According to David Asher in Chapter 15 of The Art of Natural Cheesemaking, creamy feta is a softer version of feta, made using a lactic curd, like a chèvre, instead of the firmer full-rennet curd that we made last week. Creamy feta is commonly called Bulgarian feta but is now labeled as Bulgarian white cheese because of the Protected Designation of Origin (PDO) protecting the name feta. If the controversy surrounding feta interests you, you can read more about the "feta wars" here. Because "Bulgarian white cheese" is at best an utterly uninspiring name, I'll refer to what we made as "creamy feta."

Making creamy feta was a pretty leisurely experience. The recipe said it would take about an hour over three days to make, and that would have been about right if I hadn't had any help. For us, it probably took closer to 90 minutes or so over four days, which was very doable.

Here's what we did:

Like our first feta, we made some active kefir culture, and strained it. We heated the raw goat's milk, added the culture and a very tiny dose of rennet dissolved in water. Then we let the covered pot sit out on the counter for a day.

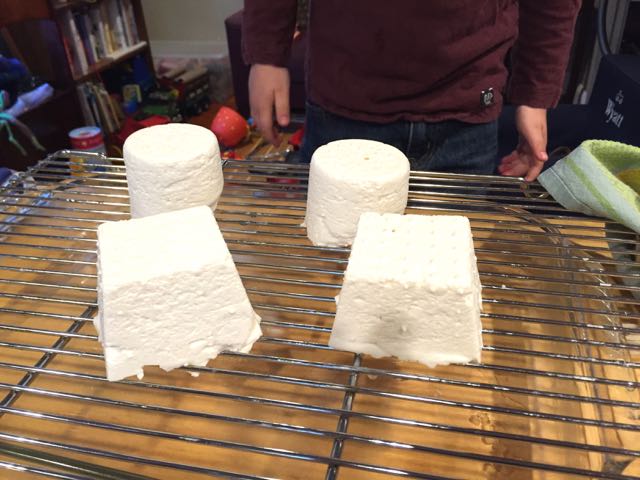
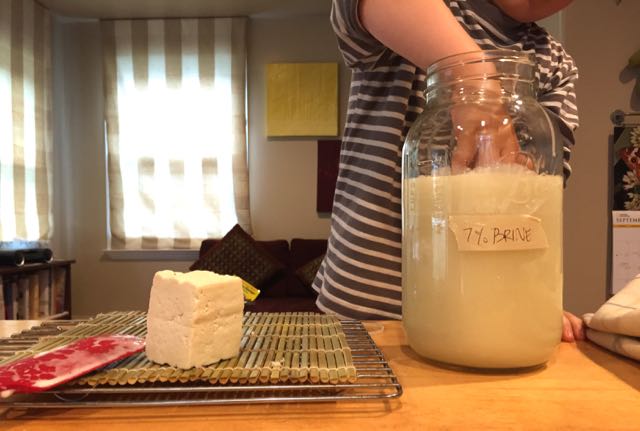
On the second day, we filled our forms with the curds that had formed. Unfortunately, I did not have enough of the proper size and shape forms for this recipe, so we used two crottin forms and two Valençay forms. I'm sure we broke a variety of rules by making feta in the shape of a pyramid, but because I have no idea what those rules are, I'm not too worried about it. We mixed a 7% brine. As the cheeses drained, we flipped them once.

On the third day, we salted the cheeses and let them dry, and we attempted a whey ricotta. The yield was very small and the flavor was very strong. The ricotta was also much wetter than our previous whey ricotta. We preferred the whey ricotta from the firm feta over the one from this recipe.

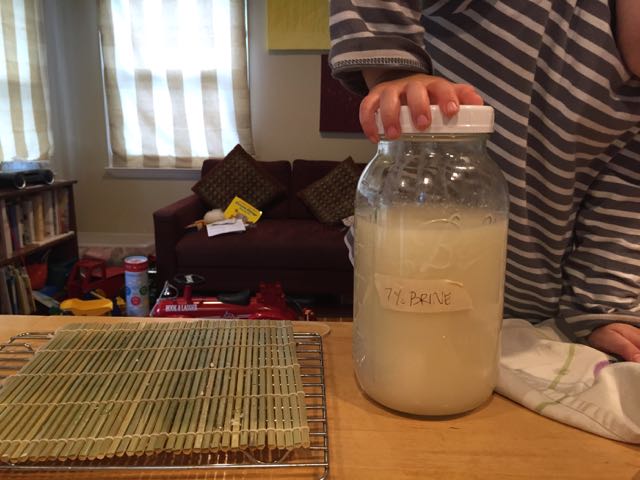
On the fourth day, we put the cheese in the brine. Unlike our firm feta, this cheese seems to want to float. The recipe says if that happens, to weigh it down. Wyatt managed to wedge a couple of pieces of cheese into the jar in such a way that they are holding each other under the brine. I have no idea what he did, but I hope it holds because I wasn't able to find something in our kitchen to use as a cheese weight.

Now we must wait two weeks for the cheese to age. We're looking forward to tasting the two fetas side-by-side to see whether there's one we prefer. 

Friday Fermentation Class

A couple of weeks ago, my friend, Maja, texted me saying, "Hey, I'm keen to do a fermentation session with you, do you think we could do that one Friday?" I responded with a resounding, "Yes!"

I love fermentation. And I get excited when my favorite people get into it, too. One of Maja's goals was to choose a project with vegetables that her son would enjoy, and this is the kind of challenge I like to tackle.

My gateway ferments were yogurt, kefir, and sourdough. Vegetables came later. It took a friend of mine telling me about her adventures in making sauerkraut, several months of thinking about doing it myself, and a few false starts of my own before fermented vegetables became a regular part of our life. But I have now been fermenting vegetables for the better part of the last three years and they truly are a part of life for all of us, Wyatt included. He happily eats a variety of fermented vegetables at lunch, dinner, and sometimes both if we don't have much time to cook. He started eating my purple sauerkraut when he was just over two years old, and he seemed to enjoy it from the first bite. But some people, adults and kids alike, tend to avoid the the tangy and sometimes sour flavors that are the signature of fermented foods. As the diet of many Americans has changed over the years, the flavors of fermented vegetables have become unfamiliar. As a result, fermented vegetables may take some getting used to.

In our house, we firmly believe that your tastes can, and do, change over time. I learned to like beets, Wyatt learned to like cantaloupe (he doesn't remember it, though), and one day, Marc may hate parsnips less. Wyatt got the best real life example of the phenomenon of changing tastes in preschool last year. One of his classmates disliked avocados. Disliked as in she really, seriously hated avocados. But according to the custom in the preschool, everyone was required to take a (sometimes very tiny) "no thank you" bite of everything offered at a meal, including the things you don't think you like. Wyatt watched his friend take "no thank you" bites of avocado over their shared preschool career. But one day, his friend took her "no thank you" bite, and much to everyone's surprise, including her own, she actually liked the avocado. She liked it so much that she asked for more, and then even more. This event made a huge impression on Wyatt, and he talked about it for days. After all, it's one thing to be told, "Hey, someday you might really like this food you hate with every molecule of your being," and it's quite another to actually witness when that change happens for your friend.

Keeping in mind Maja's request for an approachable vegetable ferment, I suggested that we start with some fermented radishes and dill carrots. I thought of the radishes thanks to Amanda Feifer's interview on the Local Mouthful podcast. Amanda suggested radishes would be a good first ferment because they're ready to eat in about a week or ten days. I think that in addition to their short fermentation period, radishes are a good first ferment because their flavor changes so much during that week or so. I suggested we also do dill carrots because they're really delicious (imagine the flavor of a cucumber dill pickle combined with the sweetness of a carrot), they take about as much time to ferment as the radishes do, and I was almost out of dill carrots myself.

Maja ordered some fermentation weights and picked up a couple of wide-mouth mason jars. She also got some gorgeous red and orange carrots. I got the radishes and some more carrots, dill, celery seed, and I had the salt, pepper corns and garlic. We were ready to ferment. Here's what we did:

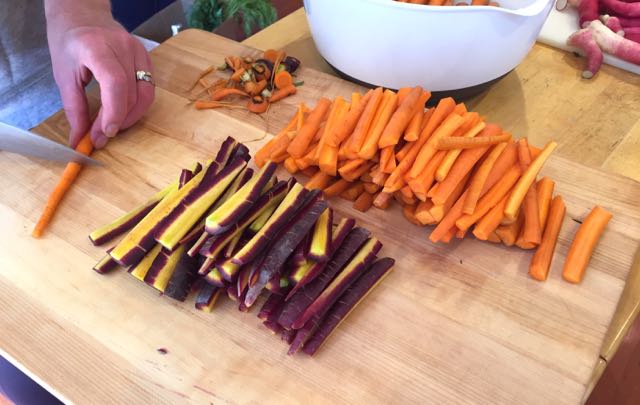
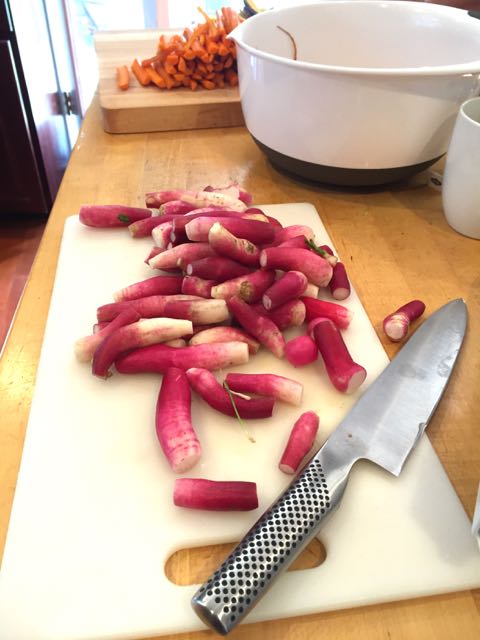
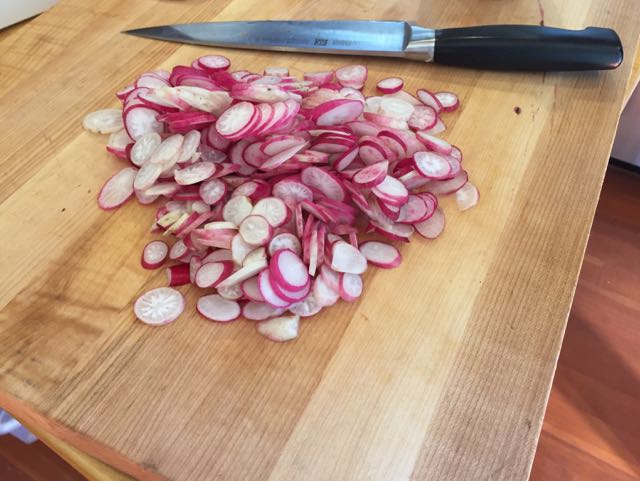
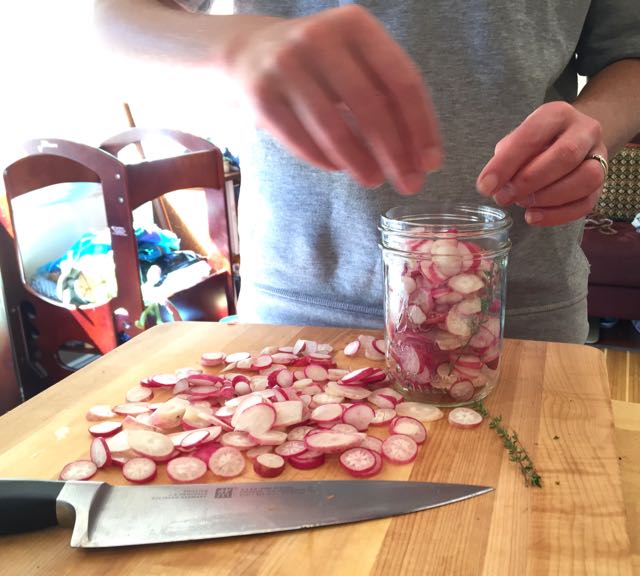
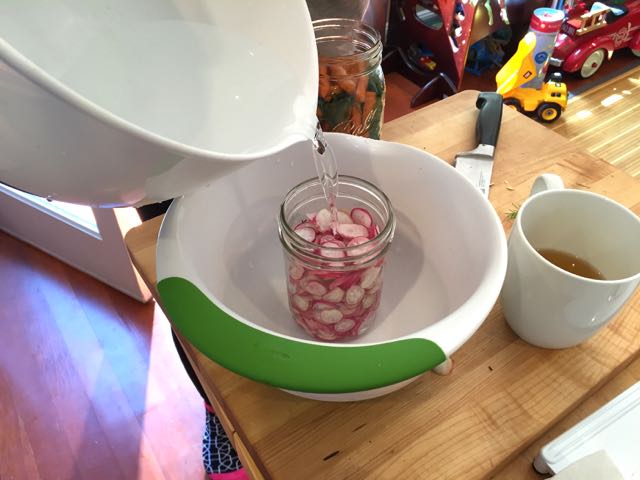
We washed and trimmed the vegetables, and then cut them into the shapes we wanted. Maja is a designer and you can tell just by how she cut and stacked the carrots. We mixed a 5% brine, and then we arranged our vegetables in the jars. Maja's were particularly artful. We added the brine to the jars, put a weight on top, and screwed the lids on loosely. 

I advised Maja to taste the radishes and carrots every day after the first few days to start to notice how the flavors change over time. I told her that for me, around ten days, the salty flavor that has been so prevalent on the vegetables goes away and other flavors start to come through. That's when I call them "done," take off the weight, tighten the lids, and store the jars in the refrigerator for eating.

Recipes:

My recipe for dill carrots is the same as for dill beans, which appears in this post. Just substitute carrots and you've got it (today we omitted the chiles de árbol, but you could include them if you like your carrots spicy).

Fermented Dill Carrots

Ingredients:

  • Enough carrots to fill your jars. Trim and cut into spears or rounds, whatever you like. You don't need to peel them.
  • 1 bunch (or more) of fresh dill. (I've used as much as one bunch per quart jar, but have also used less.)
  • 1-2 tablespoons of black peppercorns per jar
  • About 1/4 teaspoon of celery seed per jar
  • 1-3 peeled garlic cloves per jar (I like more garlic, but you may prefer less)
  • Enough salt and water to make a 5% brine for your jars
  • Fermentation weights, one for each jar. I love Sandy Der's weights.

Directions:

Wash the carrots and the dill. Put the dill fronds into the jars along with the peppercorns,  celery seed, and garlic cloves. Fit the carrot pieces in the jars, as many as you can, in as organized a fashion as you can. Leave about two inches of space between the top of the carrots and the top of the jar. You may need to cut some of the carrots.

Measure 1 liter of water (about 4 1/4 cups) and 50 grams of salt (if you don't have a kitchen scale, for the Real Salt I used, 50 grams amounted to approximately 3 tablespoons of salt) and dissolve the salt in the water. When the salt is dissolved, pour the water into the jar of carrots until the carrots are fully submerged under the brine. Leave about an inch of space between the brine and the top of the jar. (If that wasn't enough brine for your jars, make another batch.) Place a fermentation weight on the top of the carrots in each jar so that the carrots stay under the brine. LOOSELY screw the lid on the jar. Write the date you started the carrots on the jar--grease pencil on the lid or a label made from masking tape work well--and put the jar in a cool corner, out of direct sunlight, to ferment. Check and taste every few days to see how the ferment is progressing and to confirm the carrots remain fully under the brine. Top off the jar with more water if the level drops. Our carrots are usually ready to enjoy in 10 days or so, but that timeframe can shift depending on the time of year and how warm it is in the house.

Fermented Radishes

For radishes, the process is the same as for carrots but with fewer ingredients. All you need is radishes, salt, water, and a sprig of thyme (if you want to add one). Get as many radishes as you need to fill your jars. Wash, trim and cut your radishes. Cut the radishes however you like. I enjoy thin cross-sections, but you could easily do quarters or even whole radishes.  Put the radishes in the jar by themselves or with a sprig of thyme. Pour in 5% brine, top the radishes with a weight (and if some radishes float up to the surface, lay a blanket of a washed cabbage leaf under the weight to keep all the radish slices under the brine). Cover the jar with a loose lid, and label the jar with the date you started them. Place the jar out of direct sunlight in a cool area, and check them every few days to see how they're tasting and to confirm they remain fully under the brine. The radishes should be ready to eat in about 7-10 days. 


Whey Ricotta

"Dad. Guess what? Mom ALMOST let the whey boil over! You should have seen the foam on the top of the pot!"

Before making feta, I did not have a good appreciation of how much of reductive process cheesemaking really is.

IMG_3486.jpg

When I ordered our cheesemaking supplies from The Cheese Connection, the incredibly helpful Kallijah informed me that a gallon of milk makes about a pound of cheese. But what this actually meant in real life was that our gallon of goat's milk made just over a pound of feta, and left about 15 cups of whey. If you're not up on your conversion factors, let me help you out. There are 16 cups in a gallon, so the leftover liquid was only a cup less than our original gallon of milk. I suddenly began to understand why good cheese is so expensive.

And I was left with the question of what to do with all that whey. Fortunately, David Asher anticipated this question and included a chapter on "Whey Cheeses" in The Art of Natural Cheesemaking. In the chapter, David provided a variety of sensible suggestions on how to use whey, and there is a picture of him feeding whey to pigs, and a picture of him watering his garden with whey. Wyatt, a child of the California drought, looks for any opportunity to pour liquid anywhere, so he was in favor of finding a pig to feed, or barring that, pouring the whey on our garden. I, on the other hand, a grown-up involved in a Cheese Project, was in favor of trying to make one of the cheeses with it instead. Eventually Wyatt agreed to make whey ricotta.

As David explained in Chapter 22, Whey Cheeses, "Italian, for 'cooked again,' ricotta refers to the second making of cheese from one batch of milk: the milk is first 'cooked' to make Parmigiano Reggiano or pecorino or some other Italian cheese, and the leftover whey is then 'cooked again' to make ricotta." 

We had just over a half-gallon of whey available to play with, because the rest of it had been used for the brine to age the feta, or I had spilled it on the floor. A half-gallon was about half of the amount of whey required for the "Slow Ricotta" recipe, but I figured we could try the recipe anyway and see what happened. If we only got an ounce or two of ricotta, so be it. It's not like we had a pig starving for whey in our back garden.

Here's what we did:

First, we left the whey to ferment at room temperature for 24 hours. Monday afternoon, we poured the whey into a pot and brought it to a boil. David specifically warned in his recipe to remove the pot from the burner right as the whey comes to a boil so it doesn't boil over. Unfortunately, I forgot for a few minutes that the pot was even on the stove because Wyatt had begun conducting an imaginary orchestra (with they aid of a tinker-toy stick) in Rimsky-Korsakov's "Flight of the Bumblebee" from his San Francisco Symphony Orchestra Concerts for Kids CD. I lost track of the whey, and just as the foam was about to cascade over the rim of the pot, I happened to glance over at the stove, gave a little yelp, and pulled the pot off the burner just in time.

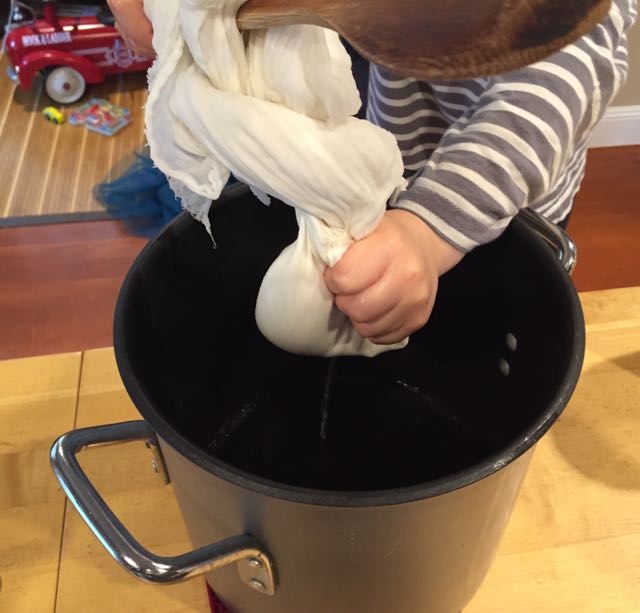
Back on task, we let the whey settle, and sure enough, there were little clouds of ricotta curd that had pulled out of the whey. We strained the ricotta in some cheese cloth and hung it to let it drain and cool.

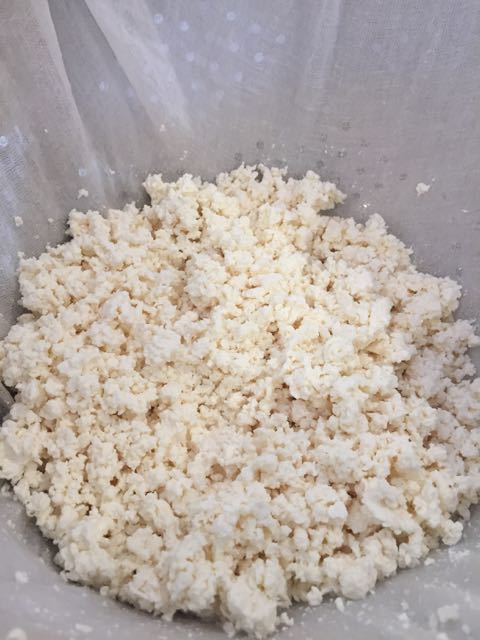
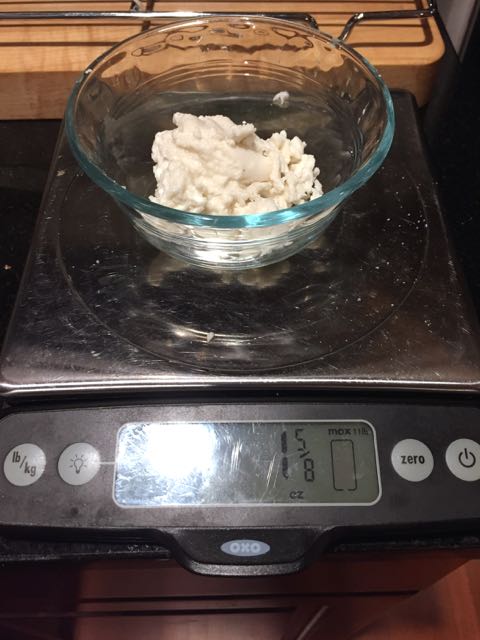
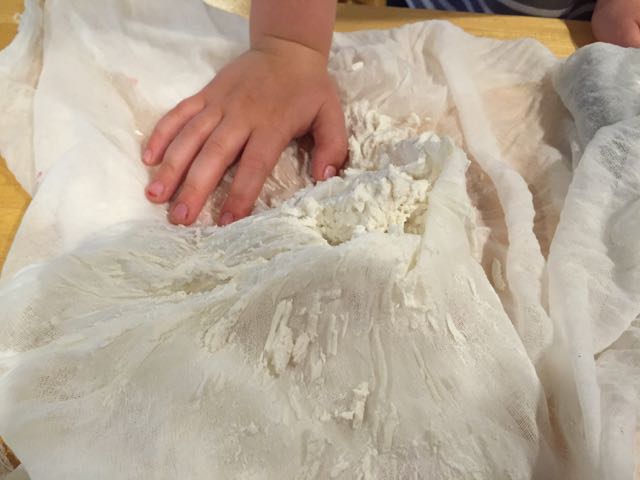
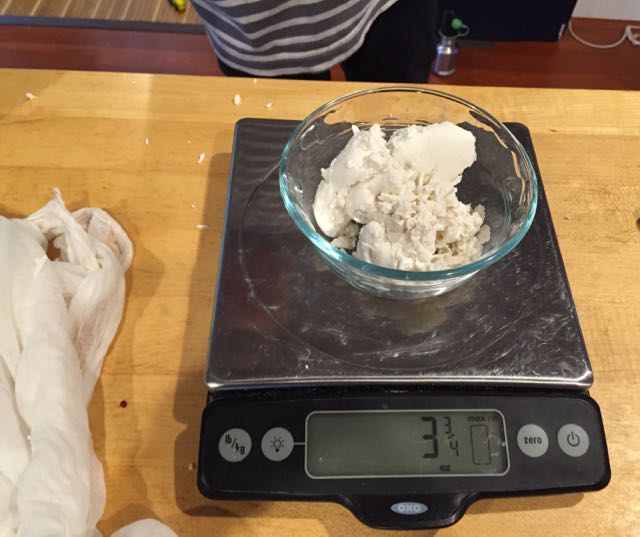
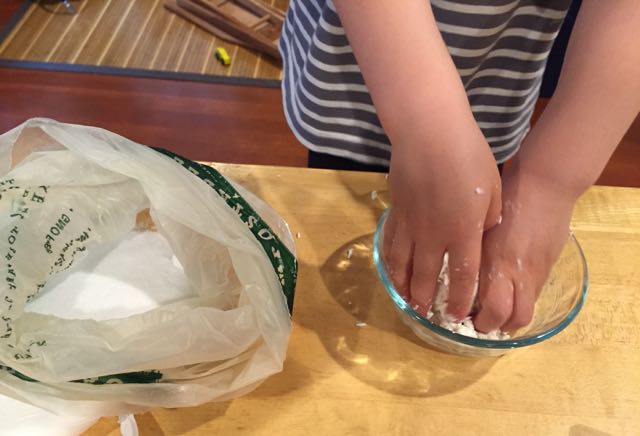
Once the cheese had drained (and yes, we probably shouldn't have, but we squeezed the hanging cheese just a little bit to move the process along) and cooled, we weighed it, salted it and ate it for dessert with some fruit. I was impressed that we got almost four ounces of ricotta. The cheese was soft, creamy, and thanks to the fermentation step, had a depth of flavor I have never before tasted in ricotta.


Feta-tastic!

"Mom. Can I just please try this? With the salt? PLEASE?"

Originally, I had planned to work through the recipes in David Asher's The Art of Natural Cheesemaking in the order that they appear. But as the rest of North America heads into autumn and cooler temperatures, San Francisco is entering summer. I checked the temperature of our normally chilly garage last week, when temperatures were in the 80s and above, and the garage was over 70 degrees. That's way too warm for aging chèvre, which is the next chapter in the book.

But we were on a roll, and the idea that our project could be stymied by warm weather seemed wrong, or at least unacceptable, to me. I skipped ahead to the chapter fifteen, on feta: "Feta is a cheese that is aged by submerging it in a brine made of its whey. Started as basic rennet curds, feta is defined by this brine-aging. Brine-aged cheeses are most popular in warmer climes, where salty brines preserve cheeses well despite high temperatures and without refrigeration." Perfect!

On Saturday, I bought a gallon of raw goat's milk that had just been delivered to Rainbow. Ideally, we would have started the cheese on Saturday, but Saturday was just too busy. Also, I had forgotten to make the active kefir we would need for our cheesemaking. So on Saturday, I started the kefir that would be ready the next day.

We started the feta on Sunday and finished on Monday. Here's what we did:

On Sunday morning, the kefir was ready, and we were eager to get started. But first, we learned what raw goat's milk tastes like. It's has a pretty distinctive taste, Wyatt said it was like hay. I don't know when he has ever eaten hay, but that's a different issue. He also said he liked the bit that he tried, thought that it tasted nothing like cow's milk, and he added that he probably wouldn't want to actually drink a glass of it. After pouring the milk into the pot, we warmed it, and added the strained, active kefir. We covered the pot to keep the milk at 90 degrees for an hour.

Keeping the pot warm was where I made my first mistake. After reading about how hard it can be to keep the milk warm enough, and how your cheese may fail if the temperature drops too low, I wanted to be sure that the milk stayed warm enough. And as you may have already guessed, I overcompensated. I brought out bath towels to swaddle the pot, and I turned the oven on, to keep the top of the stove warm. By the end of the hour, I measured the temperature of the milk, and it had risen to 99 degrees. This was obviously not ideal, but I rationalized (without any science or research, mind you) that it would probably be fine. I told myself that the pot hadn't been that hot for the whole hour, and I also figured that people in hot places drink kefir, so we should just push on. But before we continued with the recipe, we let the milk cook to 90 degrees, and I turned the oven off.

Once the milk had cooled a bit, we added the rennet that we had dissolved in water, and then we covered and swaddled the milk pot again for an hour. The stove had cooled off by that point, but I checked the temperature of the milk after 30 minutes, and it was 3 degrees warmer than it was when we started. So I removed some of the towels and uncovered the pot so it could get back to 90 degrees for the rest of the hour.

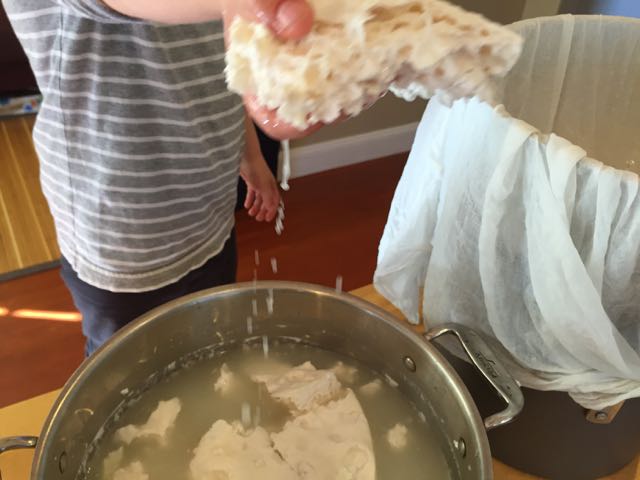
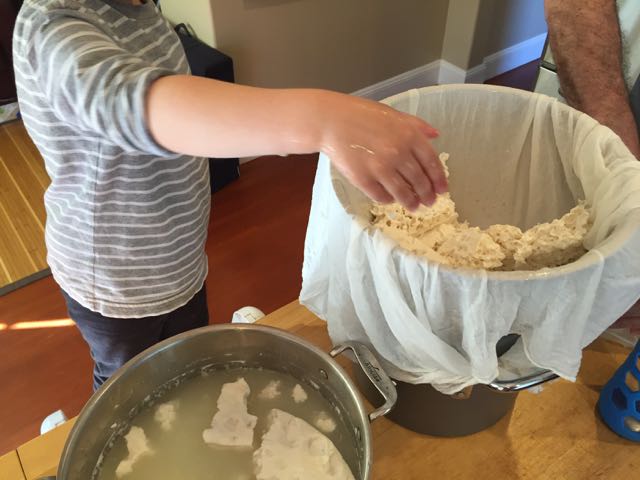
Next, we checked for a clean break of the curd, and we had one. At this point I was absolutely overjoyed that we actually had curd--its was the first obvious clue that we were on the right track with the recipe. Then we had to cut the curd, which is tricky in a round pot with a regular knife and a 4-year old who wants to do everything himself. But we managed, and the curds that we missed, we just cut them up later as we found them when we were stirring. We poured off the whey, salted the curds, and we set up our cheese press from last week, this time with cheese cloth in it, so we could flip the whole cheese occasionally. It worked perfectly.

We then prepared our salt brine, and I managed to pour a good amount of whey all over the floor. I also splashed some on Wyatt's socks (he loves to add that part of the story). In my defense, our four-cup glass measuring cup pours terribly for some reason, and I had forgotten how badly it pours until I was standing in a puddle of whey. 


After the cheese had been pressed and was cool, we cut the block of cheese (which weighed just over a pound) into four pieces so it would fit in our jar with the brine. We salted the surfaces, and we set the quarters of cheese to dry on the aging mat for 24 hours. We flipped them occasionally so they would keep their shape.

On Monday afternoon, we checked our cheese, and they had lost another tablespoon or so of liquid. We had no idea whether they should dry for longer or not, but we figured they were probably fine to go into the jar of brine. And good news! They sank right to the bottom of the jar, and stayed there. 

We put the jar in the refrigerator, and we now have to wait two weeks before we can try them. As Wyatt said, "Two weeks? That's not so long, right? That's like tomorrow, and then after tomorrow, and then it's two weeks!" He has such a good attitude for making cheese.


Maintaining Gluten-Free Sourdough Starter

All three of us have been enjoying our new sourdough bread. We even baked more loaves of bread yesterday! This time, Wyatt got to complete all of the baking steps with me.

I daresay that our bread was even better this time around!

But as it often goes with new pets, the care and feeding of the pet is on the parent. In this case, taking care of the sourdough is on me. It had been so long since I had kept sourdough starter alive that I had forgotten how I used to do it. I went online to jog my memory, and boy did those searches jog it. If you search online for "how to maintain sourdough starter," you will find more exquisitely detailed posts than you would have ever thought imaginable. Amateur bread baking, sourdough in particular, is a thing, and most people who choose to maintain a starter and then write about it tend to have strong opinions about the process.

But here's the problem with strong opinions about maintaining sourdough starter: everyone's kitchen is different. The temperature of the kitchen, the temperature of the water, and the exact composition of the water changes from house to house. What works perfectly for someone else may not work for me, or you. Exactly how much to feed a starter and when to feed it is dependent on a lot of variables that I am not interested in attempting to control. I want to keep my sourdough starter alive, so I feed it regularly. But I figure that since I was able to grow it on my counter over a few days, thanks to a little bit of care and a lot of benign neglect, it will be no big deal to start another one if this one dies.

If you have never maintained a sourdough culture before, you can read about the process in traditional sourdough bread here.  This series of posts on Phickle, Sourdough Starter School, is really informative. The photos are also great, but remember that like all other gluten-free baking projects, gluten-free sourdough starter looks different from traditional sourdough.

Even though traditional and gluten-free sourdough batters look different, the bubbles of happy microbes are the same in both. The more bubbles I see and the more popping I hear, the more active my starter is. If there are almost no bubbles, my starter has either just been fed or may need to be fed again. And after I have fed my starter, I give it a sniff. The smell is always very mild. But by the time of the next feeding, the smell is much stronger and more sour. Sometimes there's even a layer of liquid on top of the starter. A strong sour smell and this liquid are signs that my starter is hungry for fresh flour and water. 

There seems to be no consensus on how often to feed a starter. Sandor Katz recommends daily feeding, and so does David Asher in his cheesemaking book. Amanda Feifer at Phickle is also in the once-a-day camp. But many other people feel strongly that twice a day feedings are necessary. The first few days I had my starter, I fed it once a day, before I went to bed. But I started to notice that by feeding time, it was looking and smelling like it was pretty...hungry. So I started feeding it twice a day: morning and evening. I noticed with twice daily feedings, the starter looked more lively by the end of the day. It's possible, though, that if I had just increased the size of the one feeding, that would have fixed the problem.

But enough discussion. Here's my process so far for maintaining sourdough starter:

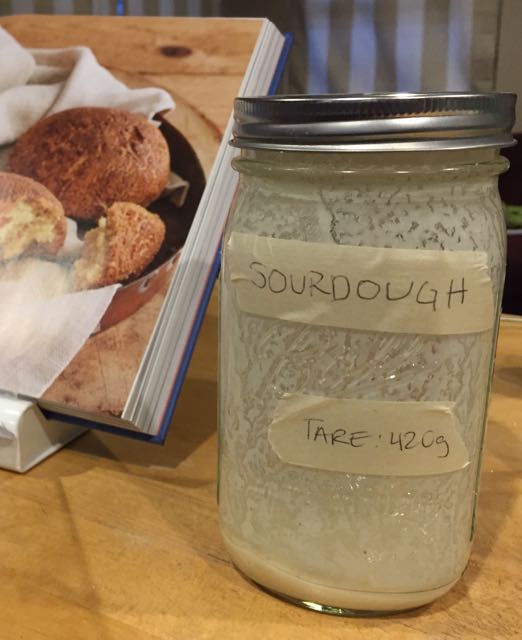
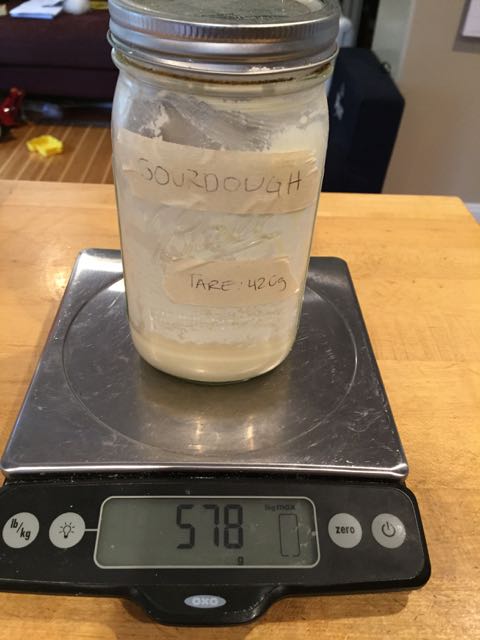
At the first feeding to maintain the starter, I took a clean, empty, quart sized mason jar. I measured the weight of it, in grams, and wrote that tare weight on a piece of masking tape, and stuck that on the jar.

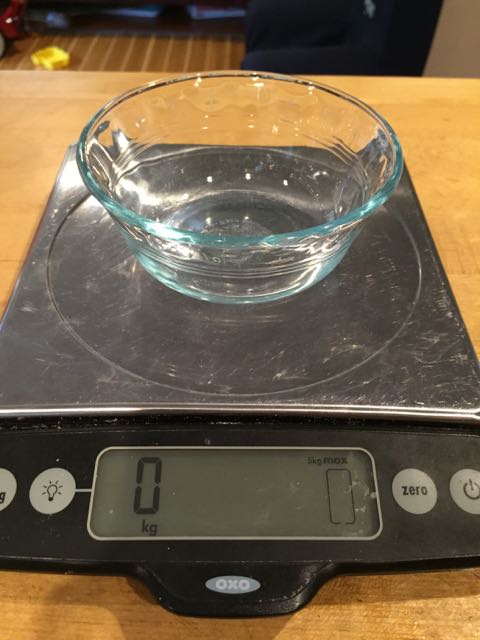
I put the jar on the scale, zeroed the scale, and added 20g of sourdough starter to the jar.

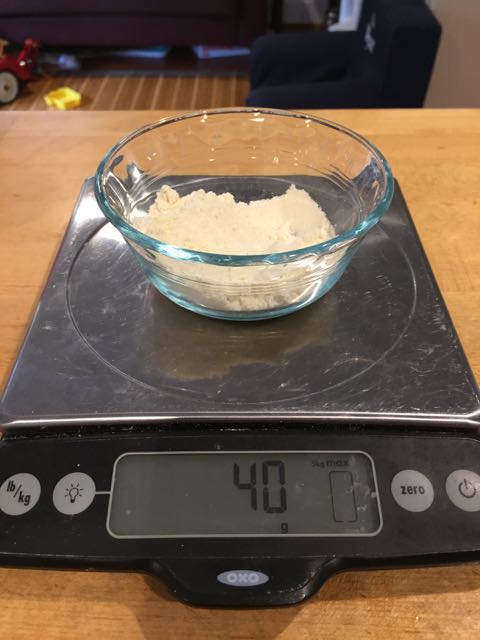
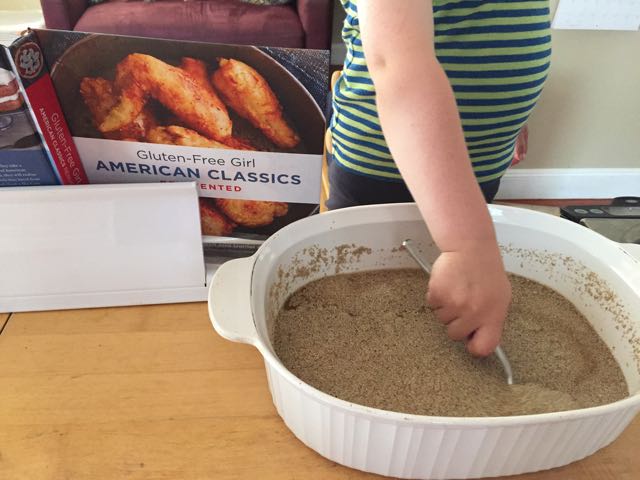
I measured 40g of flour (be sure to feed the starter gluten-free flour mix, NOT the grain-free one in American Classics Reinvented), dumped that in the jar with the starter. I measured 40g of non-chlorinated, room-temperature water, and I dumped that in the jar with the starter and the flour. I mixed all of it up vigorously, and screwed the lid on LOOSELY.

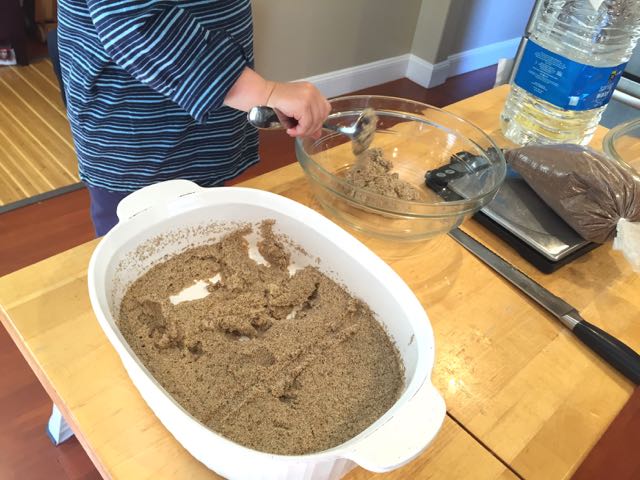
In the evening, I weighed the jar and removed all but 20g of the sourdough starter. This was easy to do, because I already knew how much my jar weighs when it is empty. (Pretend your empty jar weighs 420g . Put the jar on the scale and keep removing starter until the scale reads 440g. Now you have 20g of starter in the jar.) I then added 40g of flour and 40g of non-chlorinated, room-temperature water, mixed it all vigorously, and screwed the lid back on LOOSELY.

Then I just repeated this process--keeping 20g of starter, and adding twice that amount of flour and of water at every feeding. I composted the starter I removed. The thing about sourdough is that you have to remove some of the starter at every feeding or else you and your kitchen will quickly become overwhelmed by sourdough starter. Also, removing excess starter helps to keep the microbe population in check and control the level of sour in your baked goods.  

A few feedings in advance of when I would be baking again, I began to build up the size of my starter by increasing the size of the feedings. I kept 20g of starter, but fed it 60g of flour and 60g of water. And at the next feeding, I kept 30g of starter and added 90g of flour and 90g of water. At that point, I had more than enough starter for my recipe plus 20g to maintain in the jar.

This week, I'm experimenting with keeping the starter in the fridge. I fed the starter a couple of days ago, let it hang out on the counter for a couple of hours after the feeding, and then I put the jar in the refrigerator. My plan is to take it out of the refrigerator and revive it with a few feedings before our next baking day. 

In Praise of Paneer

"Wyatt. Stop eating the cheese! We have to press it." 

"But it's SO GOOD!"

While we were waiting for the Shankleesh, we decided we had plenty of time to make paneer according to the recipe in David Asher's The Art of Natural Cheesemaking (White River Junction: Chelsea Green, 2015).

Paneer is a special kind of cheese that is made without animal rennet. Heat and acid are what allows the milk to curdle, and then those curds can be strained and pressed into a block of cheese. Because of the way paneer is made, it doesn't melt when you heat it. As a result, you can cook it in sauces or barbecue it, and it will hold its shape.

The first step in the recipe is to heat the milk to boiling (which would kill most of the beneficial bacteria in raw milk). We therefore opted for pasteurized milk in this recipe. This recipe also requires a cheese press, which of course we don't have. I learned from a little bit of research that cheese presses start around $200, so buying one is not a good option for us. There are also instructions available online so you can build your own, so maybe we can do that in the future.

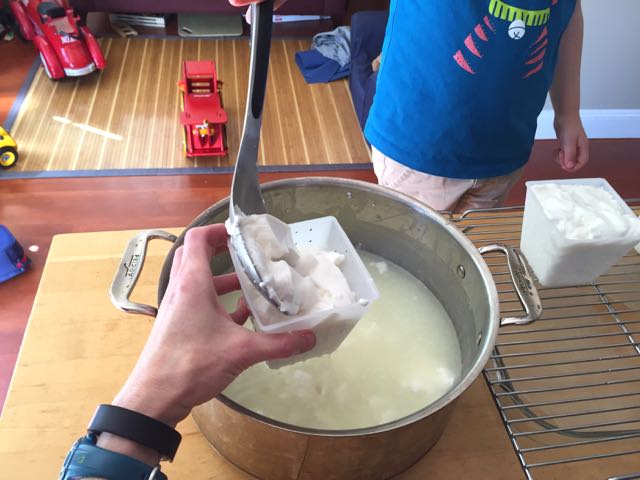
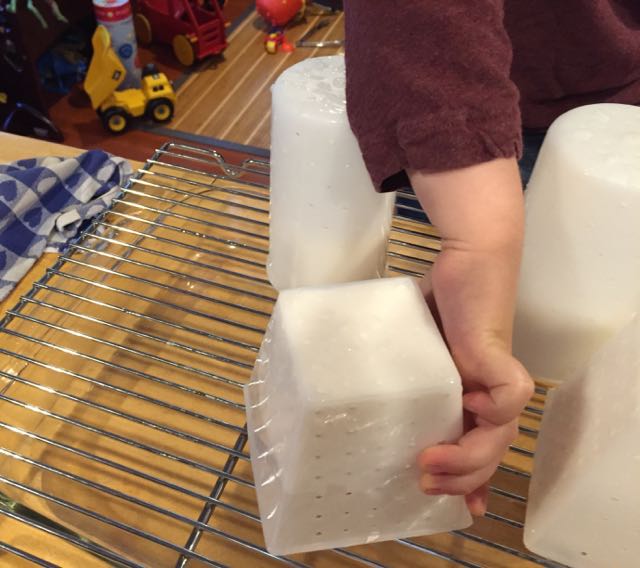
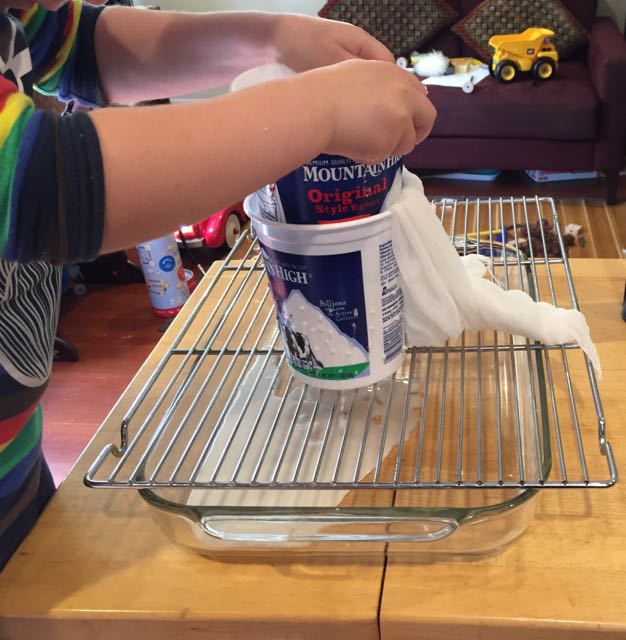
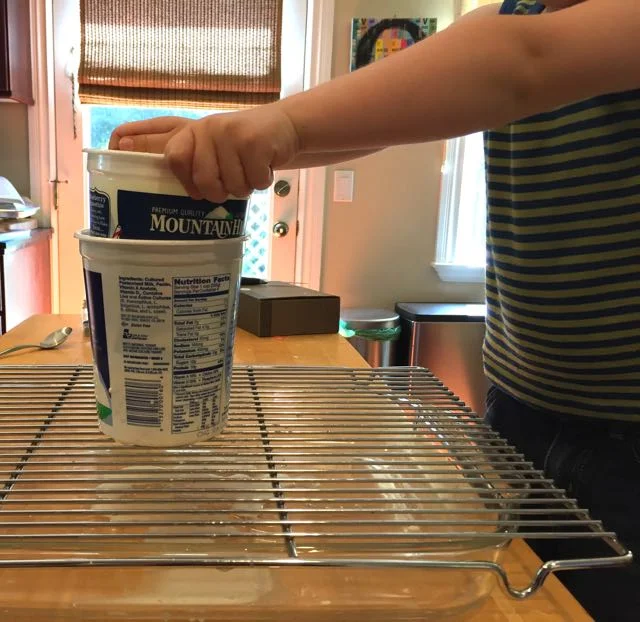
Fortunately, the author suggested an easy solution to the cheese press problem: two empty plastic yogurt tubs. You punch holes in one of the tubs from the inside out, put your cheese in the tub with holes, and then you pour the warm whey into the intact tub, which you place on top of the cheese. The tub of warm whey helps to press out the rest of the whey from the cheese. As much as I try to avoid plastic, this was our best option for making paneer. Wyatt and I went out and bought the cheapest yogurt we could find, for the containers it came in, and took it from there.

Here's how we made paneer:

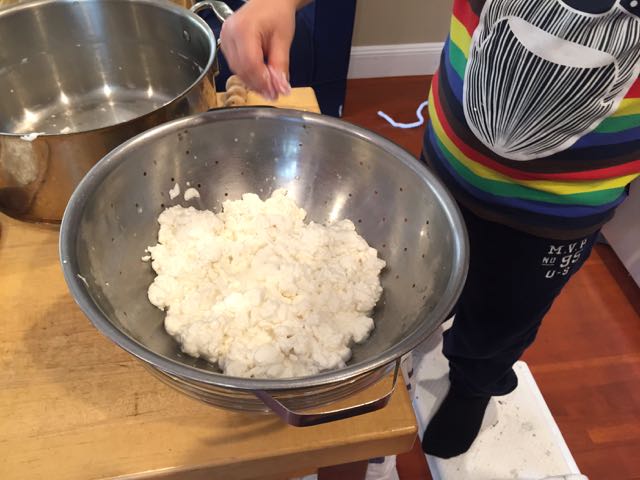
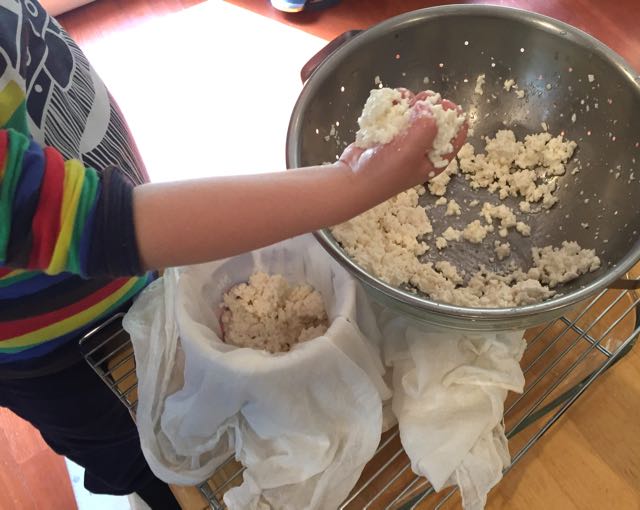
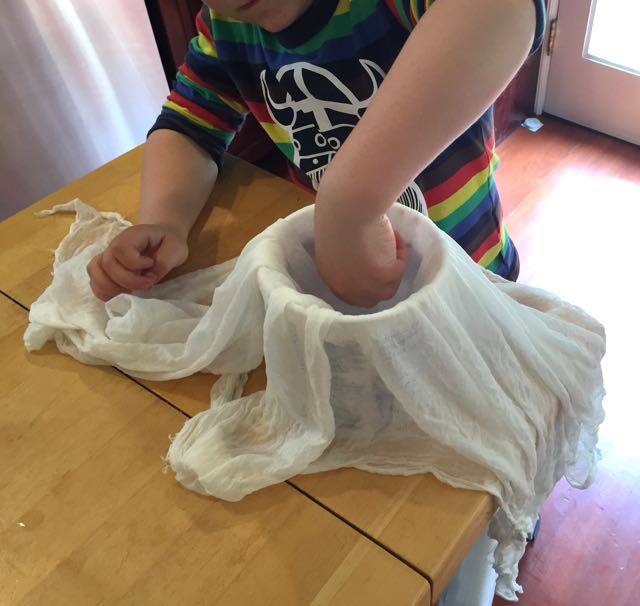
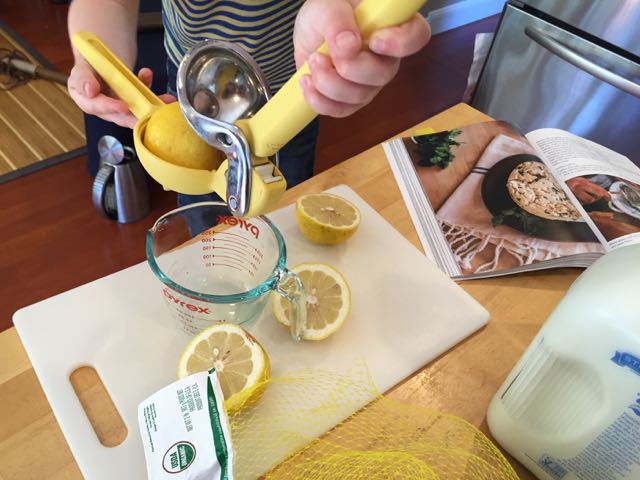
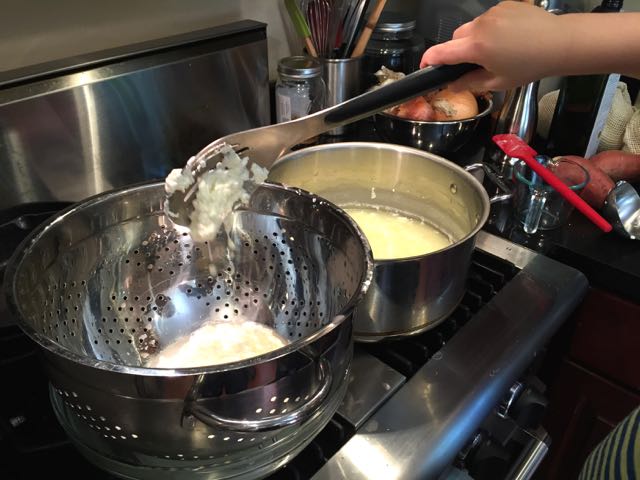
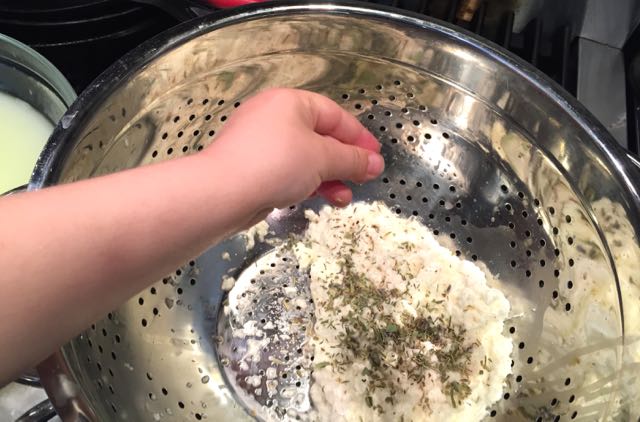
The recipe advises using fresh lemon juice, not bottled, which is my preference anyway. So we squeezed lemons, and then heated the milk. After the milk had boiled, we poured in the lemon juice and watched curds magically appear. We then gently transferred the curds from the whey with a slotted spoon into a colander, seasoned the curds, and set up our press on a rack, over a baking dish. The cheese sat in the press for a few hours, and it was easy to remove from the mold when it was time to eat it.

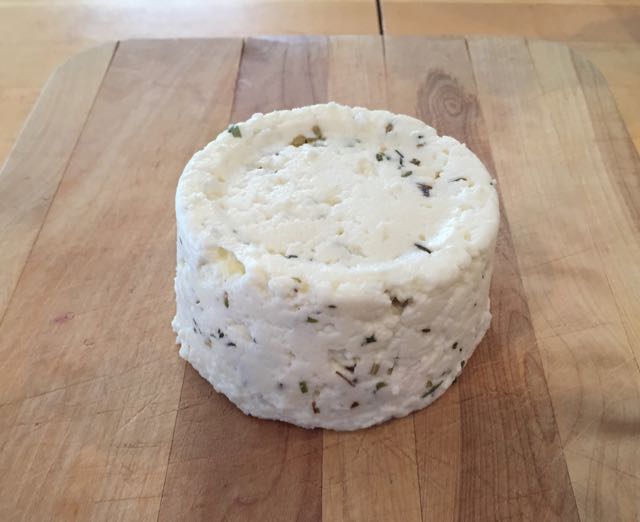
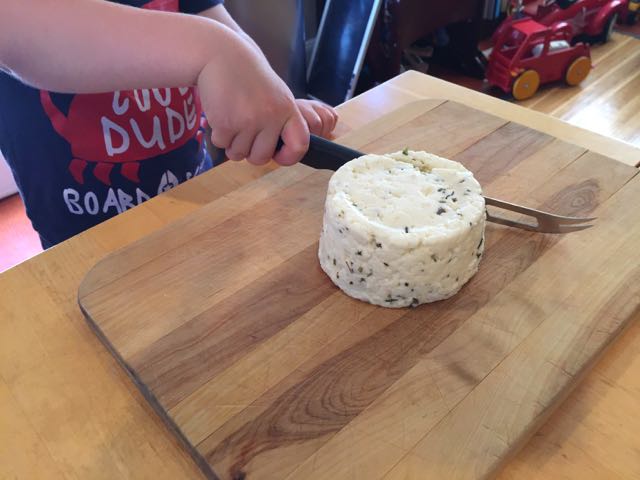
We tasted the paneer with and without salt, and we concluded that salt enhances the flavor dramatically. We added some herbs to fancy it up, and in the spirit of international cheesemaking, we went with herbs de provence. It tastes terrific.

We stopped by Rainbow today to tell Andy all about our cheesemaking and give him some of the paneer. Wyatt bounded over to him to give him his present, and Andy was so gracious. He remarked that he would bring the cheese to his cheese meeting in a few minutes to share with his coworkers. (No pressure there...)

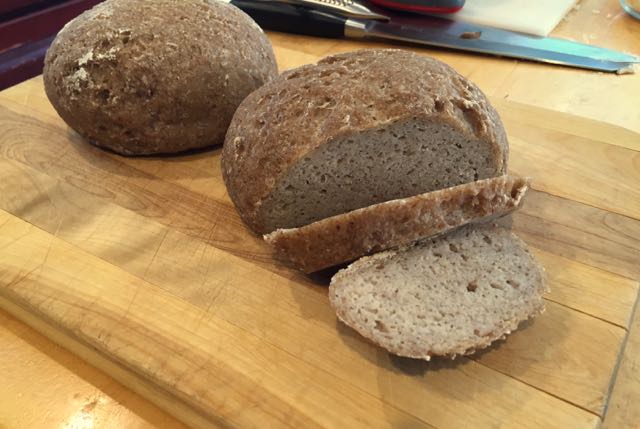
Gluten-Free Wild Sourdough Bread: We did it!

"Is that MY loaf of bread? It looks so good...THIS BREAD IS SO GOOD! I need two pieces, please. Two pieces with extra butter."

Making yogurt and baking sourdough bread were my first forays into fermentation. When Wyatt was about eight months old or so, I was really into baking sourdough. And I got really good at it. I bought my culture from Cultures for Health. I baked bread all the time, we had sourdough pancakes every Sunday, and I cared for the culture almost like a pet. 

But just after Wyatt turned a year old, we learned that he (and we) were gluten-intolerant. That knowledge sounded the death knell of the sourdough starter and the end of the Bread Extravaganza of 2012. Over the next couple of years, I tried a few recipes here and there for gluten-free sourdough bread, but they mostly produced dense, boozy-smelling bricks. Awful stuff. Since then, we've tried various bakeries' gluten-free breads, and they're great in a pinch, if toasted. But I don't love the texture that xanthan and guar gums give gluten-free baked goods, so we don't eat commercial breads (or any bread) that often.

When I saw that Gluten-Free Girl's American Classics Reinvented included a true sourdough bread recipe, I pre-ordered the book. I figured that if the recipe worked, the entire book would have been worth buying.

We got our book on Tuesday, and we started our sourdough on Wednesday.* We baked on Monday.

Here's what we did:

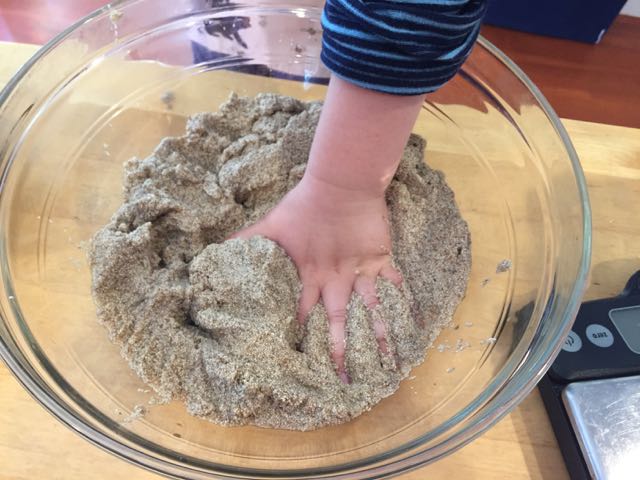
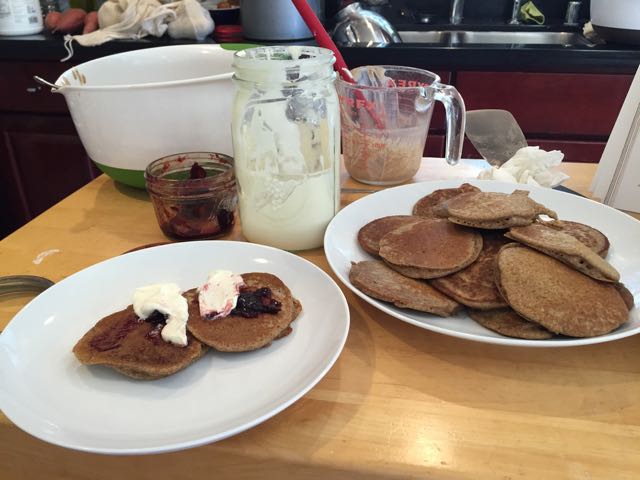
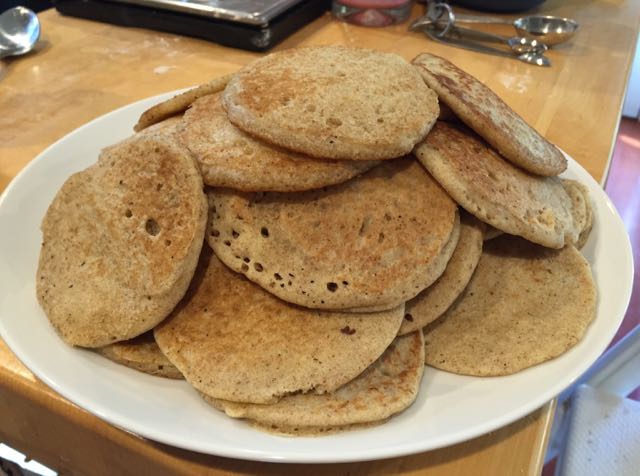
After mixing teff flour and non-chlorinated water, we let the mix sit for a day, and then began the process of, every day, removing most of the previous mixture and adding more flour and water. After a few days, I made pancakes with some of the "extra" starter. The first time I made pancakes, I used a sourdough pancake recipe I had found. But by the second time, I had read Sandor Katz's more relaxed approach to sourdough in the Art of Fermentation, and I made up my own recipe. I took 2 cups of the starter, added a teaspoon of baking soda (the baking soda binds with some of the lactic acid, making a slightly sweeter pancake), a tablespoon or so of coconut flour and two beaten eggs. The pancakes were terrific.

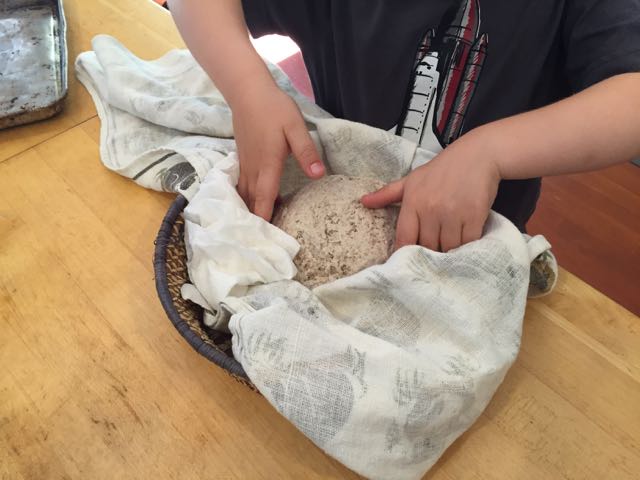
Making the actual bread was easy. It's gluten-free, so there's no point in kneading it. You could knead all day and you'll never create the gluten network of a traditional bread! After shaping and a final proof, we baked each loaf in a dutch oven, with a little steam of water at the end of baking time.

If you like the idea of gluten-free sourdough bread, I think you'd be smart to pick up a copy of American Classics Reinvented and start your sourdough right away. 

If you want to try building your own wild sourdough starter but don't need it to be gluten-free, check out this post from Wild Fermentation, and maybe consider adding some teff flour to your mix to speed things along.

IMG_3380.jpg


Meanwhile, we have a new culture in the house. We are both taking a breather from baking right now as I learn what our new pet needs to stay bubbly. 


*There was a point this weekend where we had Shankleesh draining, paneer being pressed, sourdough starter bubbling, and pizza dough rising. It was a busy and somewhat messy weekend over here.


Waiting for Shankleesh

"Look, Mom. The cheeseballs are waiting their turn in line to go roll in the dirt."

Making food through fermentation takes awhile. And even though you can ballpark how long the process will take, you can't predict exactly when it will be done when you start. Take, for example, the Shankleesh we have just put up to age. This is the second recipe we undertook from David Asher's The Art of Natural Cheesemaking (White River Junction: Chelsea Green, 2015). We started this cheese last Tuesday, and we just put it up to age today, a couple of days later than anticipated.

The recipe for Shankleesh calls for extra firm and dry Dream Cheese, which is explained earlier in the book. Dream cheese is basically cheese made from yogurt that you hang in cheesecloth until the whey has drained out. I actually remember making yogurt cheese as a kid, back when the goal was low-fat everything. Yogurt cheese promised to be a low-fat cream cheese, and we tried making it. The day the yogurt took to drain seemed never-ending, and when it was finally time to taste the cheese, I remember feeling a bit disappointed. After all of that waiting, the cheese tasted okay, but it was pretty tart, and not at all like cream cheese. 

We could have hung homemade yogurt to start our Shankleesh, but David proposed an alternative recipe for Dream Cheese, entitled "You Can't Do That With Pasteurized Milk Cheese." He wrote that it may be the oldest cheese ever made. We made that one, of course.

We started with good raw milk,* which according to the recipe, should take about two days to clabber. "Clabber" is a word that doesn't come up much anymore, likely because most milk is now pasteurized, and you can't make clabber out of pasteurized milk. To make clabber, you leave raw milk out at room temperature, and the beneficial bacteria present in the milk will make the milk sour and thicken it into what's called clabber. Pasteurized milk doesn't work this way--it just rots at room temperature.

Our first step was to pour our raw milk into a jar and let it sit on the counter. Then, we waited. We checked the milk every day, stirring with a spoon to check for thickening and to see what it smelled like. Every day, it started to smell a little bit more tangy. By Day 2, there was no clabber. Not on Day 3, either. By Day 4, I was starting to get impatient, and I wondered if the temperature of our kitchen was too cool. It was a warm day, so I put the jar out in the sun on the deck and in a couple of hours, we had clabber.


Here's how we made Shankleesh: 

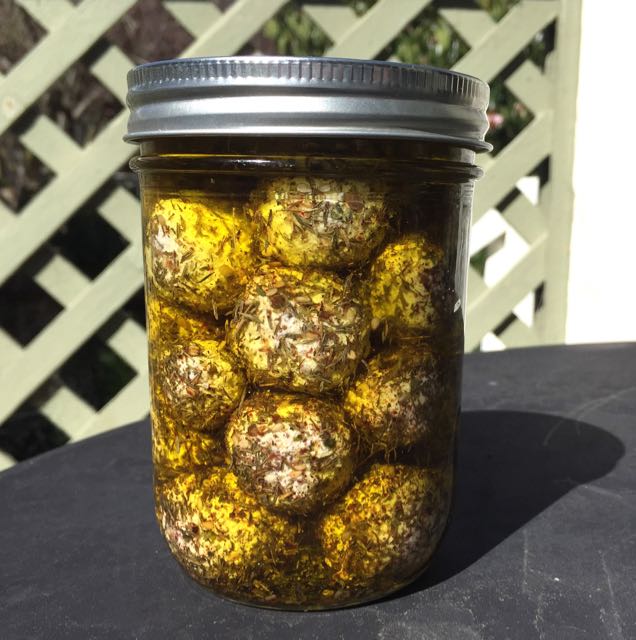
To make the cheese, we pulled out our cheesecloth (real cheesecloth, not the loosely woven stuff from the grocery store) and lined a colander with it. In went the clabber, and we suspended the clabber by a knot on a spoon balanced over a tall pot. After a day, the whey had drained, and we had curds. We salted the curds, and hung them again for another day of draining. Our next task was to form the cheese into balls and then dredge them in za'atar. I have to say, the cheese cloth had gotten pretty stinky by this step. Wyatt almost bailed on the project the smell was so pungent. The balls then went into a jar, and we covered them in olive oil. 

Our jar of cheese is now resting comfortably in the cool temperature of our garage, and it will stay there for a month. We put a sticker on the calendar so we can have a visual countdown to the day when we can eat it. Tom Petty and The Heartbreakers got it right: The waiting is the hardest part.

*Raw milk, its history in the United States, and the politics that accompany any discussion of raw milk, are as fascinating as they are polarizing. Many states do not permit the sale of raw milk. Fortunately, California is not one of those states, and I've now got Rainbow Coop's delivery schedules of raw cow and goat's milk (the chapter on chèvre is coming!) so we can purchase the freshest possible milk to make our cheeses. You may heartily disagree with my decision to move forward with a project that requires using raw milk, and in this preparation, will almost certainly age for less than 60 days. Your hearty disagreement is fine with me. But please express it respectfully.

The Art of Natural Cheesemaking: Homemade Crème Fraîche

"Dad! Guess what? Mom emailed the man who writes the stories about cheese in his book, and you know what? He sent her a knitting pattern to make cheesecloth!"

About six weeks ago, while we were cooking dinner, Wyatt said, "Mom. How do you make blue cheese?" I provided a vague description. He quickly exposed my lack of knowledge by asking me "Why?" and "How?" a couple of times, at which point I admitted we'd have to look up how they make it. Wyatt then said, "Well, I want to learn how to make cheese." I responded that we had already made it, by making cottage cheese and cream cheese. He gave me a somewhat withering look and said, "I want to make cheese like Andy gives us at Rainbow." 

It would be amazing to make cheese like Andy gives us at Rainbow. So I asked around about classes for kids (no luck) and started researching cheesemaking books.

The day before we left for Massachusetts, the book I had chosen for our adventure in cheesemaking, The Art of Natural Cheesemaking, by David Asher (published by Chelsea Green) arrived. After reading the introduction, I decided that Wyatt and I are not just going to dabble in cheese from this book. We are instead going to "Julie and Julia" The Art of Natural Cheesemaking. Yesterday, I emailed the author, David Asher, to let him know:

I plan to chronicle [my four-year old son's and my] cheesemaking adventures [on my blog], giving you appropriate credit. I want to support your work, help bring awareness to your approach, and I want you to sell millions of copies of your book. Would you be okay with my writing about what we're doing and how we're doing it...Or what are your thoughts around how you'd prefer I approach this project? 

I was not expecting to hear back from David quickly (or at all, really), but he wrote back within the hour. As it turns out, he has also been to Rainbow several times and thinks that we've totally got this: 

[I] was just [at Rainbow] a couple of weeks ago, perusing the cheese selection.  And, yes, I can tell you and Wyatt that with good milk, kefir and the right touch you can make cheese just as good if not better than what's in their display! I'd love to see a chronicle of your experiences with the book...Just be sure to acknowledge me and Chelsea Green. And also, take very nice photos to show how good your cheeses look! 

We've got access to great milk, we keep and use kefir grains already, and we'll look to cultivate the right touch for cheese. Also, I'm all about giving credit where credit is due, and bad food pictures depress me. So I think we are good to go.

But there's more! David also loves knitting. He sent me his draft pattern for a knitted du-rag he likes to use for hanging cheese. The pattern uses 500 yards or so of sport linen yarn on size 2 needles, so it will take me awhile. Nevertheless, as I told him, knitting cheesecloth seems infinitely more doable to me than sourcing my own rennet from the fourth stomach of a freshly slaughtered calf (a recipe for which is also included in his book). 

Wyatt's and my first project* was to make crème fraîche. Here's how we did it:

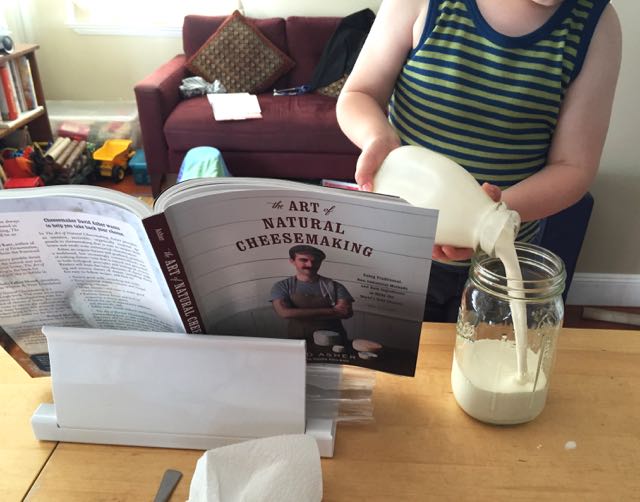
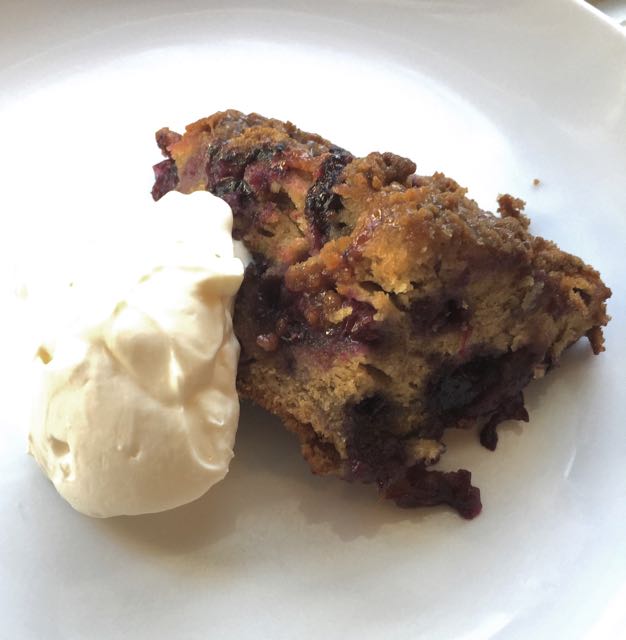
First, we poured a pint of cream into a mason jar, and then we added some kefir grains. We covered the jar loosely with the lid and put it out of direct sunlight on the kitchen counter. After about a day, we strained the thickened cream from the grains. Easy! Making the blueberry buckle was actually way more difficult than making crème fraîche.

As is often the case when it comes to food, Wyatt was right. Crème fraîche, especially homemade, is even better than sour cream.

*We make kefir already, and the recipe in David's book is the same as the one we use daily, so we skipped that one.