Make More Art; Eat More Frangipane
This summer, Wyatt spent several weeks at art camp. This past week, we decided it was time to document the work he had done. I'm so glad we did the documenting step. Taking photos of the projects allowed him to appreciate his work and decide which of it he wanted to keep (and which could be recycled, because, let's be real, enough with the four grocery bags of artwork in the dining room). It was fun going through the projects with him. I got to hear what he liked, what was hard, and what was amazing.
I know we'll revisit some of these projects, and I'm betting that some of you could use some art project inspiration, so I'm sharing my notes and photos here. One project that is omitted from most of the photos is the new sketch book the kids got and decorated every week. Wyatt had already distributed them around the house (so he can always be ready to sketch).
Animals in Art
- Animal Paws: Kid-sized rubber gloves decorated with glued or taped fur and foam claws.
- Mounted Animal (Pig) Head: Cardboard mounting board, crumpled newspaper, masking tape to help shape and hold it all together, box from bar soap to make the chin, toilet paper roll for snout, pink and black paint.
- Fish Wind Sock: Paper (choose paper that's a little on the drapey, thin but fibrous side, not crisp, more like a tyvek envelope), dowel, string, wire. Fold the paper lengthwise and draw the outline of a fish-shaped windsock so the belly is on the fold line. Cut along the outline (but not the belly) and unfold the paper. Decorate with paint (head, fins, scales). Glue the cut sides together. Find the space for the mouth (cut wider if needed). Take a wire and wind it into a circle that's the size of the mouth. Glue the edges of the paper fish over the wire "like lipstick." Attach a string at the mouth and then attach the other end of the string to the dowel so you can run around with it behind you and it will catch air and fly.
- Animal and Habitat: Habitat cut from manila folder and folded. Decorate and glue it so it is 3-D. Add a snake (or whatever animal lives in the habitat you made) made out of clay. Make designs in the clay with a toothpick. Once the sculpture is dry, you can even paint it GOLD.
Most favorite: Mounted Pig Head.
Printmaking
Solar Printing: Lots of companies sell the paper you'll need. Here's one. This project is most fun if you have a piece of plexiglass that's as big as your piece of paper. It will hold your paper and items down nicely. Key is to have a big piece of plexiglass to hold your design in place
Stamps: Make stamps out of foam you can cut and stick to cardboard pieces, or take some styrofoam type material you can "draw" on with a pencil to make an indent. Then ink the stamp and press it on paper.
Marbling: I am not sure how they did this. Wyatt has described it over and over, to the point of frustration, but I think I'm missing something. Here are some tutorials: Japanese Water Marbling and another that uses a thickener in the water, and this one that uses shaving cream (but I know for sure this was not what they did--they definitely used a water bath).
Salad Spinner Painting: Here's a tutorial. Wyatt noted the importance of having a salad spinner for painting, and a separate one for salad.
Most favorite: Making the X print. Take a plastic platform, and put paint or ink on it. Put two pieces of paper down in an X. Put another piece of paper on top of the X and the paint. Pick up the paper and now you have an X without any paint!
Most Frameworthy of the Summer: Draw on styrofoam with a pencil, roll ink on the styrofoam, print the image on three different colored papers, mount all three on a black mat, then visit your favorite local framing store to spiff it up even more. We love Underglass in the Castro.
Drawing and Painting
Scroll: First, make your paintbrush. Assemble four q-tips in a row and sandwich them between two pieces of cardboard. Tape securely. Now you can paint four parallel lines with one swipe of your brush. Take a long piece of paper and paint with watercolor on it. Do the same on another piece of paper. Then use your brush to paint black, wavy lines on the scroll, and on the other piece of paper. Cut out shapes from the other piece of paper. Angle them so they give contrast on the scroll. Glue them down. For both ends of the scroll, take a strip of black paper and put glue on the black piece, stick the white piece down on the black, glue a straw along the middle of the black paper and then fold the rest of the black piece over the straw and onto the white scroll. Glue the second side of the black paper down. Feed a string through the straw.
3-D model: Build one out of paper! Paint both sides and then fold it so it stands up.
Most Favorite Project: Scroll.
Mixed Media
Collage work this week was inspired by Gee's Bend Quilts and Stuart Davis.
Painted Fabric Pillow: Cut matching shapes, paint them, glue around the edges and stuff with polyfill or other stuffing.
Photo Collage: One in black and white and one color. Take a picture with a camera and then print it. Use paint pens and colored paper to make a self-portrait. You can even put underwear on your head!
Most Favorite: Self portrait. The one with the underwear.
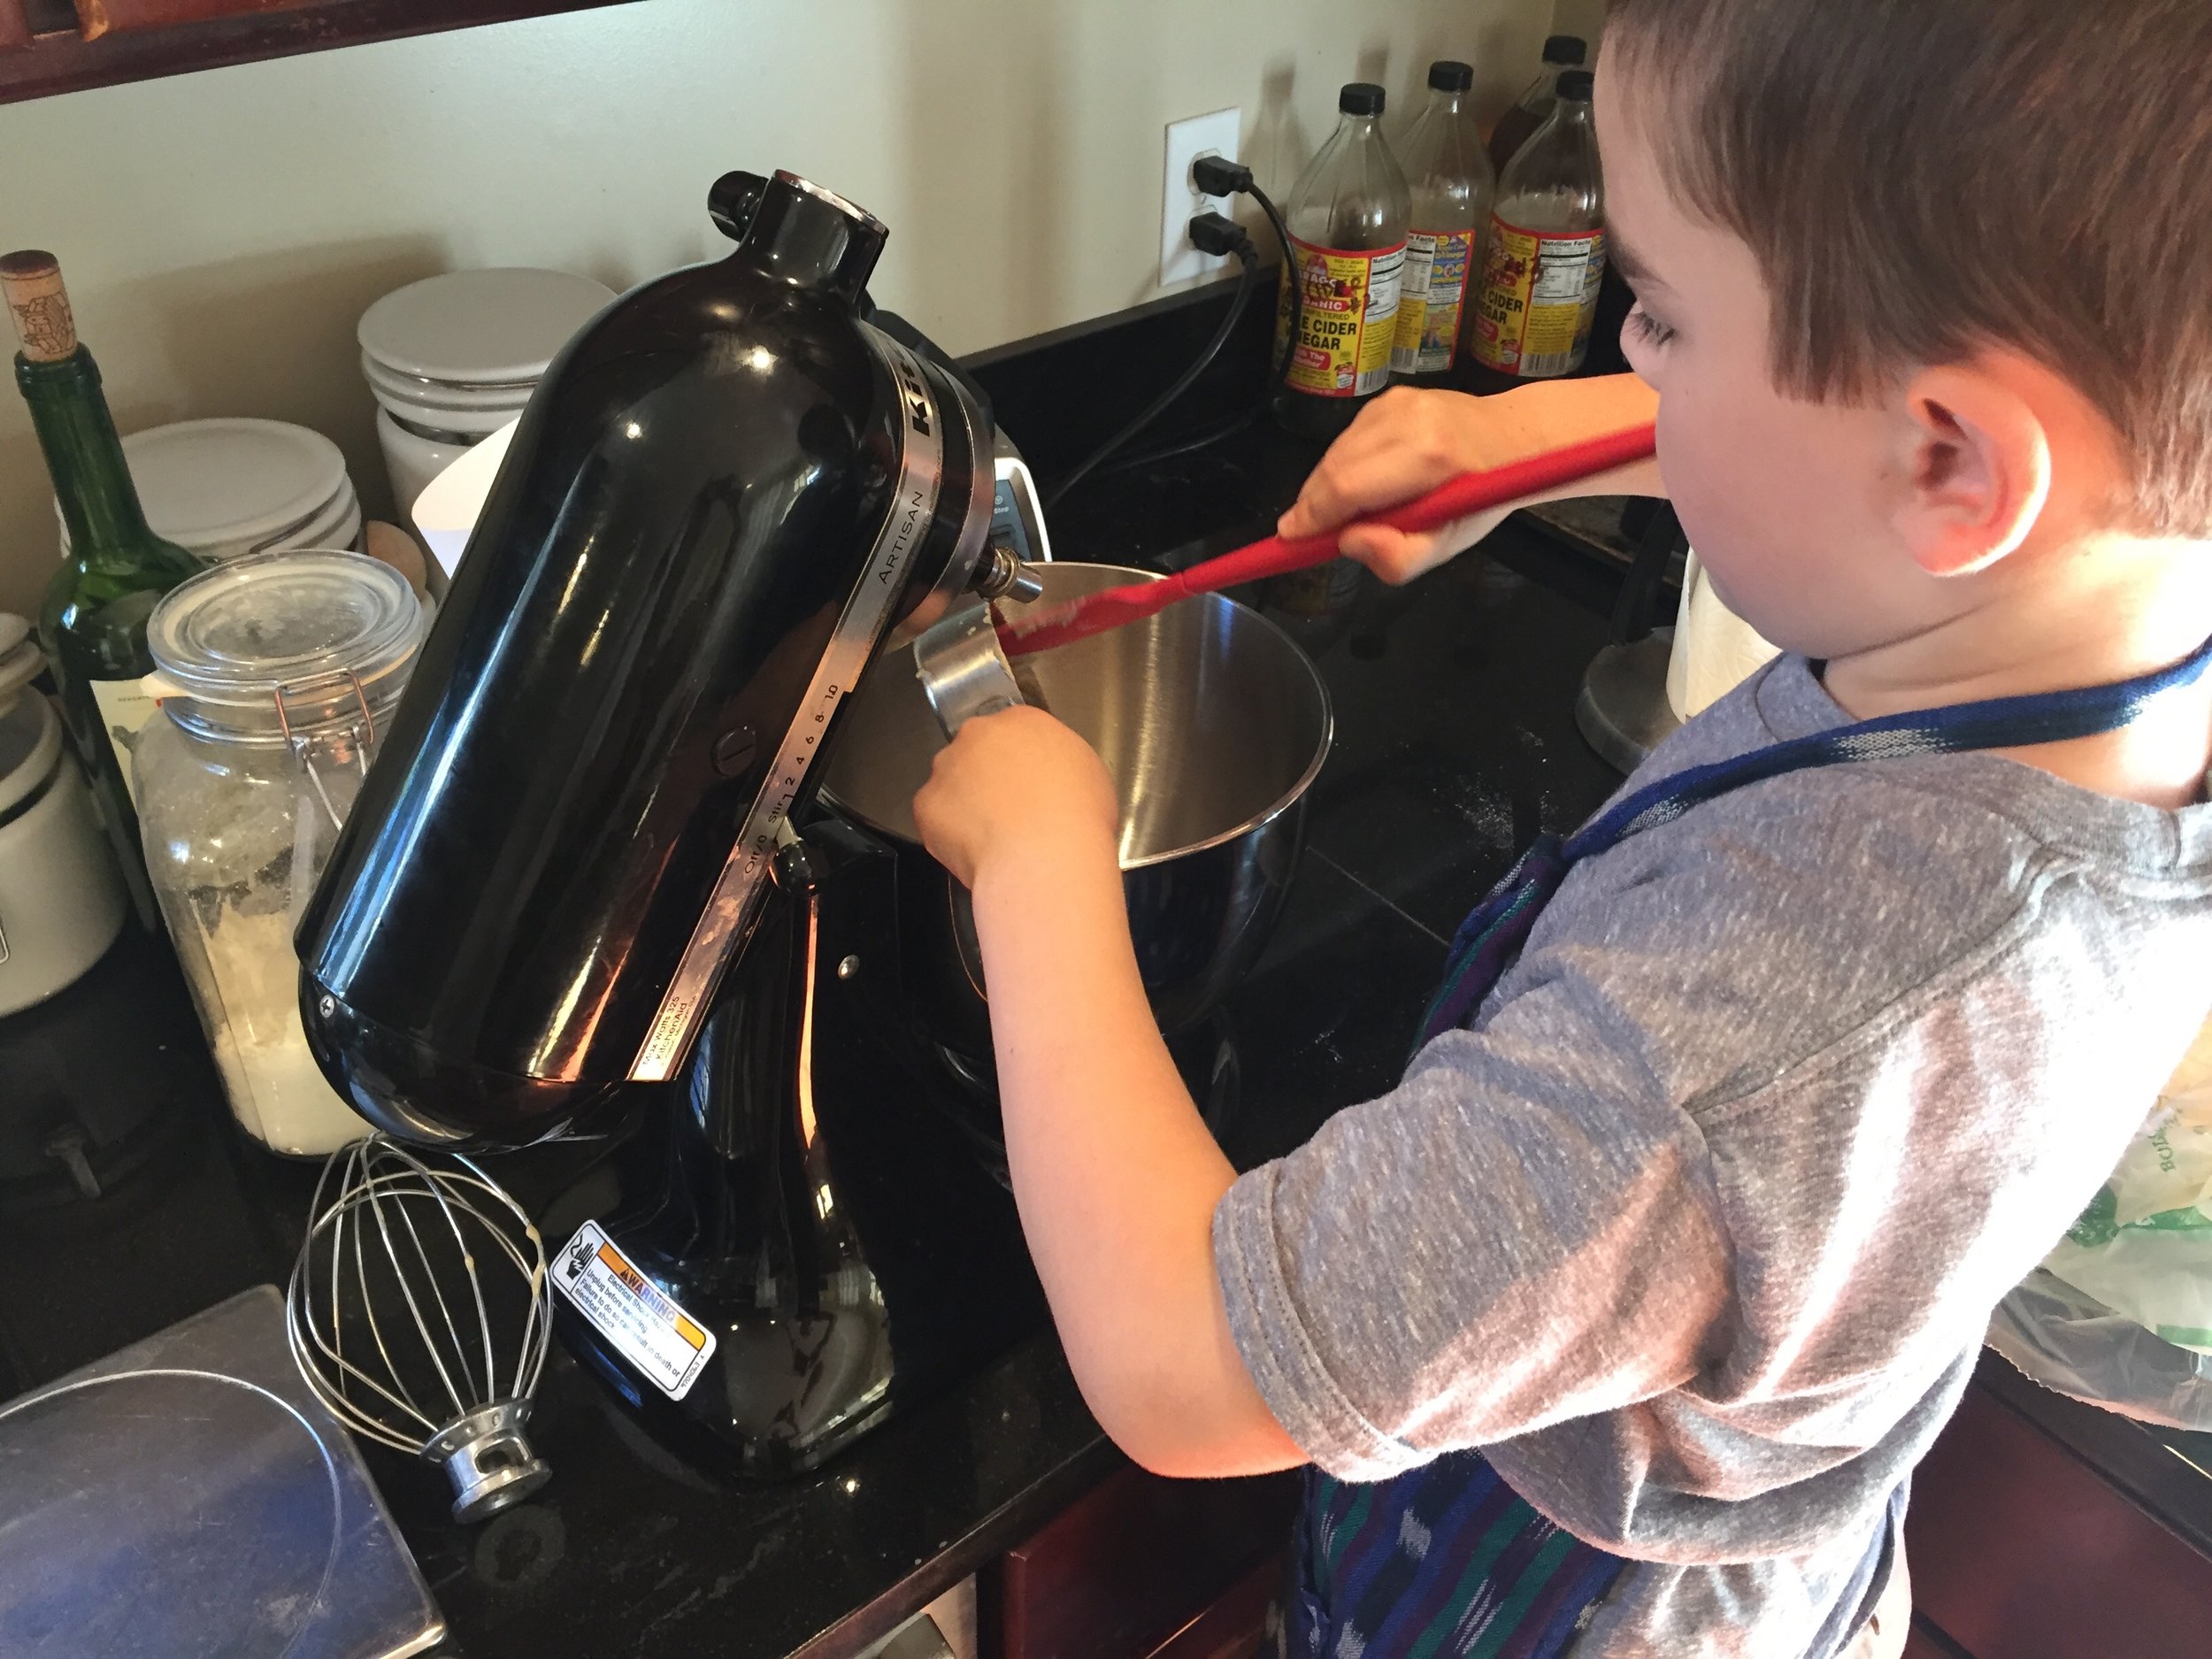
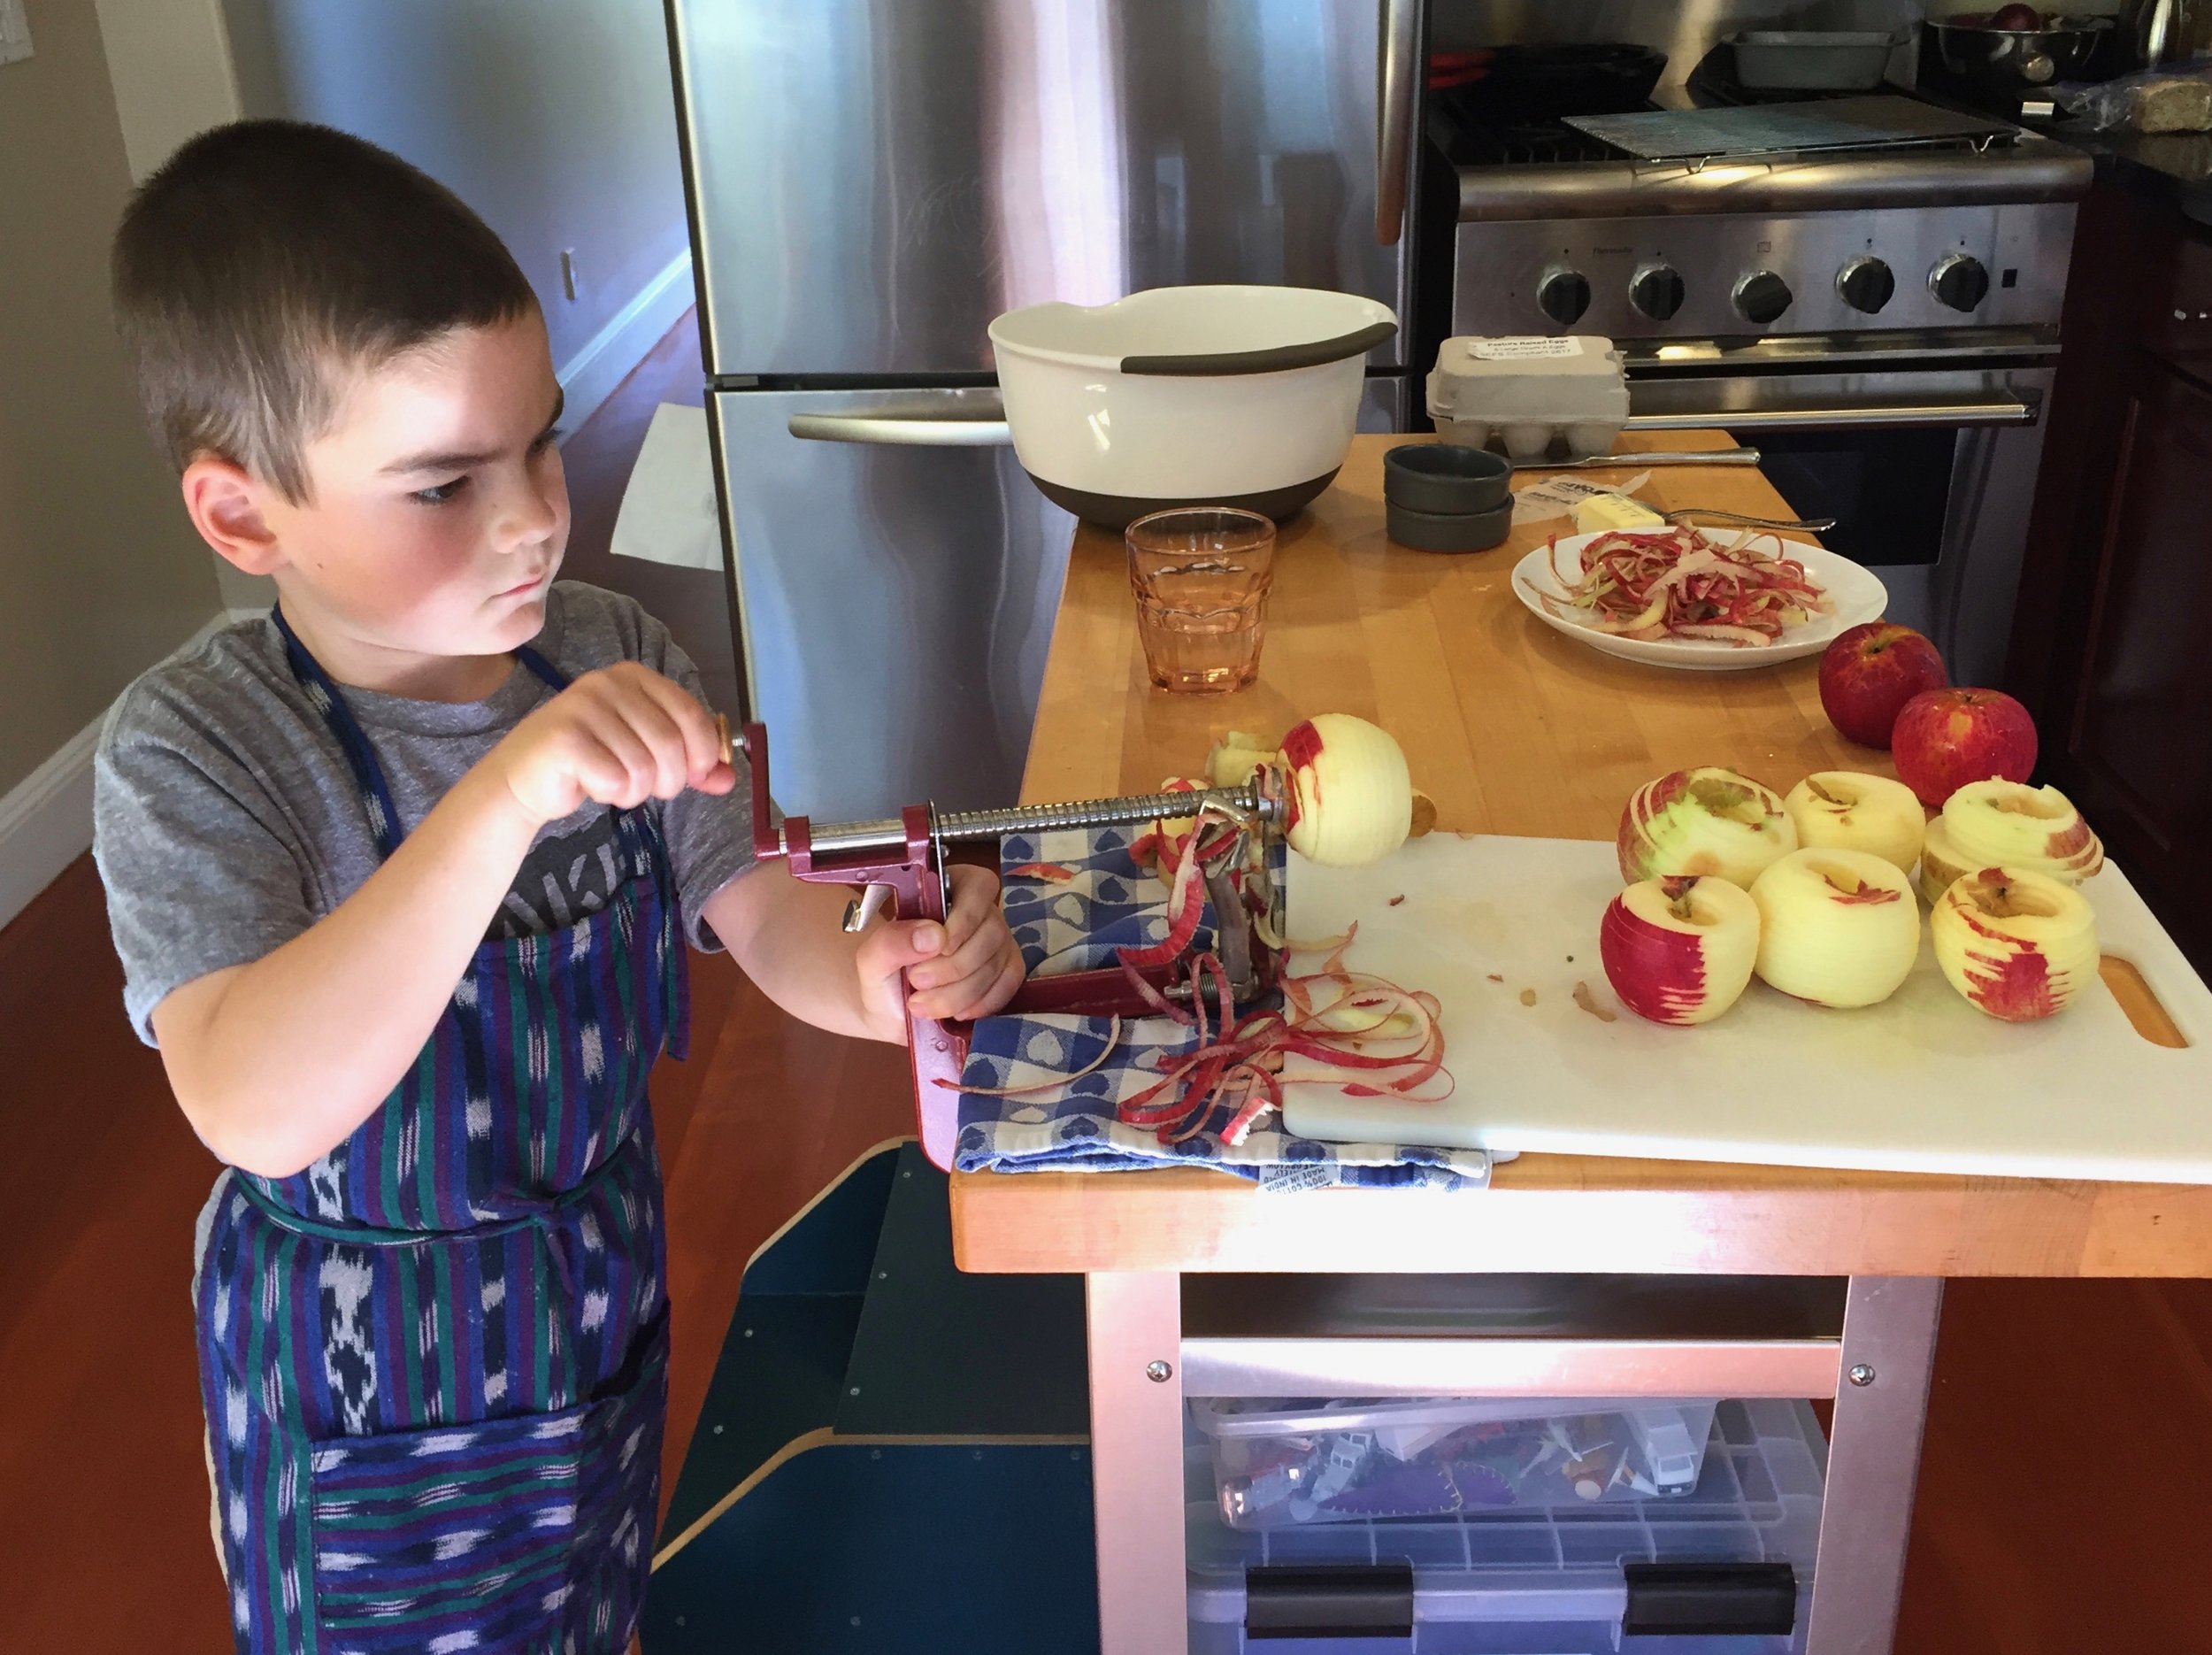
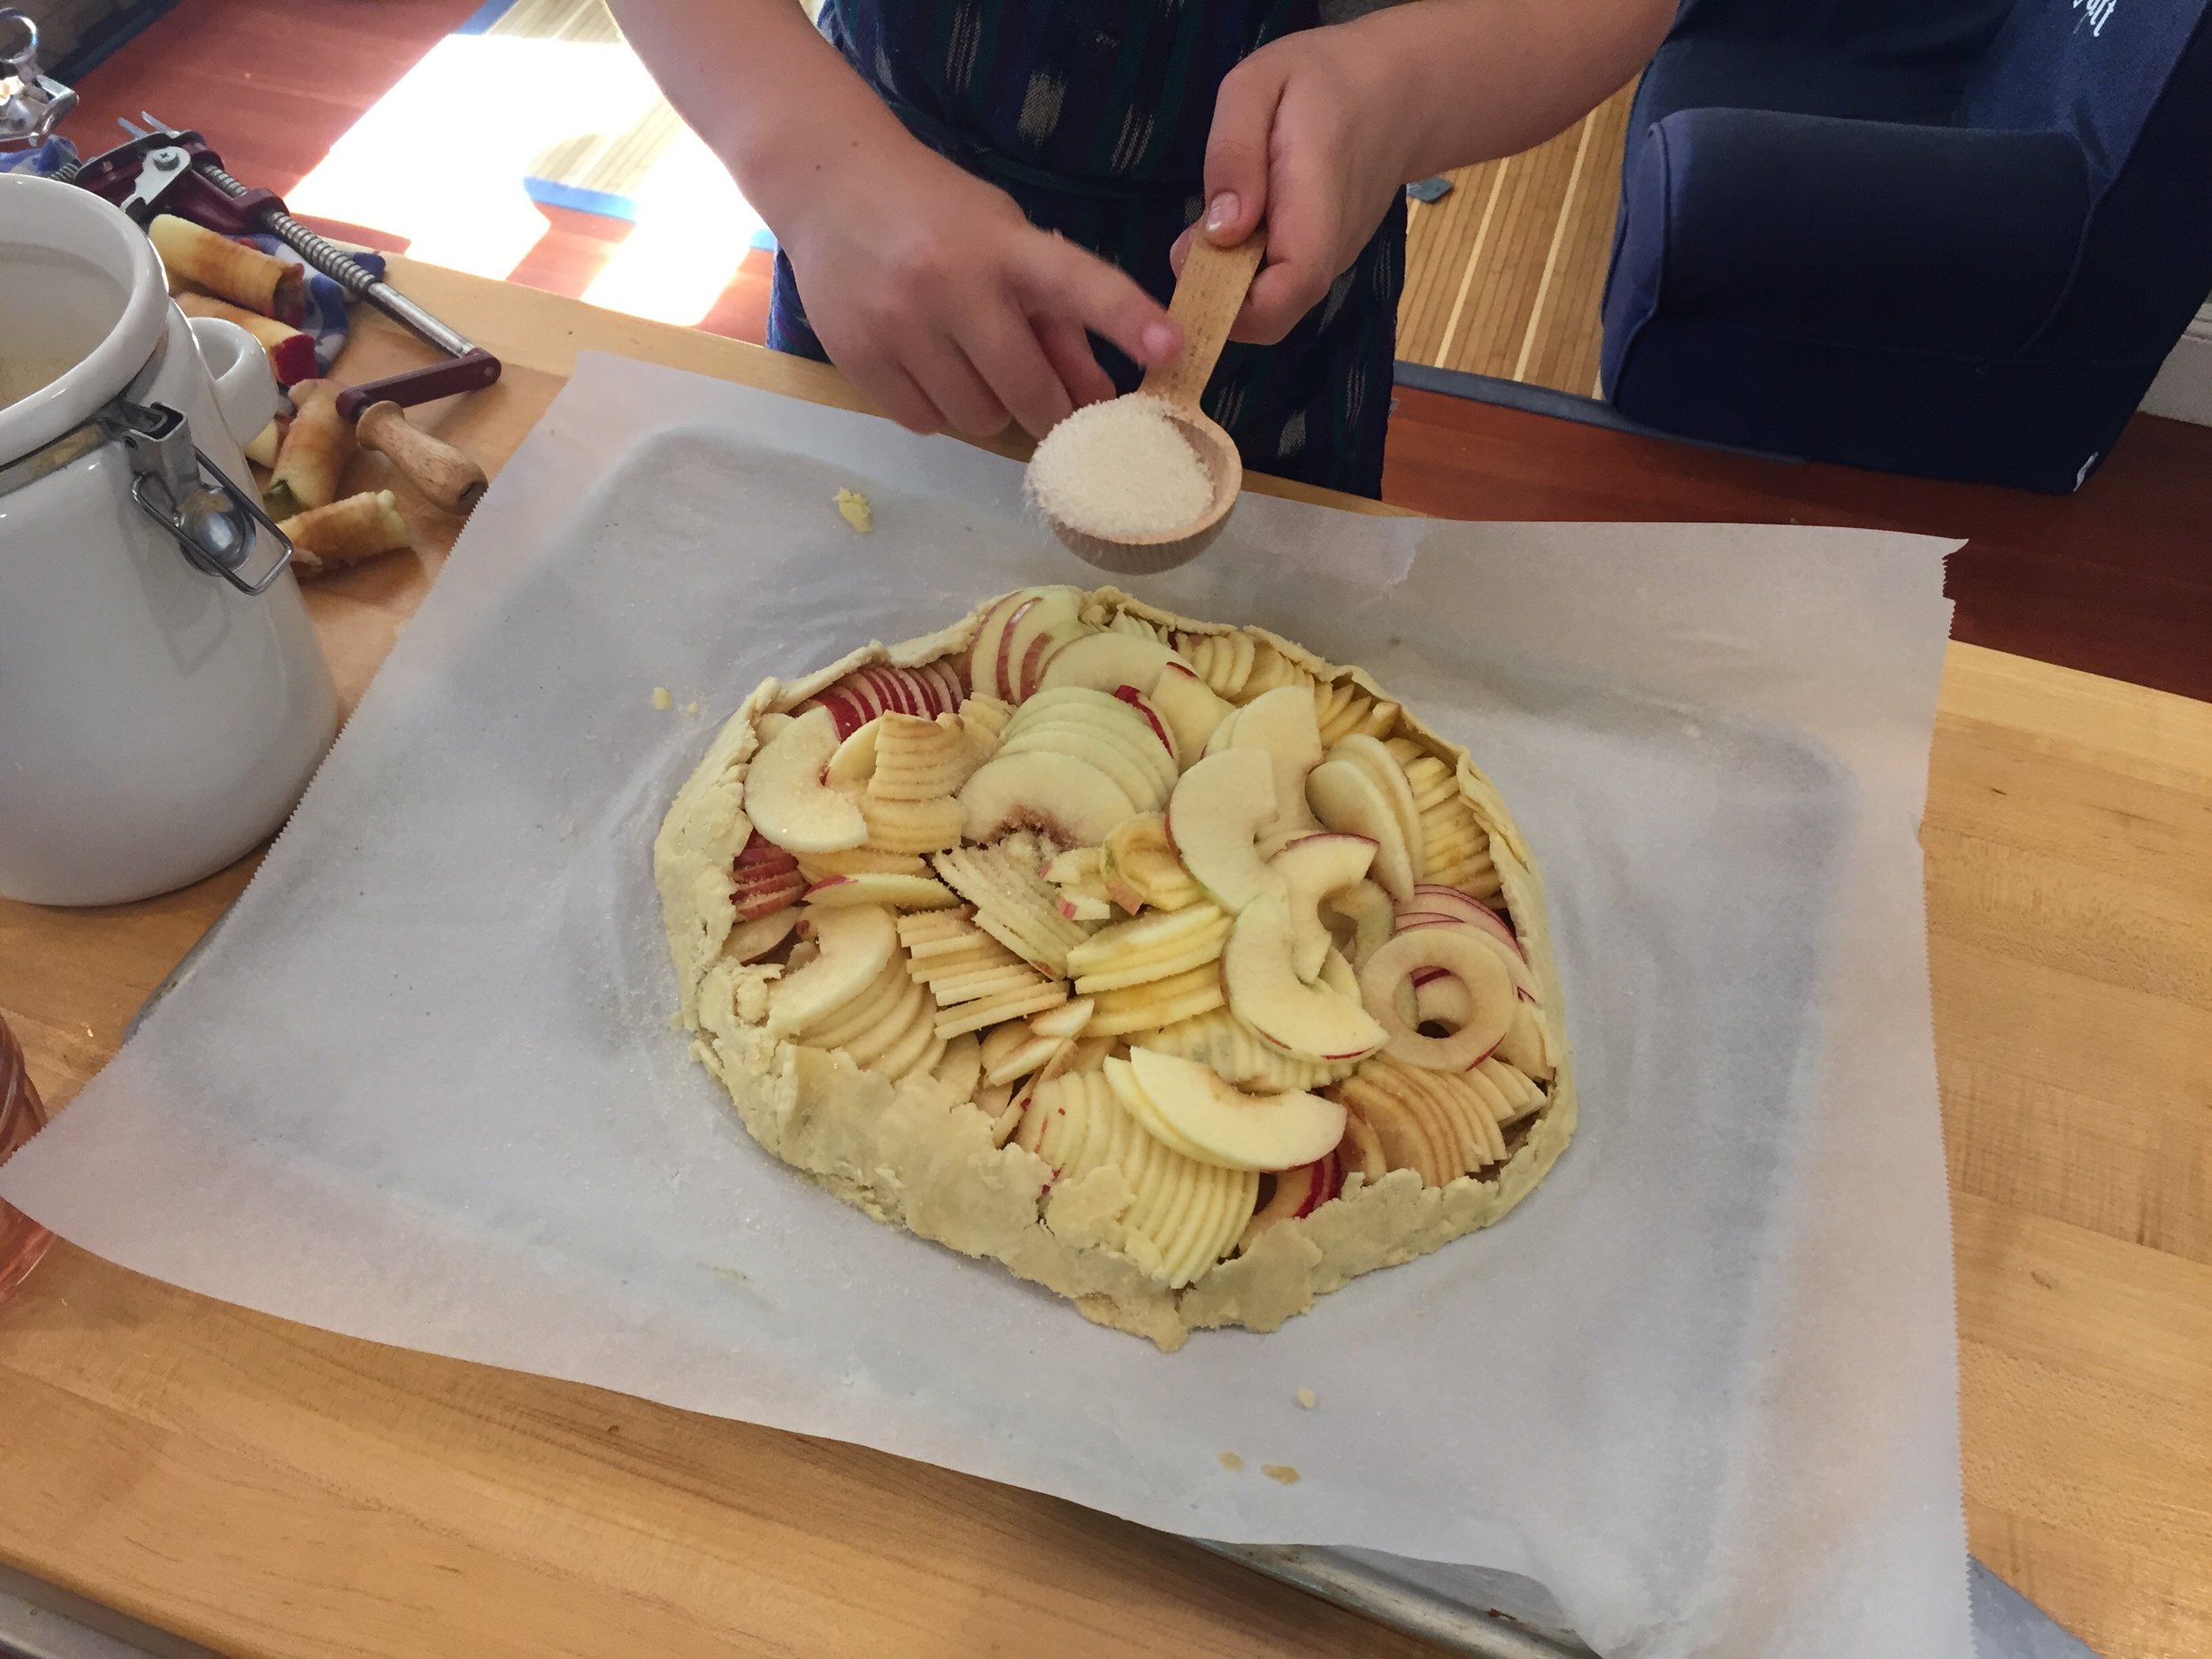
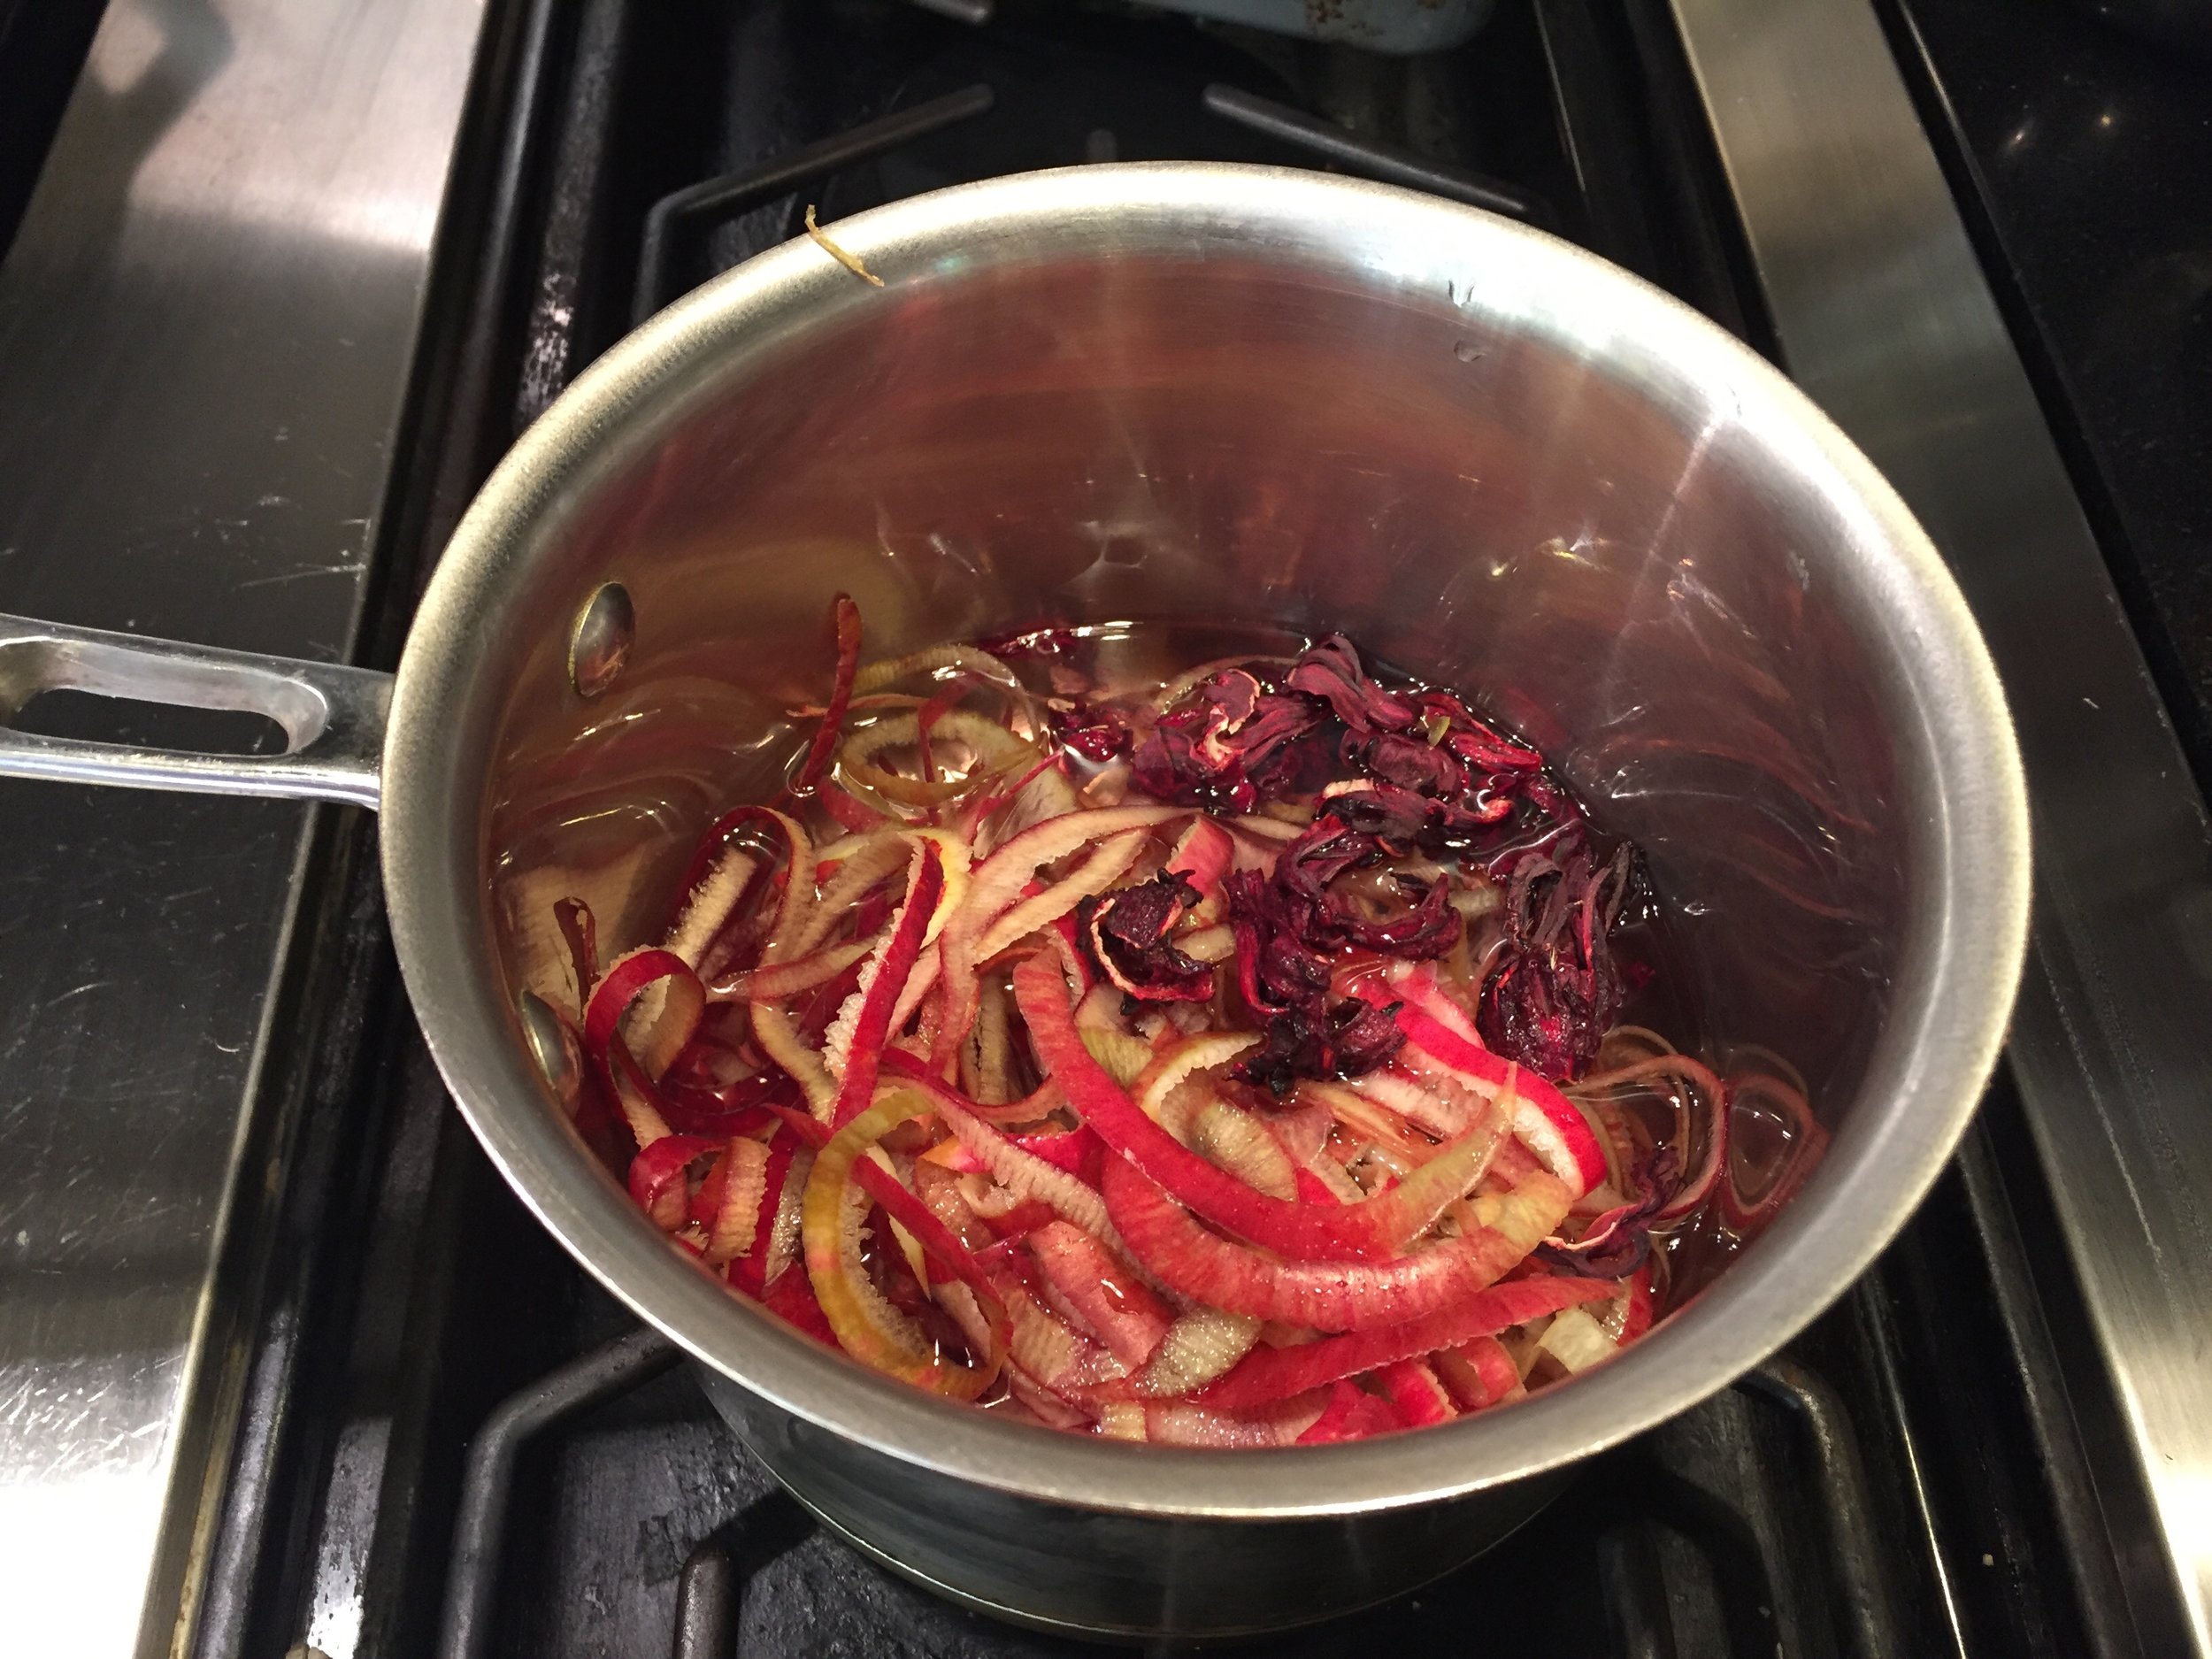
And no, we are not over frangipane yet. This weekend, we made Food 52's Apple Galette with Tahini Frangipane & Honey-Hibiscus Glaze. It's terrific, especially if you can't eat nuts. We concluded we love this galette--the tahini and apple flavors work together beautifully. I used the same gluten-free pie crust recipe as I used last week, and it was a tiny bit less annoying to work with than last time. The crust of this galette was way better than last week's too, probably because this recipe calls for a much higher oven temperature and a pizza stone on the bottom rack. Finally, the magic of the honey-hibiscus glaze cannot be overstated. Try it and prepare to be amazed at how it comes together into a perfect syrup. I bet it would be good even if you can't find (or be bothered to find) dried hibiscus flowers.


