Holiday Treats

"Mom. I love Christmas carols. And Christmas trees. And presents! The only thing I don't love about Christmas is waiting for it to come."

Christmas is coming! Wyatt reminds us about it every day.

Before Wyatt was born, our house was not usually very Christmas-y around the holidays. Sometimes we got a tree, and when we did, it was usually a very manageable car-trunk-size. The years we decorated a little tree, our other Christmas decorations would stay boxed away because one of the worst parts of Christmas decorating is putting it all away for next year. In fact, the Christmas a few months before Wyatt was born, we consciously opted out of getting a tree or decorating our home in any way. We figured it would be our last chance for awhile to get away with such a stripped-down holiday.

Our instincts about holiday decorations were absolutely correct. Like every child I've ever met, Wyatt loves holiday lights, decorated trees, treats, and of course, presents. So we're now five Christmas seasons into CHRISTMAS!

And having CHRISTMAS! while striving for "less is more" in our lives can get tricky. Acquiring only great items we know we need or will really use and enjoy has helped make our home livable, our lives less cluttered, and, with any luck, the earth a tiny bit less of a waste dump. Of course Wyatt disagrees 100% with this approach to consumerism and complains bitterly every time we tell him, "No, we are not buying that."

Some of the best gifts we have received over the years have been memberships to museums or gift certificates to favorite restaurants. These types of outings have helped us create connections in a way that unwrapping a thing, no matter how thoughtfully chosen, doesn't. It's tough to beat having a terrific time on a loved one's dime while you recount fun (and funny) stories about times you have all spent together.

And while Wyatt would swear he absolutely prefers toys over fun excursions, there is a small chance that on a given day he would choose a day of ice skating or a dinner out over a toy truck. Not a fire truck or anything fancy, mind you, just a frills-free one. So we do our best to strike a balance for him between experiences and things. We try to minimize overlap with toys he already owns, choose things we think he will use a lot in a variety of ways, and include items like art and craft supplies that will spark creativity and get consumed.

Let's face it: Gift giving is challenging. Most adults we know would prefer less stuff in their lives. But I've noticed that almost everyone welcomes a homemade, edible holiday gift. So, like any good urban homesteading family, we started working on certain gifts awhile ago.

In mid-November, we started a giant jar of preserved lemons with rosemary. My friend, Maja, shared the idea with me, and the lemons were easy and fun to make.

The only issue we had was that salty, juicy lemons can make your hands sting like crazy if you have even the tiniest "owie," as Wyatt always does. Using disposable food service gloves helped keep his little hands sting-free. We checked on the lemons every few days to see and smell how they changed with time. They were a bright and sunny addition to our fermentation corner.

Yesterday, we repackaged the giant jar into two smaller gift-sized Fido jars for Wyatt's teachers. And thanks to Marc, who commented, "Wow. If someone gave me that, I would have no idea what to do with it," I included some recipe ideas in the card.

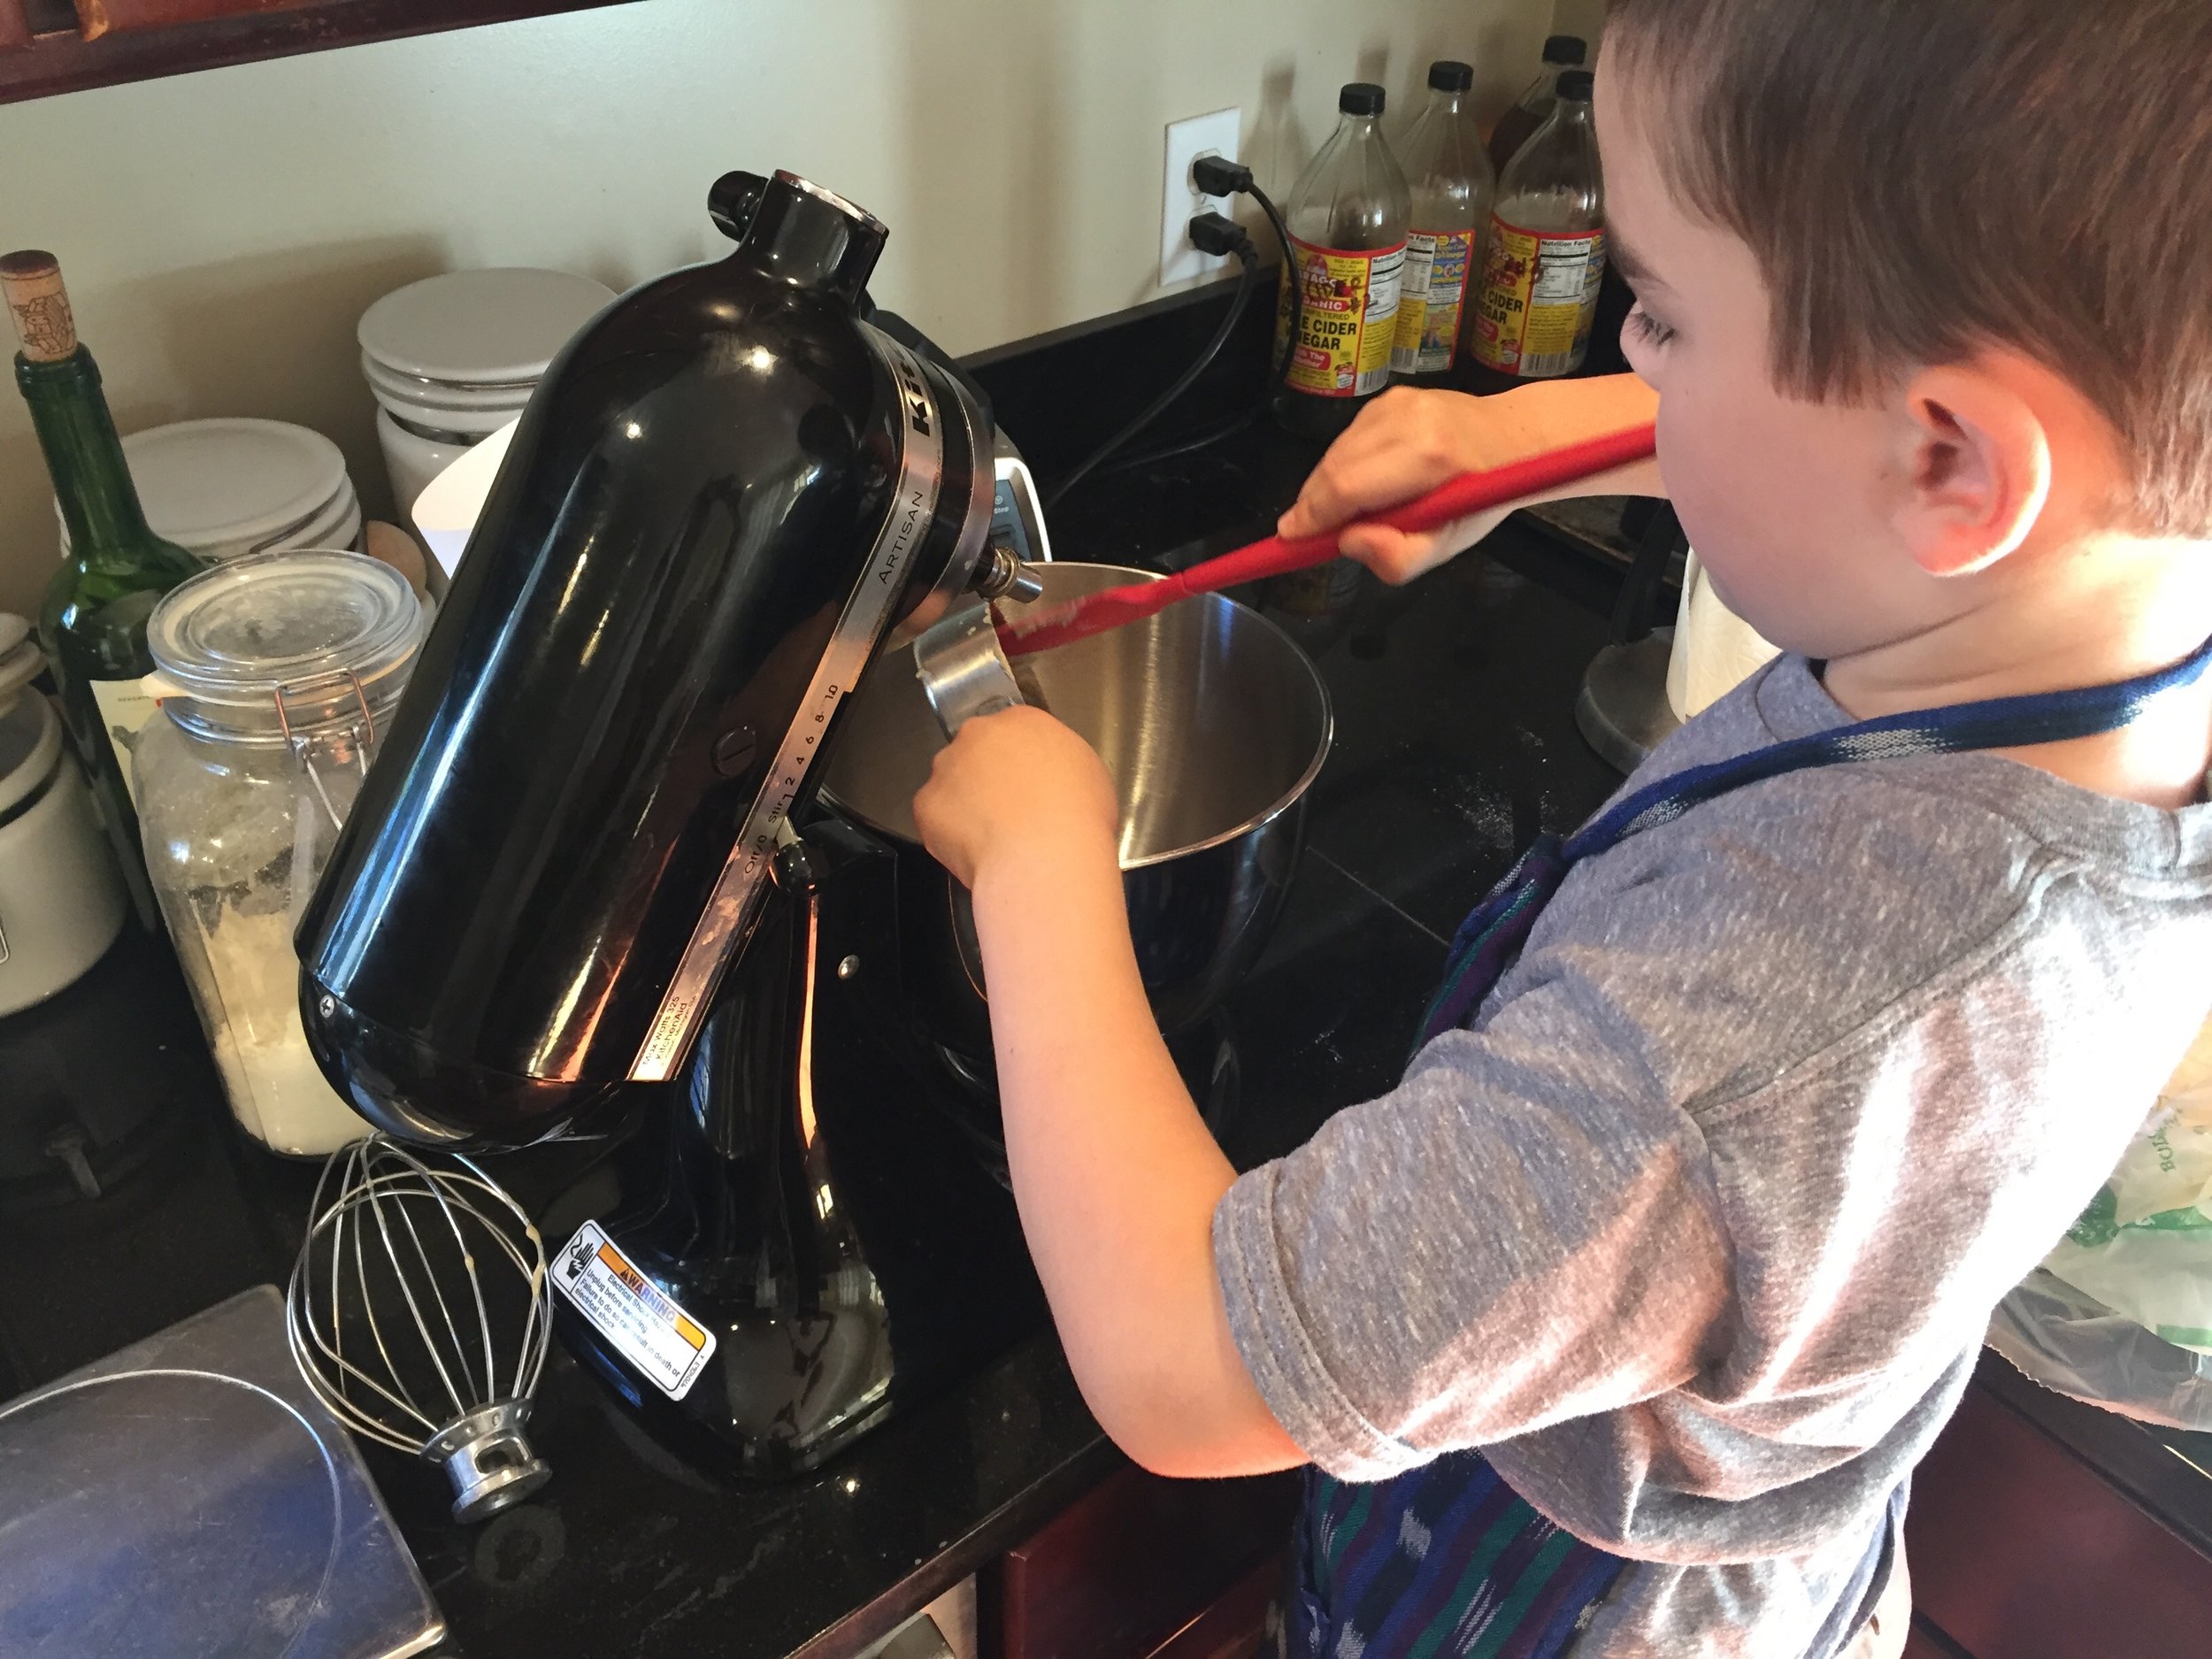
In the just-in-time edible gift department, we made four batches of caramel popcorn clusters. We made three batches with peanuts and one without, because as Wyatt pointed out, "Some friends might be allergic to peanuts." Wyatt assisted with some measuring, stirring, and of course he carefully tasted every batch. I packaged the popcorn clusters into treat bags.

Once Wyatt had tasted our caramel popcorn, he found it very difficult to give it away, or even look at it in the pantry without complaining that he wanted to eat all of it. But giving it away is becoming easier for him. The other day, he happily presented our most favorite Recology driver with some gift cards and a bag of caramel popcorn. Wyatt informed him, "I helped make this popcorn. It's really good. You'll want to eat all of it all the time, but it's only a sometimes food."

The recipe we used for our caramel popcorn clusters is here. We have a hot-air popcorn popper, so we use it for this recipe and skip the first paragraph of instructions. Lately, I substitute brown rice syrup in an equal amount for corn syrup. Having made the recipe over the years with corn syrup and other years with brown rice syrup, I can honestly say that the substitution doesn't seem to affect the recipe or outcome at all. I seriously doubt that the substitution makes the popcorn healthier. But it does make me giggle to think that, thanks to my careful shopping this year, I could honestly slap an "Organic, Gluten-Free and Corn Syrup Free" label on our treat, and still send someone into orbit on a sugar high.

And finally, we did some unexpected baking this weekend because Wyatt's classmates will be working on "gluten sugar cookies" at school this week. Thanks to Molly, my friend of a quarter-century or so, who is an extraordinary cook and baker with years of gluten-free experience, Wyatt and I made our first batch of gluten-free roll-out sugar cookies. At Molly's suggestion, we used this recipe, and substituted Cup 4 Cup gluten free flour, used only 6 tablespoons of butter (1/4 less butter than the recipe says), and added some lemon zest. Yum.


So Much Pumpkin

Did you know that the warty pumpkins are supposedly the sweetest ones? With that trivia nugget in mind, Wyatt and I set about finding the biggest, wartiest pumpkin in the store. And then we roasted it whole for over an hour in a 400 degree oven. 
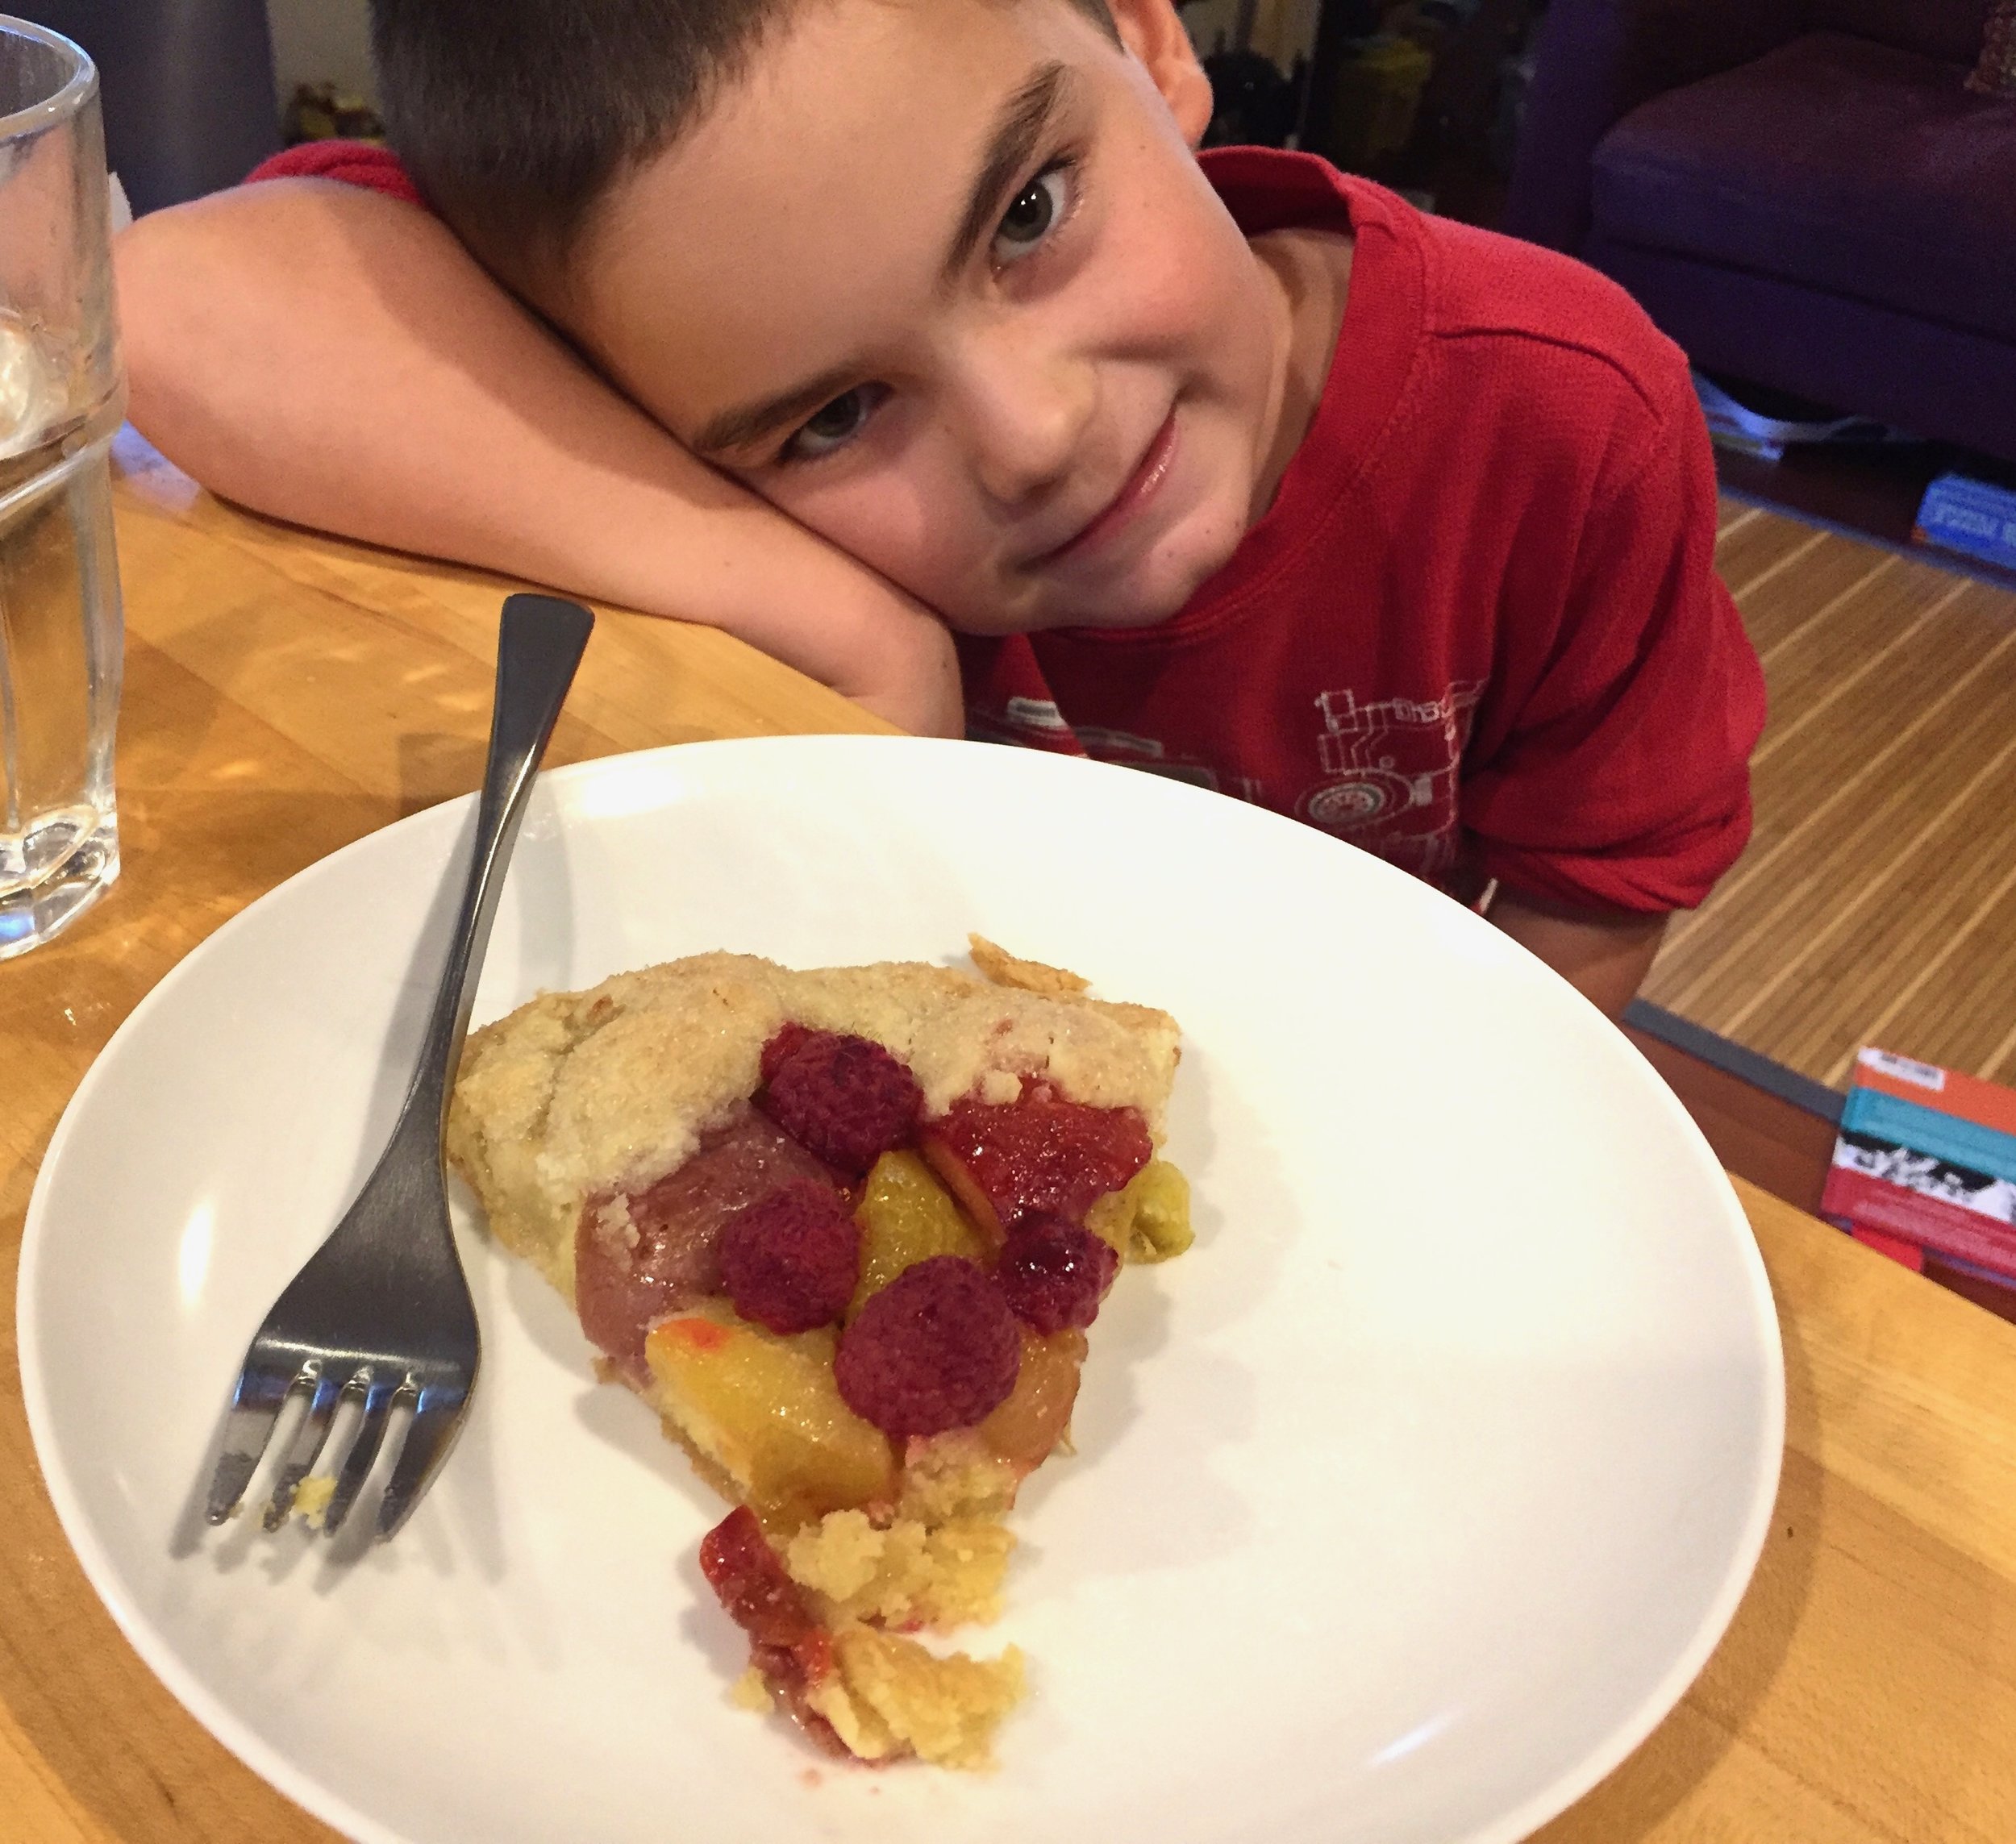
I didn't weigh this beast, but I should have. From this one big, warty pumpkin, we made pumpkin custard (which took about two cups of pumpkin), pumpkin bread (another cup), pumpkin soup (five cups), pumpkin muffins (one cup), and we still have have one cup of pumpkin purée left in the freezer.

After roasting the pumpkin, we quartered it, scooped out the seeds and strings, and then removed the flesh from the skin. We then puréed the pumpkin in the Vitamix until it was smooth.

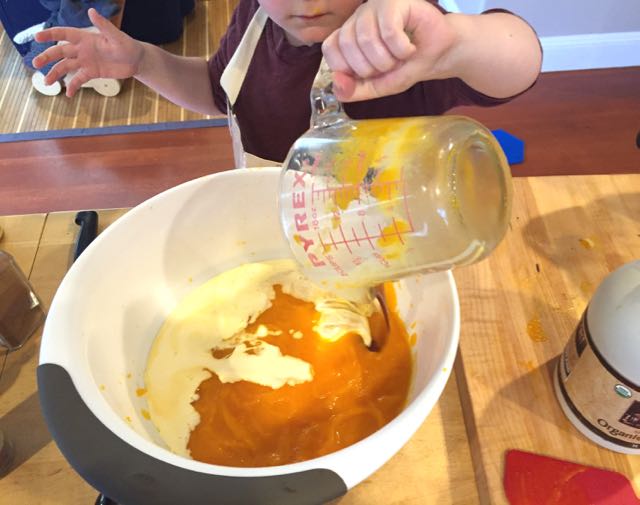
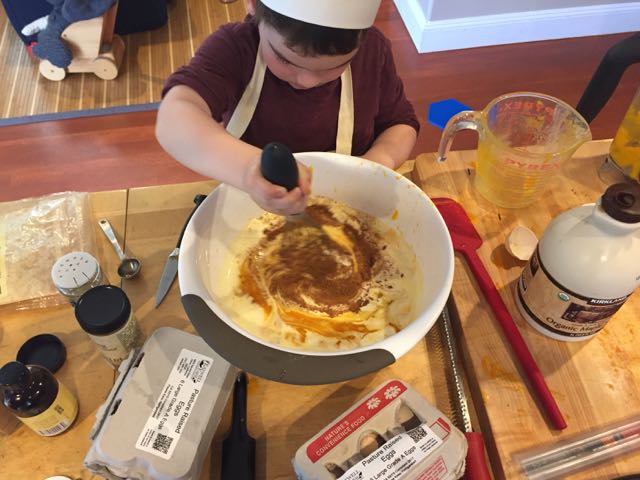
To make the pumpkin custard, I followed Against All Grain's Maple Pumpkin Custard recipe. My only recipe changes were to use cream instead of coconut milk, and to bake the custard in one 9 inch x 12 inch glass pan instead of in individual servings. Using the larger pan nearly doubled the recipe's estimated baking time for me. And no surprise, pumpkin custard baked in such a casual way is not very photogenic, so there are no photos of our final product. But I promise that we ate it the first night with whipped cream on top, and later in the week, we enjoyed it plain.

Wyatt insisted on wearing his chef's hat to mix the custard. The hat seems to give him focus and determination while cooking or baking. He keeps telling me I should get one so that I can be a real chef, like him.  

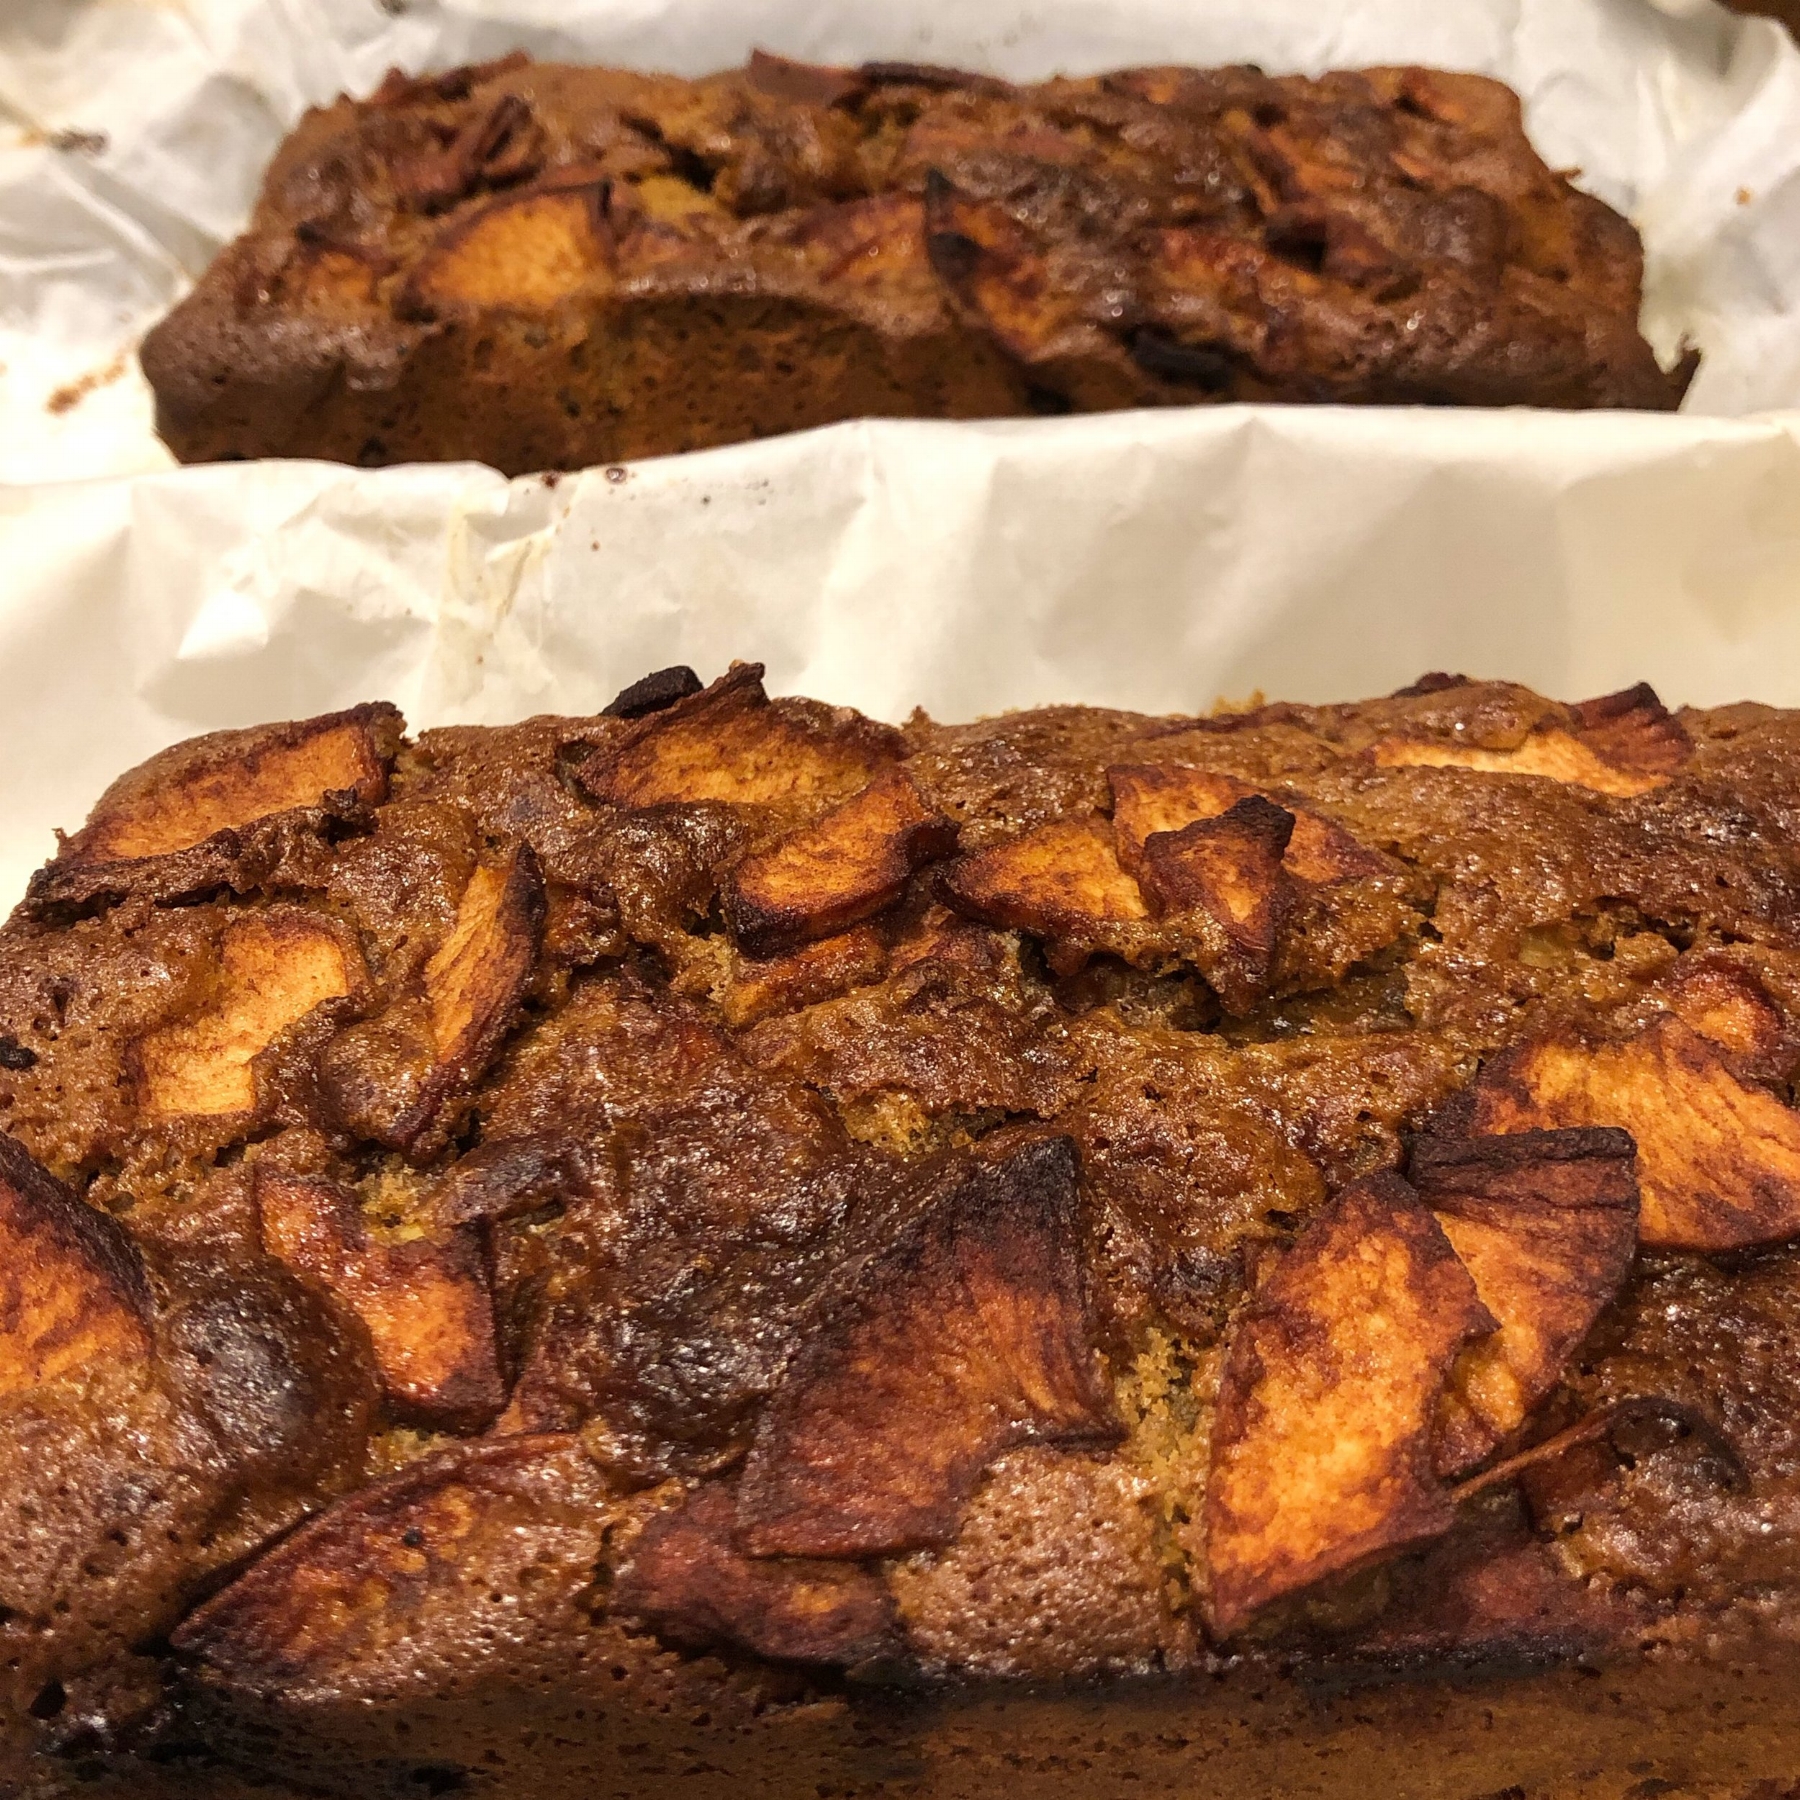
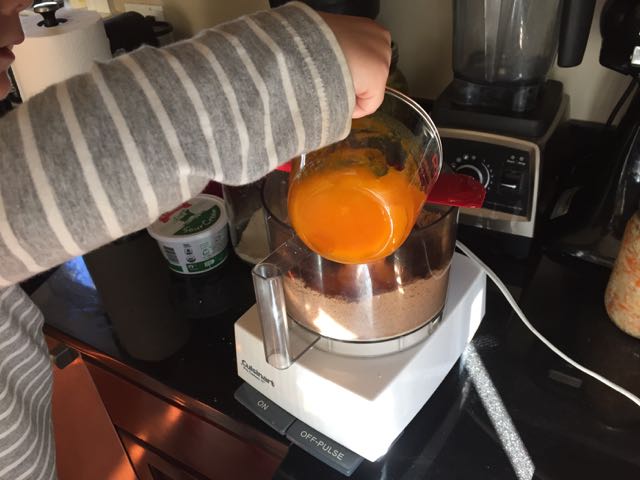
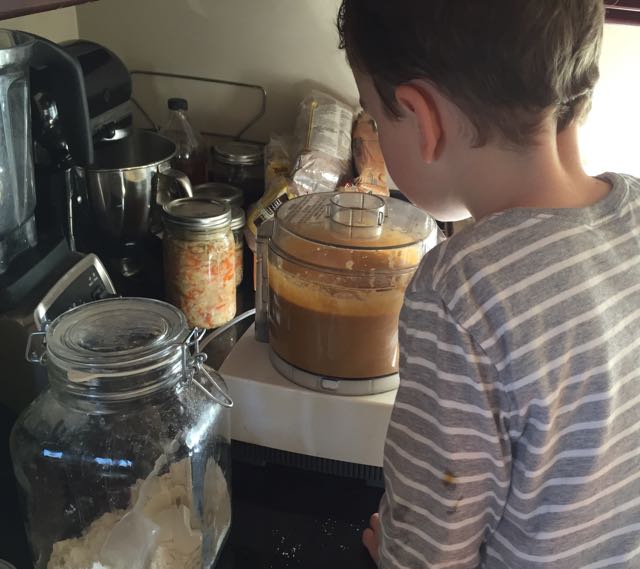
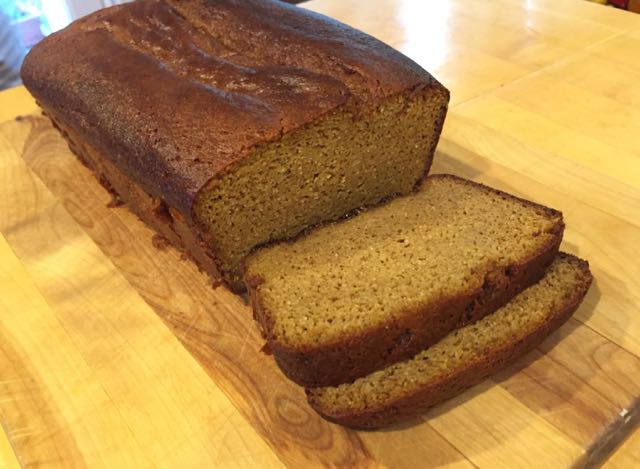
Our pumpkin bread recipe came from Elana's Pantry: Easy Paleo Pumpkin Bread. We used the Cuisinart for this recipe. 

I made several changes to the original recipe. The volume of spices for this recipe sounded heavy for our taste, and I don't have a tiny loaf pan. So I doubled all the ingredients except for the cinnamon, nutmeg and cloves. I omitted the stevia because I can't stand the taste of stevia. And I baked the bread in a regular sized loaf pan. Baking a larger recipe in a larger pan extended the baking time. The bread was done after about an hour in the oven, and it was delicious.

Our last pumpkin product (before deciding to freeze the rest lest we overdose and never willingly eat pumpkin ever again) was pumpkin soup. I followed the spirit of my Really Good Butternut Squash Soup recipe. Because we had already processed the pumpkin, I didn't have any strings or seeds to brown in the pan for flavor this time. But I did a really good job browning the onion. The soup was great, and we garnished it with sprouted pumpkin seeds.

We then took a pumpkin breather for a couple of weeks. 

Next, with an eye towards baking some gluten-free Smitten Kitchen pumpkin muffins, I defrosted one of the remaining cups of pumpkin purée.

Keeping in mind some of the lessons from America's Test Kitchen's cookbook, How Can It Be Gluten Free, I substituted, in a ratio of 1:1, my current favorite gluten-free flour blend (I mix it at home, but you can also buy it pre-mixed) for the all-purpose flour called for in the recipe. I also used a full tablespoon of baking powder, and I allowed the batter to rest at room temperature for a half-hour before baking.

I've been calling these muffins "cupcakes." Their snickerdoodle tops certainly elevate them over any regular muffin. But the real reason for my sleight of language is that they'll be Wyatt's treat at an upcoming birthday party. Because this recipe made a dozen muffin-cupcakes, I have also tucked several away in the freezer for another day.

Maintaining Gluten-Free Sourdough Starter

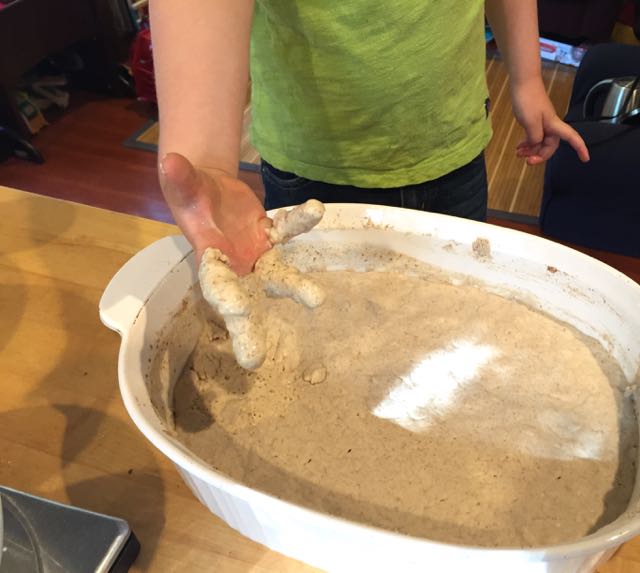
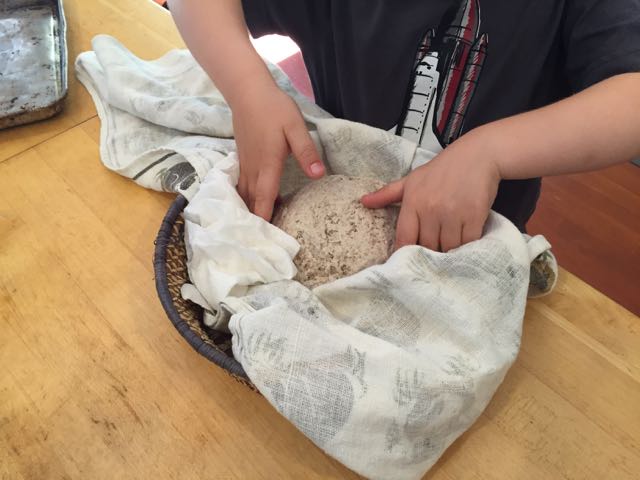
All three of us have been enjoying our new sourdough bread. We even baked more loaves of bread yesterday! This time, Wyatt got to complete all of the baking steps with me.

I daresay that our bread was even better this time around!

But as it often goes with new pets, the care and feeding of the pet is on the parent. In this case, taking care of the sourdough is on me. It had been so long since I had kept sourdough starter alive that I had forgotten how I used to do it. I went online to jog my memory, and boy did those searches jog it. If you search online for "how to maintain sourdough starter," you will find more exquisitely detailed posts than you would have ever thought imaginable. Amateur bread baking, sourdough in particular, is a thing, and most people who choose to maintain a starter and then write about it tend to have strong opinions about the process.

But here's the problem with strong opinions about maintaining sourdough starter: everyone's kitchen is different. The temperature of the kitchen, the temperature of the water, and the exact composition of the water changes from house to house. What works perfectly for someone else may not work for me, or you. Exactly how much to feed a starter and when to feed it is dependent on a lot of variables that I am not interested in attempting to control. I want to keep my sourdough starter alive, so I feed it regularly. But I figure that since I was able to grow it on my counter over a few days, thanks to a little bit of care and a lot of benign neglect, it will be no big deal to start another one if this one dies.

If you have never maintained a sourdough culture before, you can read about the process in traditional sourdough bread here.  This series of posts on Phickle, Sourdough Starter School, is really informative. The photos are also great, but remember that like all other gluten-free baking projects, gluten-free sourdough starter looks different from traditional sourdough.

Even though traditional and gluten-free sourdough batters look different, the bubbles of happy microbes are the same in both. The more bubbles I see and the more popping I hear, the more active my starter is. If there are almost no bubbles, my starter has either just been fed or may need to be fed again. And after I have fed my starter, I give it a sniff. The smell is always very mild. But by the time of the next feeding, the smell is much stronger and more sour. Sometimes there's even a layer of liquid on top of the starter. A strong sour smell and this liquid are signs that my starter is hungry for fresh flour and water. 

There seems to be no consensus on how often to feed a starter. Sandor Katz recommends daily feeding, and so does David Asher in his cheesemaking book. Amanda Feifer at Phickle is also in the once-a-day camp. But many other people feel strongly that twice a day feedings are necessary. The first few days I had my starter, I fed it once a day, before I went to bed. But I started to notice that by feeding time, it was looking and smelling like it was pretty...hungry. So I started feeding it twice a day: morning and evening. I noticed with twice daily feedings, the starter looked more lively by the end of the day. It's possible, though, that if I had just increased the size of the one feeding, that would have fixed the problem.

But enough discussion. Here's my process so far for maintaining sourdough starter:

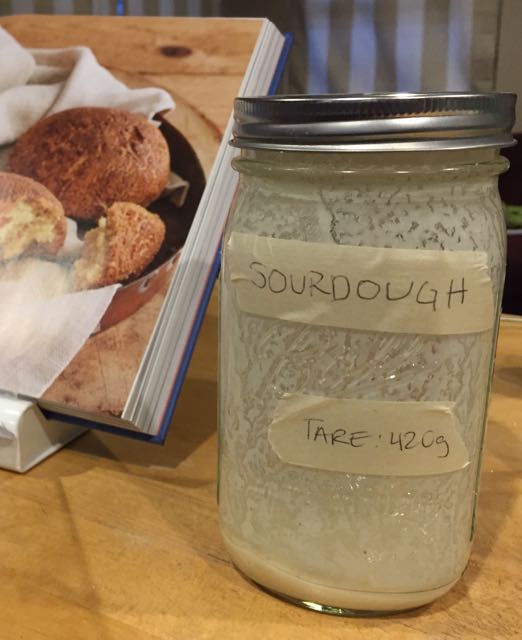
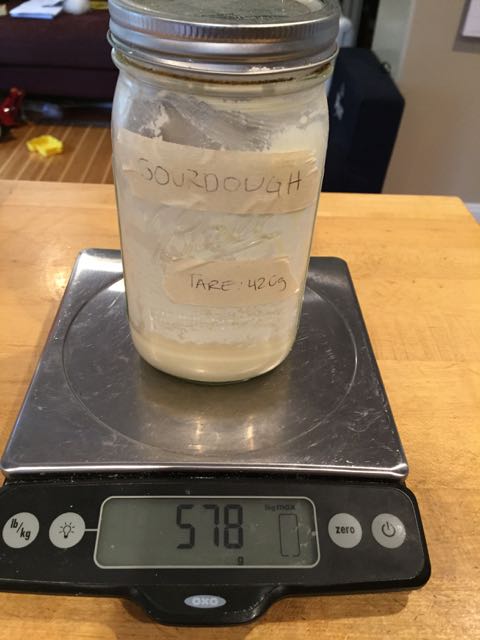
At the first feeding to maintain the starter, I took a clean, empty, quart sized mason jar. I measured the weight of it, in grams, and wrote that tare weight on a piece of masking tape, and stuck that on the jar.

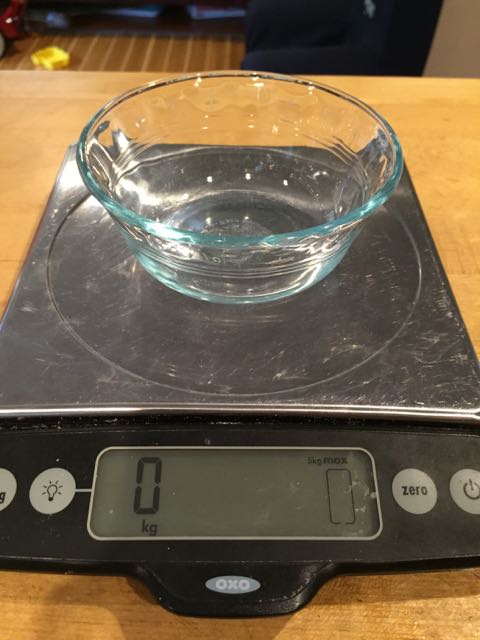
I put the jar on the scale, zeroed the scale, and added 20g of sourdough starter to the jar.

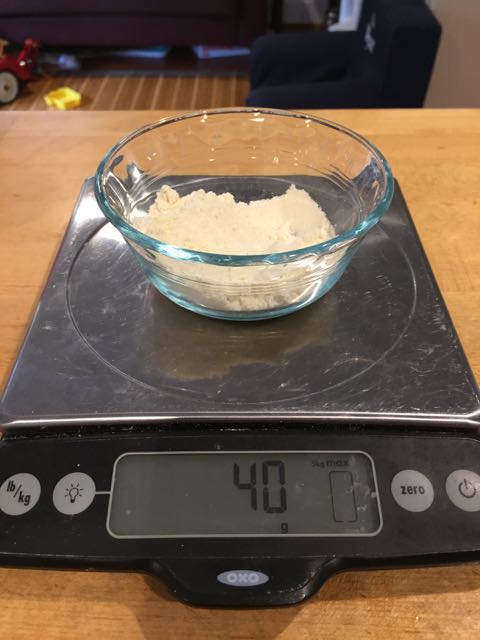
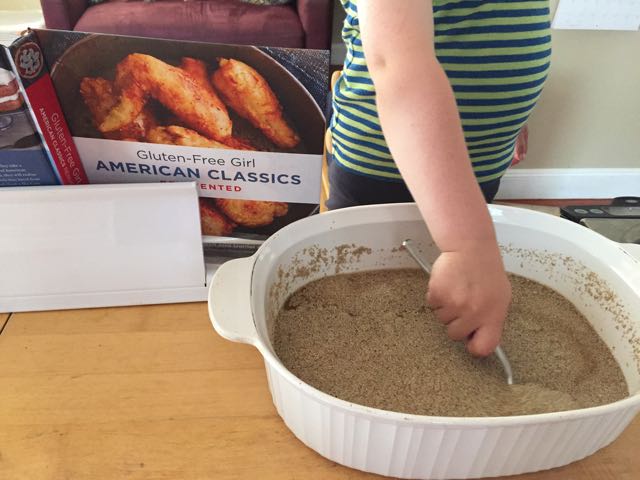
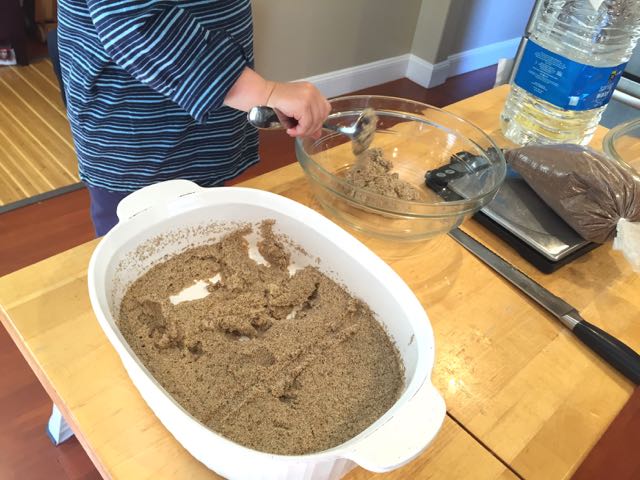
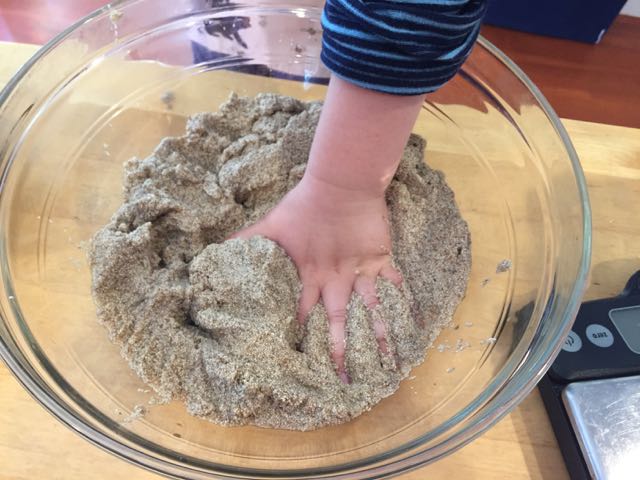
I measured 40g of flour (be sure to feed the starter gluten-free flour mix, NOT the grain-free one in American Classics Reinvented), dumped that in the jar with the starter. I measured 40g of non-chlorinated, room-temperature water, and I dumped that in the jar with the starter and the flour. I mixed all of it up vigorously, and screwed the lid on LOOSELY.

In the evening, I weighed the jar and removed all but 20g of the sourdough starter. This was easy to do, because I already knew how much my jar weighs when it is empty. (Pretend your empty jar weighs 420g . Put the jar on the scale and keep removing starter until the scale reads 440g. Now you have 20g of starter in the jar.) I then added 40g of flour and 40g of non-chlorinated, room-temperature water, mixed it all vigorously, and screwed the lid back on LOOSELY.

Then I just repeated this process--keeping 20g of starter, and adding twice that amount of flour and of water at every feeding. I composted the starter I removed. The thing about sourdough is that you have to remove some of the starter at every feeding or else you and your kitchen will quickly become overwhelmed by sourdough starter. Also, removing excess starter helps to keep the microbe population in check and control the level of sour in your baked goods.  

A few feedings in advance of when I would be baking again, I began to build up the size of my starter by increasing the size of the feedings. I kept 20g of starter, but fed it 60g of flour and 60g of water. And at the next feeding, I kept 30g of starter and added 90g of flour and 90g of water. At that point, I had more than enough starter for my recipe plus 20g to maintain in the jar.

This week, I'm experimenting with keeping the starter in the fridge. I fed the starter a couple of days ago, let it hang out on the counter for a couple of hours after the feeding, and then I put the jar in the refrigerator. My plan is to take it out of the refrigerator and revive it with a few feedings before our next baking day. 

Gluten-Free Wild Sourdough Bread: We did it!

"Is that MY loaf of bread? It looks so good...THIS BREAD IS SO GOOD! I need two pieces, please. Two pieces with extra butter."

Making yogurt and baking sourdough bread were my first forays into fermentation. When Wyatt was about eight months old or so, I was really into baking sourdough. And I got really good at it. I bought my culture from Cultures for Health. I baked bread all the time, we had sourdough pancakes every Sunday, and I cared for the culture almost like a pet. 

But just after Wyatt turned a year old, we learned that he (and we) were gluten-intolerant. That knowledge sounded the death knell of the sourdough starter and the end of the Bread Extravaganza of 2012. Over the next couple of years, I tried a few recipes here and there for gluten-free sourdough bread, but they mostly produced dense, boozy-smelling bricks. Awful stuff. Since then, we've tried various bakeries' gluten-free breads, and they're great in a pinch, if toasted. But I don't love the texture that xanthan and guar gums give gluten-free baked goods, so we don't eat commercial breads (or any bread) that often.

When I saw that Gluten-Free Girl's American Classics Reinvented included a true sourdough bread recipe, I pre-ordered the book. I figured that if the recipe worked, the entire book would have been worth buying.

We got our book on Tuesday, and we started our sourdough on Wednesday.* We baked on Monday.

Here's what we did:

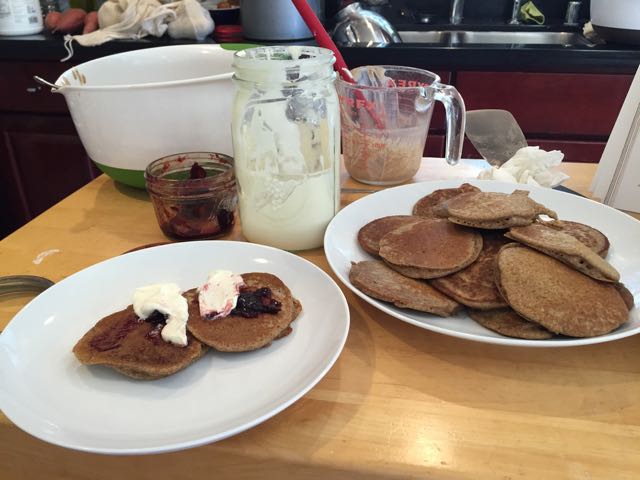
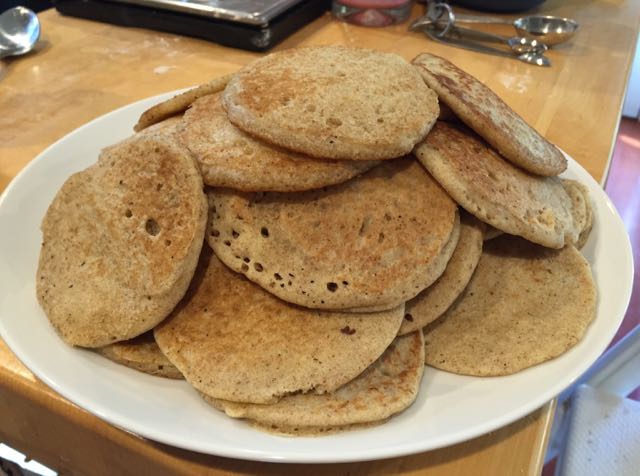
After mixing teff flour and non-chlorinated water, we let the mix sit for a day, and then began the process of, every day, removing most of the previous mixture and adding more flour and water. After a few days, I made pancakes with some of the "extra" starter. The first time I made pancakes, I used a sourdough pancake recipe I had found. But by the second time, I had read Sandor Katz's more relaxed approach to sourdough in the Art of Fermentation, and I made up my own recipe. I took 2 cups of the starter, added a teaspoon of baking soda (the baking soda binds with some of the lactic acid, making a slightly sweeter pancake), a tablespoon or so of coconut flour and two beaten eggs. The pancakes were terrific.

Making the actual bread was easy. It's gluten-free, so there's no point in kneading it. You could knead all day and you'll never create the gluten network of a traditional bread! After shaping and a final proof, we baked each loaf in a dutch oven, with a little steam of water at the end of baking time.

If you like the idea of gluten-free sourdough bread, I think you'd be smart to pick up a copy of American Classics Reinvented and start your sourdough right away. 

If you want to try building your own wild sourdough starter but don't need it to be gluten-free, check out this post from Wild Fermentation, and maybe consider adding some teff flour to your mix to speed things along.

IMG_3380.jpg


Meanwhile, we have a new culture in the house. We are both taking a breather from baking right now as I learn what our new pet needs to stay bubbly. 


*There was a point this weekend where we had Shankleesh draining, paneer being pressed, sourdough starter bubbling, and pizza dough rising. It was a busy and somewhat messy weekend over here.